


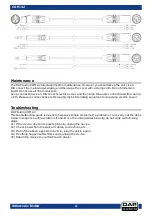
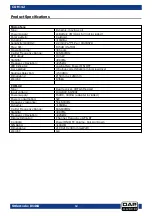
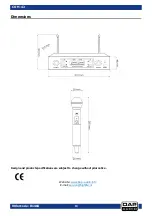


Ordercode: D1464
COM-42
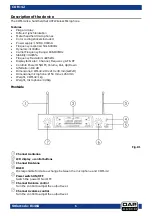
Fig. 04
Inserting/replacing the battery
We recommend powering the microphone by two AA batteries.
01)
Turn the battery housing cover (19) clockwise and remove the cover.
02)
Open the holder by pressing the tab and lifting the cover (21).
03)
Insert the batteries. Please pay attention to the correct polarity when inserting the batteries.
04)
Replace the battery cover and gently turn the cover counterclockwise until the battery
compartment is closed.
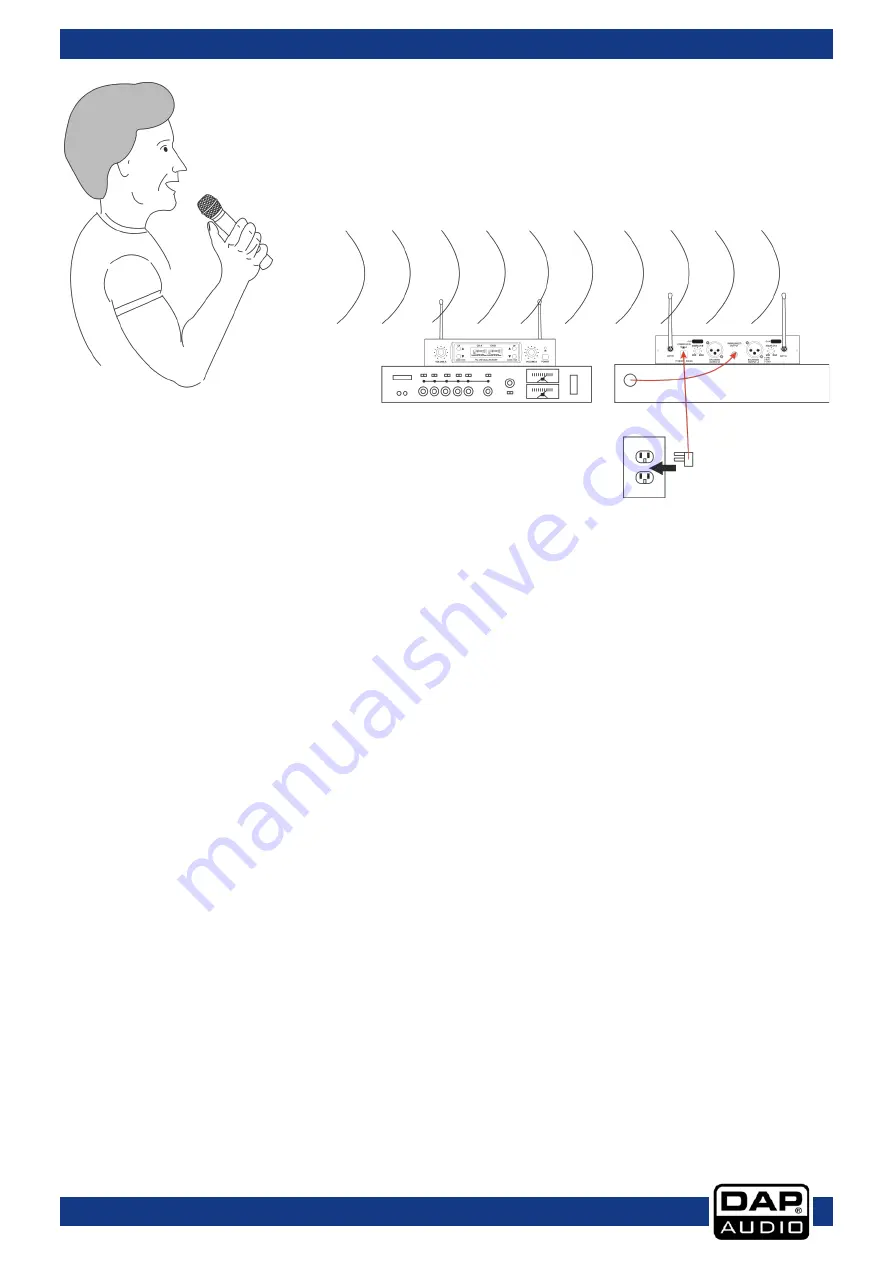
Adjusting the squelch threshold
Interference due to other transmission links can be eliminated as follows:
01)
Switch off the microphone. The COM-42 should no longer receive any signal.
02)
If the COM-42 still receives a signal, use the squelch control (09, 13) to increase the squelch threshold
so that the signal will no longer be received. If the signal cannot be eliminated in this way, set the
microphone and the COM-42 to different channels.
03)
Switch on the microphone again and check if the COM-42 receives the microphone signal.
Note:
If the squelch threshold is adjusted too high, the transmission range will be reduced. Therefore always
adjust the squelch control to the lowest possible setting.
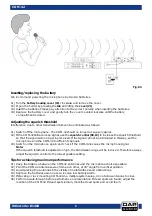
Tips for achieving maximum performance
01)
Keep the distance between the COM-42 antennas and the microphone short as possible.
02)
Point the COM-42 antennas away from each other, at 45° angle from vertical position.
03)
Avoid placing the antennas in the vicinity of metal surfaces and obstructions.
04)
Replace the batteries as soon as you receive low battery alarm.
05)
If stacking or rack mounting COM-42s in a multiple system setup, do not allow antennas to cross.
06)
Perform a walk-through before performance or presentation. If dead spots are found, adjust the
location of the COM-42. If dead spots remain, mark the dead spots and avoid them.
9
Summary of Contents for COM-42
Page 15: ...Ordercode D1464 COM 42 14...
Page 16: ...2015 DAP Audio...


