


10
Installation
Remove all packing materials from the Core Mix-3 USB. Check that all foam and plastic padding is
removed. Connect all cables.
Always disconnect from electric mains power supply before cleaning or servicing.
Damages caused by non-observance are not subject to warranty.
Set Up and Operation
Before plugging the unit in, always make sure that the power supply matches the product specification
voltage. Do not attempt to operate a 120V specification product on 230V power, or vice versa.
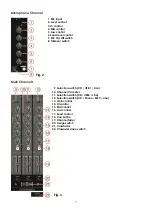
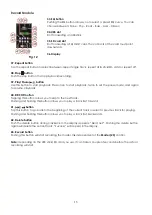
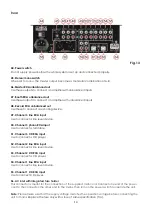
Functions
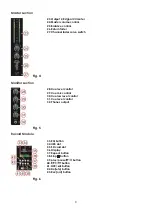
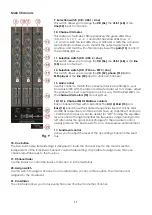
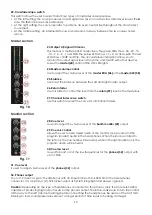
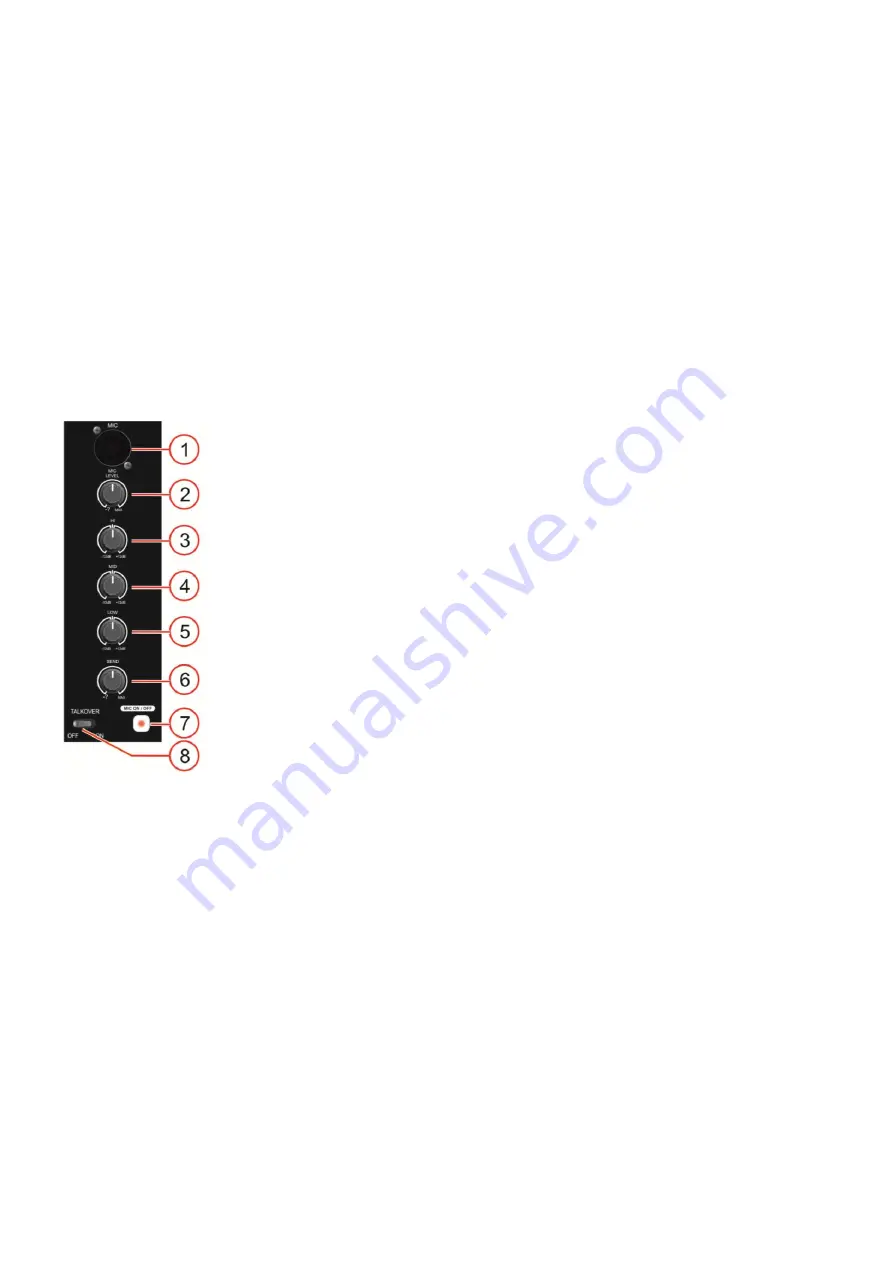
Microphone Channels
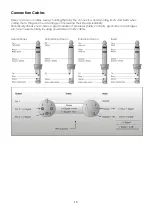
1. Mic input
Electronically balanced XLR-type input for connecting low impedance
microphones. The input has extremely low noise hum. When connecting a
microphone make sure that the pin assignment is correct. Always make sure to
read the manual of the microphone you want to connect. The XLR- input is not
suitable for connecting an additional mixing console, FX- unit, etc. You have to
use the line-inputs, when connecting this kind of equipment.
Note:
When connecting signal sources, please make sure that the corresponding
Channel’s level control and the master faders are at their minimum settings.
Otherwise, unpleasant plug-in noise can occur.
2. Mic level control
Use the control to adjust the level of microphone channel in the master mix.
3/4/5. Channel EQ Hi/Mid/Low controls
Each channel is fitted with 3-band EQ. The
Hi (3)
,
Mid
(4)
and
Bass
(5)
bands
have their center frequencies fixed at 5 Khz, 800 Hz and 70 Hz respectively. All
three bands have up to 26dB cut and up to 12 dB boost and have a centre
detent for “Off”. Turning the equalizer level control to the right amplifies the
frequency range, turning to the left attenuates the signal. Minor changes to the
Fig. 8
equalizer control usually produce the best results. Try to avoid excessive
enhancement of the Mid band.
6. Send level control
Allows you to adjust the level of the according channel in the send mix.
7. Mic On/Off switch
Allows you to switch both microphone channels on or off.
8. Talkover switch
If the talkover function is active, channels 1-3 are automatically attenuated by 12dB while speaking in the
DJ-microphone.
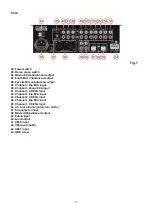
Summary of Contents for Core Mix-3 USB
Page 22: ......


