background image


Set Up and Operation


Before plugging the unit in, always make sure that the power supply matches the product specification 
voltage. Do not attempt to operate a 120V specification product on 230V power, or vice versa. 
 
Press the powerswitch to turn the COM-54 on. Turn volume down, by pressing SET. The display shows 

AF 

out

, then the display shows 

VR1

. Adjust the Functions to the desired position. 
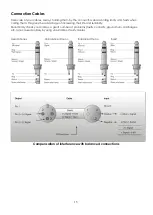


              Fig. 4


17)

 RF Indicator 

18)

 Audio Frequency Indicator 

19)

 Signal Channel Indicator 

20)

 Antenna A Receiving Indicator 

21)

 Antenna B Receiving Indicator 

22)

 MUTE Indicator


MENU Options 

1. SQUELCH 

 0-40 dB, in 5 dB steps 

2. DISPLAY 

 FREQU / CHANNL 

3. TUNE 

 785.100 – 811.000, in steps of 0.025 Hz 

4. LOCK 

 LOC OFF / LOC ON 


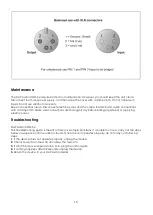
Sensitivity Adjustment Menu (SQUELCH)


Scroll through the menu by using the 

SET 

button, until the LCD shows: 


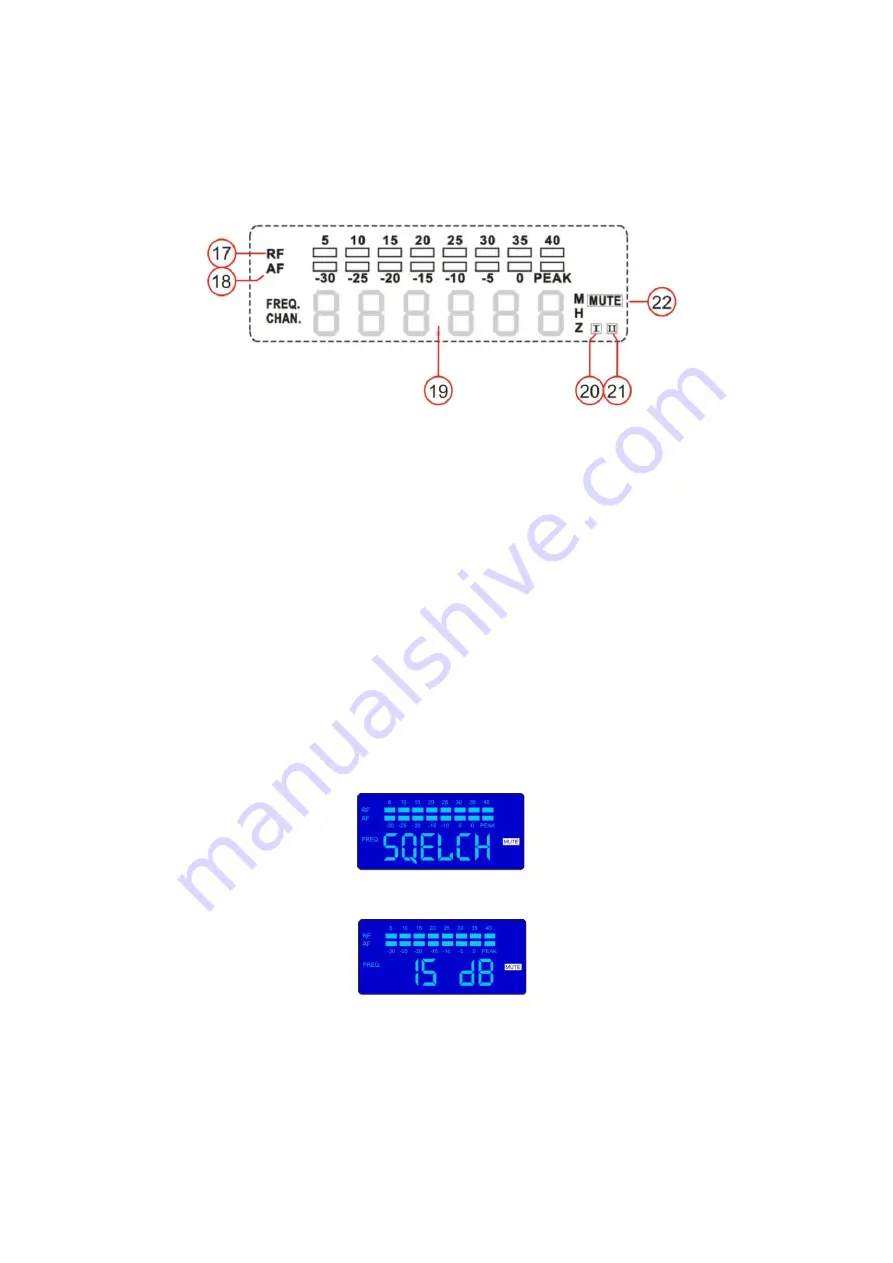
after a second the display shows: 


This menu is for adjusting the sensitivity (Mute Control). It is used to strengthen the system’s capacity of 
preventing disturbing: The range is from 0 – 40 dB. The greater the value, the lower the sensitivity is, the 
smaller the receiving distance, the stronger capacity of preventing disturbance. On the other hand, a 
lower value (Minimum 15dB), provides a higher sensitivity and increases the receiving distance, the 
capacity of preventing disturbance however will reduce. Usually, the normal setup is 20 dB (Factory is 
15dB). 


Summary of Contents for D141473

Page 1: ...COM 54 ORDERCODE D141473 740 752Mhz ORDERCODE D141482 822 846MHz...

Page 2: ...manufacture professional audio equipment for the entertainment industry New products are being launched regularly We work hard to keep you our customer satisfied For more information iwant dap audio...

Page 3: ...Return Procedure Claims Description Features Overview Frontview Rearview Installation Set Up and Operation Menu Options Sensitivity Adjustment Menu SQUELCH Signal Channel solution Menu Frequency Set M...

Page 4: ...cable 100cm 1x mono jack cable 80cm User manual SAFETY INSTRUCTIONS Every person involved with the installation operation and maintenance of this device has to be qualified follow the instructions of...

Page 5: ...m time to time Please turn off the power of all equipment before making connections to other devices If system is dropped or struck disconnect the power adaptor immediately Have a qualified engineer i...

Page 6: ...description of the symptoms Claims The client has the obligation to check the delivered goods immediately upon delivery for any short comings and or visible defects or perform this check after our an...

Page 7: ...141473 822 846 MHz ordernr D141482 4 channel wireless microphone system True diversity receiver Included 4 dynamic hand held microphones 32MHz Phase locked loop PLL circuit technology LCD display Easy...

Page 8: ...all packing materials from the Com 54 Check that all foam and plastic padding is removed Put the 2 antennas into socket A and B at the backside in a vertical angle Remove the rubber protection caps a...

Page 9: ...SQUELCH 0 40 dB in 5 dB steps 2 DISPLAY FREQU CHANNL 3 TUNE 785 100 811 000 in steps of 0 025 Hz 4 LOCK LOC OFF LOC ON Sensitivity Adjustment Menu SQUELCH Scroll through the menu by using the SET but...

Page 10: ...he previous setup When you press UP DOWN the LCD indicates 2 modes either Channel or Frequency If you select channel CHANNL is shown as numerical value If you select FREQU it is shown as actual workin...

Page 11: ...ton you can change the original state from LOC OFF to LOC ON the LCD will flash Press SET to store the setting the device is locked After storing pressing SET the LCD will stop flashing LOCK ON to LOC...

Page 12: ...10dB 2 DISPL Choose between FREQU CHANNL TUNE 3 LOC Choose between LOC ON LOC OFF You can change your settings by pressing the UP DOWN buttons Be sure to store your desired setting by pressing the SET...

Page 13: ...the batteries are fully charged the indicator Led will light GREEN When the LED flashes there is an error Remove the microphone for a moment from the charger and then place it back again 1 Charge LED...

Page 14: ...f postal services and telecommunications BIPT www bipt be Czech Republic Czech Telecommunication Office www ctu cz Denmark National Telecom Agency www tst dk Finnland Finnish Communications Regulatory...

Page 15: ...rnational B V Name Address Vestastraat 2 6468 EX Kerkrade The Netherlands This is the result of tests carried out on those 03 March 2005 samples of the product referred to above which were submitted f...

Page 16: ...rnational B V Name Address Vestastraat 2 6468 EX Kerkrade The Netherlands This is the result of tests carried out on those 03 March 2005 samples of the product referred to above which were submitted f...

Page 17: ...em This gives the advantage of increasing their life and reliability Periodically check your cables A great number of problems faulty contacts ground hum discharges etc are caused entirely by using un...

Page 18: ...ly dry before linking equipment or supplying electric power Troubleshooting DAP Audio COM 54 This troubleshooting guide is meant to help solve simple problems If a problem occurs carry out the steps b...

Page 19: ...nt range 12 32dB S N Ratio 80dB Sensitivity 107dBM Stray control 75dB Output level balanced output 0 32dB Power 12 16V DC adapter included Current draw 300mA Dimensions 19 x 245mm X 1U LxWxH Weight 2...

Page 20: ...2010 Dap Audio...

Reviews: