Page 11 of 20
5. Installation
5.1 X210LW Standard Wall Mounted version
CAUTION: This product must be earthed.
Check you have the following items:
X210 LED Light – supplied complete with mounting box/PSU
IEC Cable
Kit including user manual and hex key
WARNING: please note that this information is provided for guidance only and that a
qualified builder or structural engineer should be consulted if you have any doubt about the
suitability of the proposed mounting position.
Note: For all wall mounted and rail mounted installations the recommended fixing height is 1000
-1300mm from the floor. The flexible neck works under tension and should be installed in an
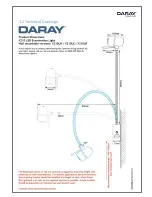
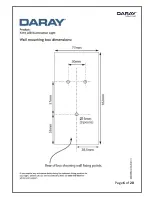
upright position. Please refer to the dimensional drawing located on page 5 of this manual
when determining the mounting position. For any installations requiring a different fixing
height please contact DARAY for advice on 0800 878 9864.
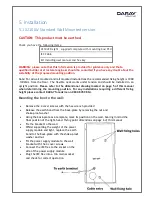
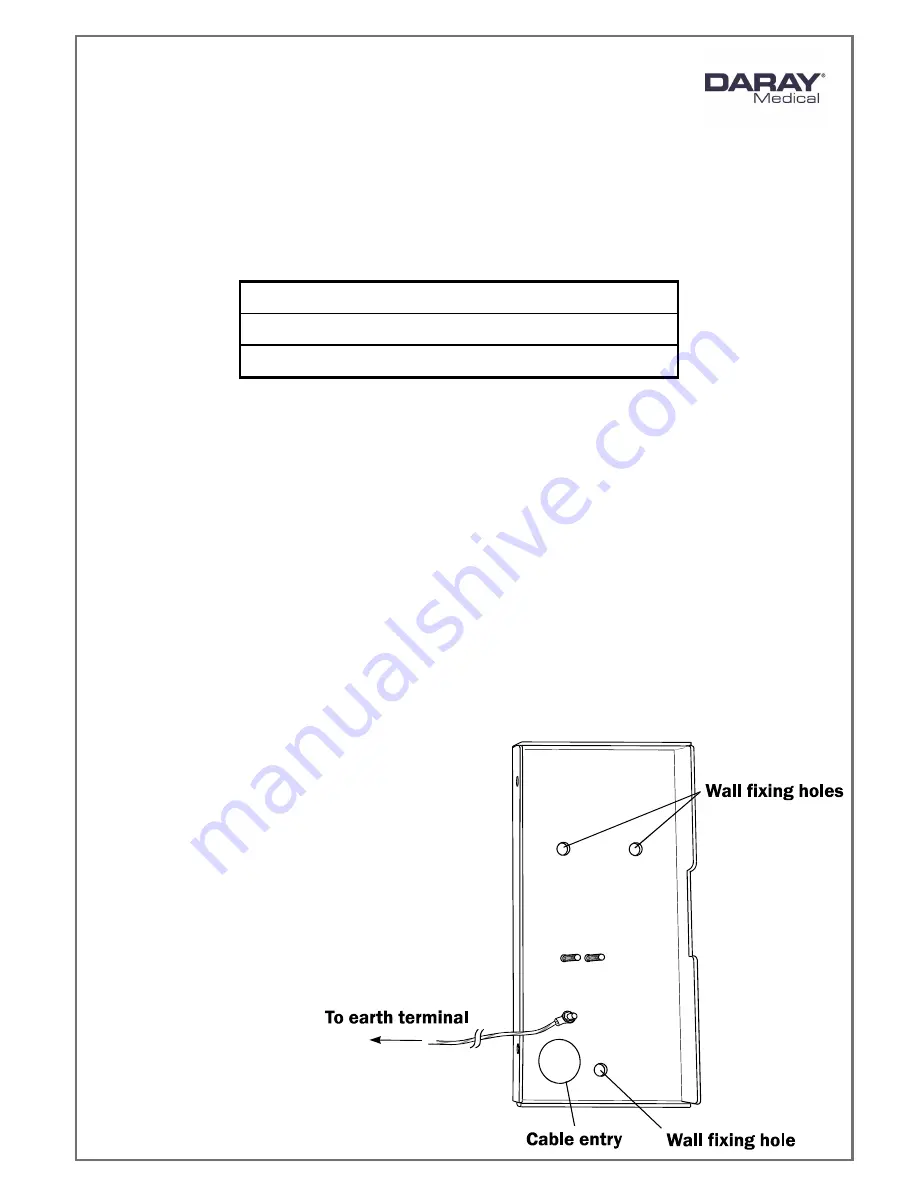
Mounting the box to the wall:
Remove the 4 cover screws with the hex wrench provided
Release the earth bond from the back-plate by removing the nut and
shake-proof washer
Using the back-plate as a template, mark its position on the wall, bearing in mind the
final position of the light-head. Fixing point dimensions on page 6 of this manual
Fix the bracket to the wall
Whilst supporting the weight of the power
supply module and light, replace the earth
bond to the back-plate with the shake-proof
washer and nut
Fit the power supply module to the wall
bracket with the 4 cover screws
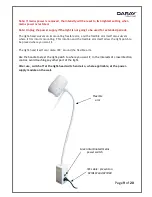
Connect the IEC flex to the socket on the
side of the power supply module
Plug the IEC flex into a 13A mains socket
and check for correct operation
Summary of Contents for X210 LED
Page 1: ...X210 LED Examination Light Operating Installation Manual QAM X210 0818 10 X210LW ...
Page 2: ...Page 1 of 20 ...
Page 6: ...Page 5 of 20 1 2 Technical Drawings ...
Page 7: ...Page 6 of 20 ...
Page 21: ...Page 20 of 20 Service Notes ...
Page 22: ...Page 21 of 20 ...
Page 23: ...Page 22 of 20 ...


