Page 12 of 20
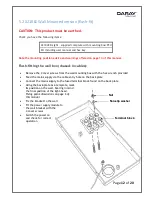
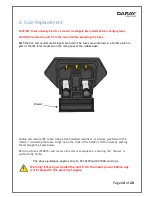
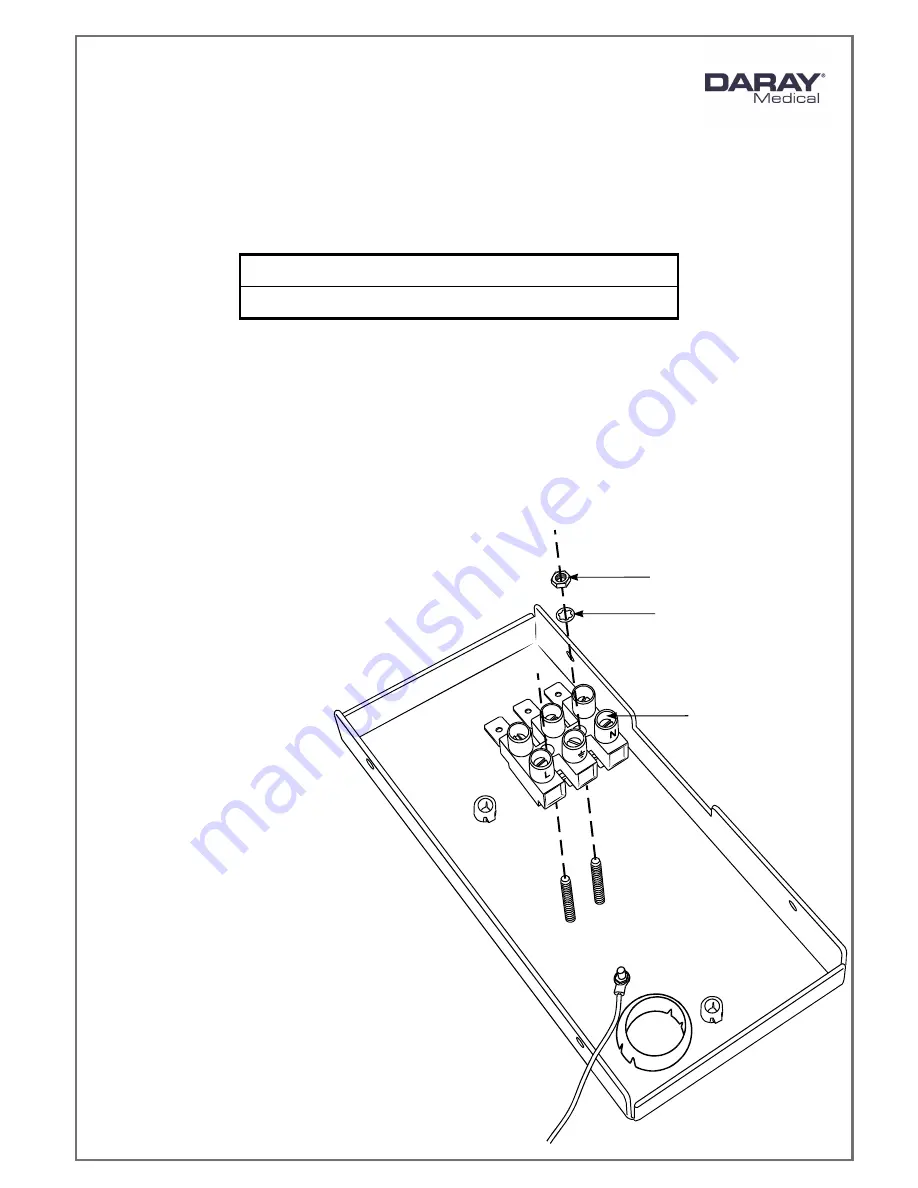
Terminal block
Non-slip washer
Nut
5.2 X210LE Wall Mounted version (flush-fit)
CAUTION: This product must be earthed.
Check you have the following items:
X210 LED Light – supplied complete with mounting box/PSU
Kit including user manual and hex key
Note the mounting position advice and warnings offered on page 13 of this manual.
Flush-fitting the wall box (chased-in cables):
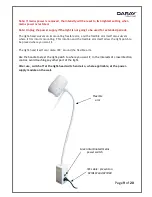
Remove the 4 cover screws from the wall mounting box with the hex wrench provided
Feed the mains supply via the cable entry hole on the back plate
Connect the mains supply to the fused terminal block found on the back plate
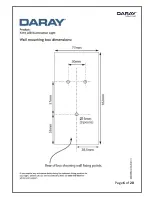
Using the back-plate as a template, mark
its position on the wall, bearing in mind
the final position of the light-head.
Fixing point dimensions on page 6 of
this manual
Fix the bracket to the wall
Fit the power supply module to
the wall bracket with the
4 cover screws
Switch the power on
and check for correct
operation
Summary of Contents for X210 LED
Page 1: ...X210 LED Examination Light Operating Installation Manual QAM X210 0818 10 X210LW ...
Page 2: ...Page 1 of 20 ...
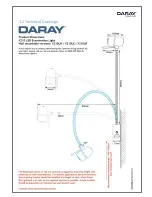
Page 6: ...Page 5 of 20 1 2 Technical Drawings ...
Page 7: ...Page 6 of 20 ...
Page 21: ...Page 20 of 20 Service Notes ...
Page 22: ...Page 21 of 20 ...
Page 23: ...Page 22 of 20 ...


