7
ATTACHING MOUNTING CHANNELS
1.
Remove the Roof Top Tent from the carton and place on a clean surface. Observe the
top surface. If it has four holes in the center area of the base, then this is the side which
will receive the mounting channels. Otherwise you are looking at the surface which will
receive the ladder. Open tent to gain entrance to interior and remove contents.
Contents:
1 x Ladder
(2
for
the
HV2200)
,
1 PVC Transit Cover
,
6 x Window Rods
,
2 x
Mounting channel
s
,
1 x
Mounting
A
ccessor
y Bag
.
2.
After removing the contents, close the Roof Top Tent, so the channel mounting surface
is facing upward
exposing the pre-drilled mounting holes
.
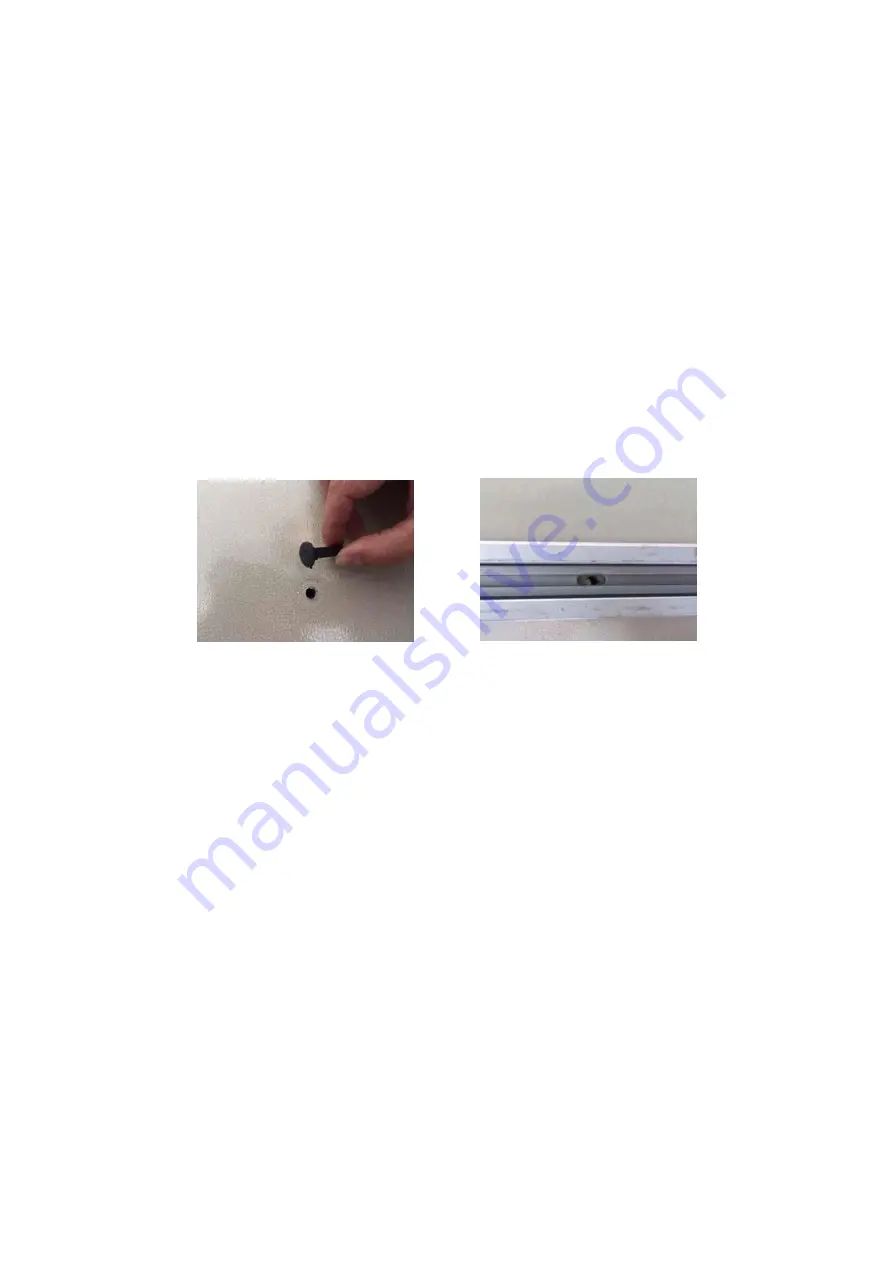
3.
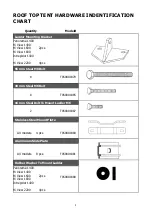
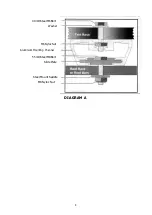
Using the four supplied
40mm Steel M6 bolt
, slide your hand between the base
and mattress, and insert the bolts with
the
50mm washers
into the pre-drilled holes.
4.
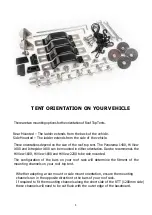
Place mounting channels on exposed bolts
according to the orientation of your Roof
Top Tent.
5.
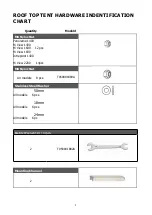
Slide the
M6 Nyloc Nut
into the inner slot in the center of the mounting channels, until
they are aligned with the bolts sticking through the base. Tighten the bolts firmly from
below, using the supplied 10mm wrench. If you chose a side mounted orientation, you
will notice that the mounting channels extend (20cm) beyond the edges of the base. You
will need to mark each channel where they extend beyond the tent base and cut the
mounting channels so they fit within the tent base. Fasten mounting channels to base as
described above.
Summary of Contents for Hi View 1400
Page 13: ......


