background image

Dichtungsringe austauschen. 


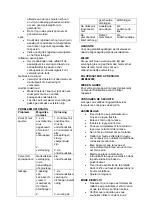
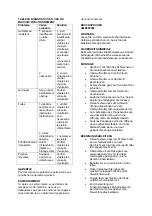
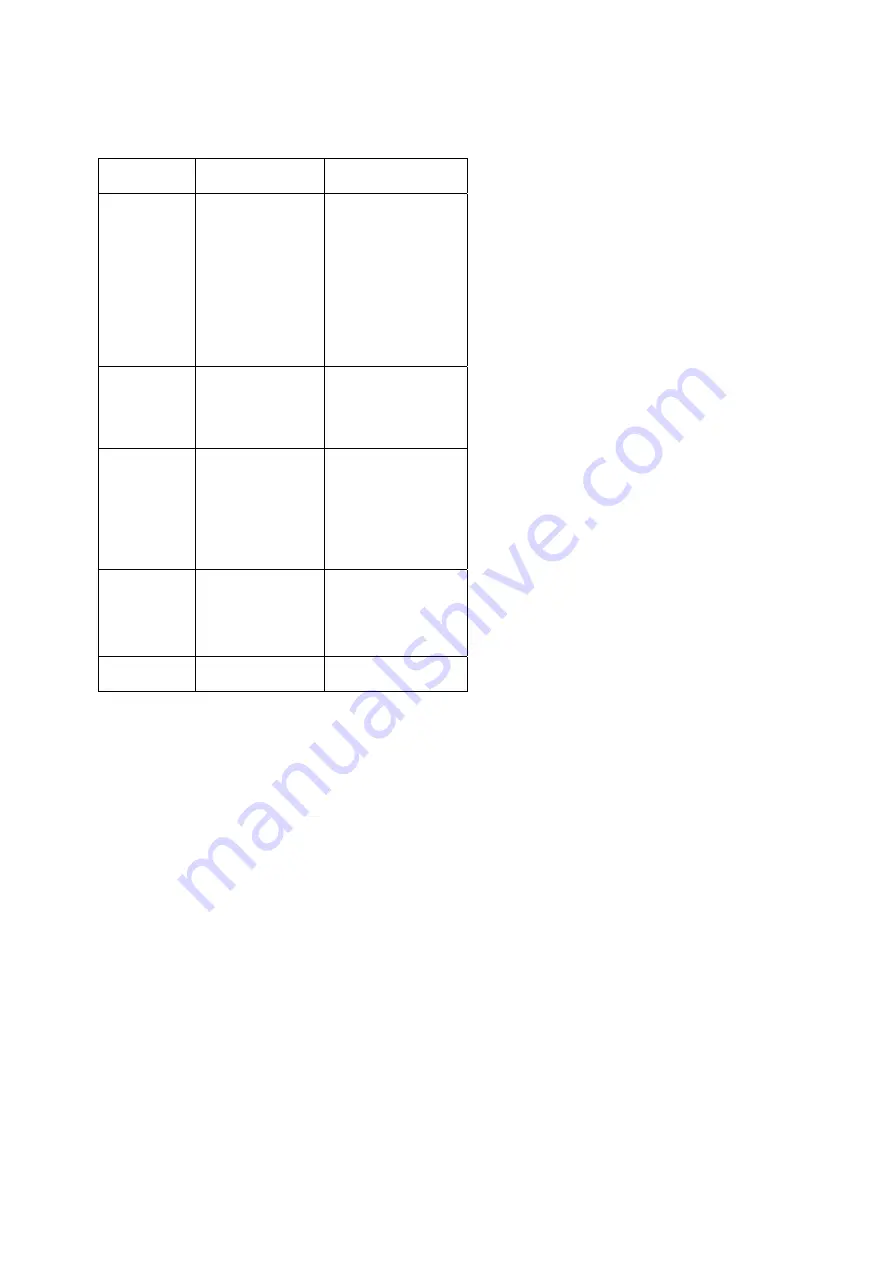
FEHLERDIAGNOSE-TABELLE 
Fehler Mögliche 

Ursachen 

Lösung 

Schwacher 
oder kein 
Strahl 

1. zu wenig 
Druck oder 
Luftverlust 


2. 
Verschmutzung 

1. zu niedriger 
Druck, siehe 
Wartungshinweise 
und alle 
Anschlüsse auf 
festen Sitz prüfen. 
 
2. verstopfung : 
siehe 
Wartungshinweise 

Ungleicher 
Strahl 

Spindel oder 
Düse teilweise 
verschmutzt 

Siehe 
Wartungshinweise 

Undichte 
STellen 

1.dichtungen 
sind verschmutzt 
 
 
2. 
Dichtungsringe 
sind schadhaft 

1. siehe 
Wartungshinweise 
+ Dichtungsringe 
erneuern. 
 
2. Dichtungsringe 
erneuern ? 

Aggragat 
funktioniert 
nicht 

Dichtungsringe 
sind 
aufgequolen 
oder stark 
verschmutzt 

Siehe 
Wartunghinweise 

Pumpengriff 
steigt hoch 

Defektes 
Rückschlagventil 

Siehe 
Wartungshinweise.


GARANTIE 

Siehe die beiliegenden 
Garantiebestimmungen. 
 

UMWELT 

Wenn Ihr Elektrowerkzeug nach einiger Zeit 
ersetzt werden muss, werfen Sie ihn nicht 
einfach in den Hausmüll, sondern bemühen 
Sie sich um eine umweltfreundliche 
Entsorgung. 

 
PRESSURE SPRAYER


CMB382050 
 
WARNING 

For your own safety, read this manual carefully 
before using the appliance. 
 

SAFETY INSTRUCTIONS 

When using the appliance always observe the 
safety instructions. 
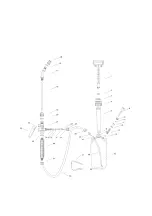


ASSEMBLY 


Fit the lance assembly to the sprayer 
by means of the flexible hose. 


Remove the nut fitted to the lance. 


Insert hose through nut. 


Push the hose fitting fully onto the 
lance connector. 


Screw nut tightly onto lance. 


Attach the other end of the hose to the 
container using the above method.  


Ensure that the hose is fully pushed on 
and that the nut is screwed down tight. 


Fit the carrying strap by threading the 
expandable ring through the hole in 
the lug moulded into the container 
base. 


Fit the other end of the strap through 
the slot in the top lug and thread 
through the metal buckle and adjust 
length to suit. 


OPERATING INSTRUCTIONS 


Ensure that the hose is securely 
attached to the sprayer and the lance 
and the locking nut are tight. 


check that the liquid which you intend 
to use is suitable. ( see the spraying 
chemical section). 


Fill the container to the desired level 
taking care not to exceed the 
maximum fill mark. 


Screw the pump firmly home to 
ensure an airtight seal.  


Operate the pressure release valve 
manually by pulling the blue knob 
upwards to ensure it is functioning  
correctly. 


Release the pump handle by pressing 
down and turning anti-clockwise. 


Pump to pressurise the container. 


When the correct operating pressure 
has been reached, the pressure 
release valve will vent to discharge 
excess air. 


The container is adequately 
pressurised and does not require 
further pumping. 

Trigger operation: 


The trigger mechanism has been 
designed to allow for two modes of 
operation, either intermittent or 
continuous. 

Intermittent: 


Depress trigger to operate and release 
it to stop spraying. 

Continuous: 


While depressing trigger push forward 
with the thumb to hold in the lock on 
position. 

Summary of Contents for CMB382050

Page 1: ...GEBRUIKSAANWIJZING MODE D EMPLOI GEBRAUCHSANWEISUNG MANUAL MADE IN CHINA CMB382050...

Page 2: ......

Page 3: ...ingsventiel in werking treden om de overtollige lucht te laten ontsnappen De container staat nu onder voldoende druk verder pompen is overbodig Knijpkraan bediening Het knijpkraanmechanisme kan op twe...

Page 4: ...e soorten plastic en hoewel de vloeistof die u gebruiken wilt in plastic verpakt kan zijn is dit geen garantie dat de chemicali n de spuit niet zullen beschadigen Bij twijfel over het materiaal waarme...

Page 5: ...dichtingen indienn nodig 2 vervang de gescheurde dichtingen afdichtingen De drukspuit functioneert niet Aanslag op de rubbers Zie onderhouds tips De pomphandel komt omhoog Defect membraam Zie onderho...

Page 6: ...buse pour obtenir un jet puissant et faire fonctionner la gachette pas petits coups jusqu ce que le liquide soit compl tement coul R cup rer le liquide chimique dans un r cipient diff rent et utiliser...

Page 7: ...ongeur et appliquer de la graisse silicon e sur le joint Lors du r assemblage bien s assurer que le jeoint n est pas coinc entre le bord ext rieur du plongeur et l int rieur du barillet de la pompe So...

Page 8: ...diese Anleitung gr ndlich durch bevor Sie das Elektrowerkzeug benutzen SICHERHEITSHINWEISE Beim Gebrauch des Elektrowerkzeugs sind die beiliegenden Sicherheitshinweise sowie die zus tzlichen Sicherhe...

Page 9: ...druck aus dem Beh lter ablssen dazu den blauen knopf am Sicherheitsventil hochziehen Falls die Gartenspritze f r Chemikalien verwendet wurde nach Gebrauch briggebliebene Spritzfl ssigkeit sicher ensor...

Page 10: ...cht zwischen der Aussenkante des Kolbenformgusses und der Innenseite des Pumpenzylinders eingeklemmt wird Pumpenr ckschlagventil Zur Verhinderung dass Druckluft im Beh lter zur ck in die Pumpe entweic...

Page 11: ...ce connector Screw nut tightly onto lance Attach the other end of the hose to the container using the above method Ensure that the hose is fully pushed on and that the nut is screwed down tight Fit th...

Page 12: ...n a well ventilated area Take care to protect children pets and fish from exposure to chemicals Wash hands thoroughly after use and especially before eating Wash any contaminated clothing Seek medical...

Page 13: ...trigger clean and free from build up of sediment and chemicals by regularly flushing through after use Of necessary remove and clean the shuttle in the trigger Outlet and dip tube To rewash the outlet...

Page 14: ...en assurerons la r paraton gratuite condition que L appareil ait t utilis de fa on correcte en tenant compte du but pour lequel il a t construit L appareil ait t r par de fa on apprpri e par des perso...

Page 15: ...uarantee we guarantee free repair on condition that The tool has been used properly and for the purpose for which it has been intended Repairs are professionally carried out by a person appointed by t...

Reviews: