background image

dCS 

Pronto User Manual 


Software Issue 2.1x 

Data Conversion Systems Ltd.  


April 2010 


Manual filename: dCS Pronto Manual v2_1x.doc


Page 4


English version 

Getting Started 

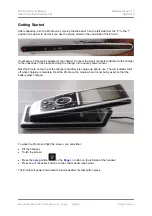
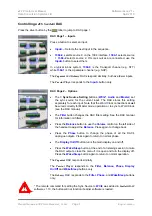
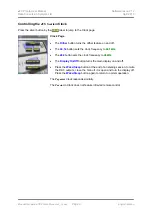
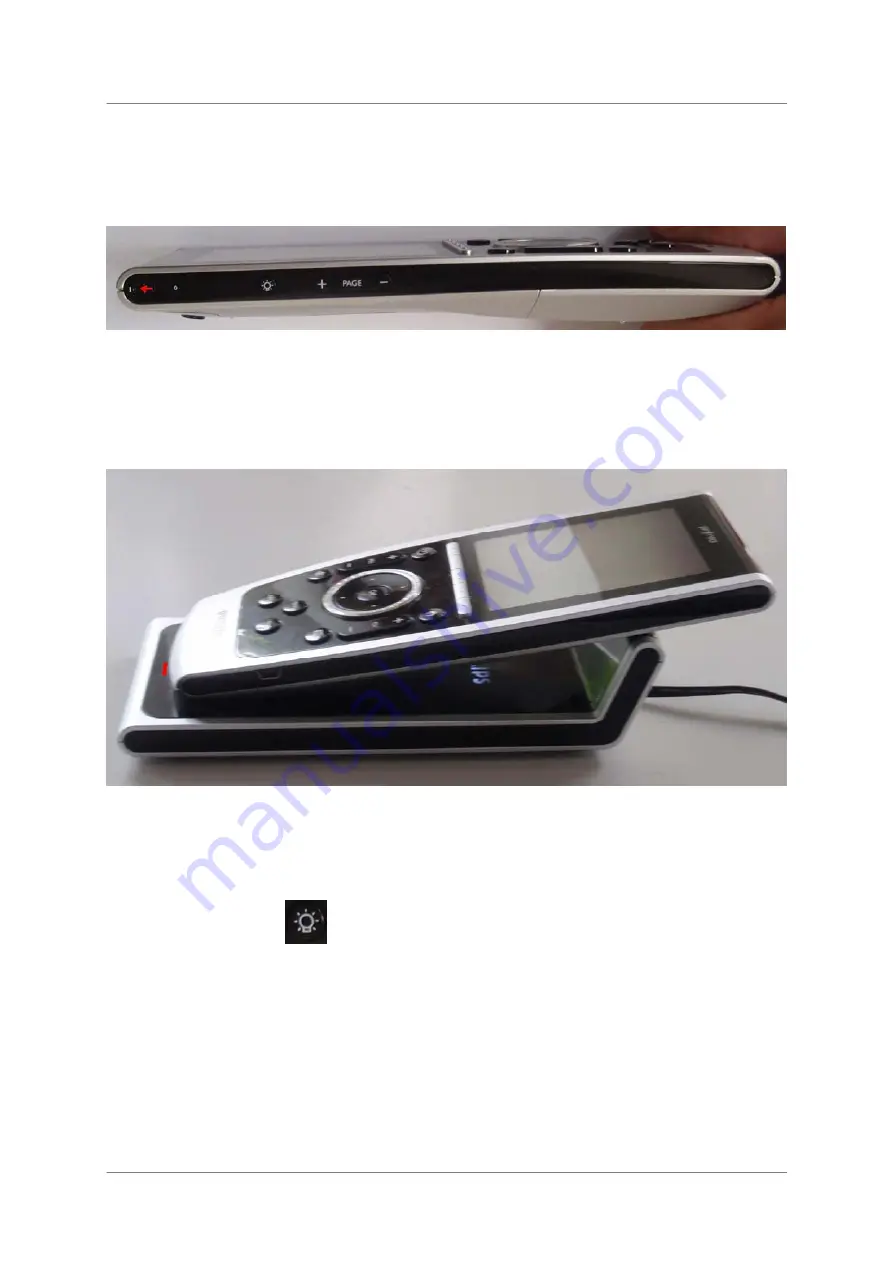
After unpacking, turn the Pronto on by moving the slide switch on the left side from the “0” to the “1” 
position. It is easier to do this if you use the stylus, stored in the underside of the Pronto. 


If necessary, fit the mains adapter to the charger. Connect the small connector attached to the charger 
to the underside of the cradle and plug the charger into a nearby power socket. 

Rest the Pronto on the top of the charger and allow it to charge up before use. The red indicator turns 
off when charging is complete. Rest the Pronto on the cradle when it is not being used, so that the 
battery stays charged. 


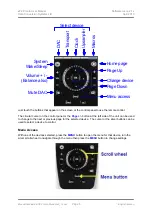
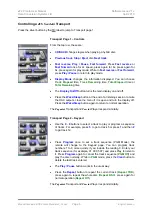
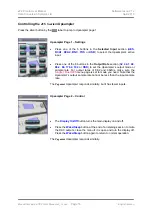
To wake the Pronto and light the screen, you can either: 

  Tilt the handset. 

  Touch the screen. 

 Press 

the 

Lamp

 button 

 or the 

Page +/-

 button on the left side of the handset. 

  Press one of the active buttons on the control panel (see below). 


The Pronto will power down about 20 seconds after the last button press. 

Summary of Contents for dCS Scarlatti

Page 1: ... or by any means electronic mechanical photocopying recording or otherwise without the prior written permission of dCS1 Any person who does any unauthorised act in relation to this publication may be liable to criminal prosecution and civil claims for damages Information contained in this manual is subject to change without notice and whilst it is checked for accuracy no liabilities can be accepte...

Page 2: ...2 English version Contents Introduction 3 What s new in version 2 1x 3 Limited Warranty 3 Getting Started 4 Menu Access 5 Home Page 6 Controlling a dCS Scarlatti DAC 7 Controlling a dCS Scarlatti Transport 8 Controlling the dCS Scarlatti Clock 9 Controlling the dCS Scarlatti Upsampler 10 Using Macros to change the system set up 11 ...

Page 3: ...rom our web site should you need to reload the original configuration Please contact us if you need a list of IR codes TSU9400 configuration files are not compatible with older versions of the Philips Pronto such as the TSU3500 and RU960 What s new in version 2 1x New Pronto firmware 7 2 or later and editing software ProntoEdit Pro 2 4 makes the scroll ring available We have used the scroll ring a...

Page 4: ...nector attached to the charger to the underside of the cradle and plug the charger into a nearby power socket Rest the Pronto on the top of the charger and allow it to charge up before use The red indicator turns off when charging is complete Rest the Pronto on the cradle when it is not being used so that the battery stays charged To wake the Pronto and light the screen you can either Tilt the han...

Page 5: ...tons that appear on the screen or the control panel to use the remote control The circular cursor on the control panel or the Page button at the left side of the unit can be used to change to the next or previous page for the selected device The cursor or the silver buttons can be used to select a device to control Menu Access With one of the devices selected press the MENU button to open the menu...

Page 6: ... powered down the dCS units can only be switched on again by pressing the Power button on the front panel of each unit Press one of the silver buttons by the DAC CD Clock UPS or Macro labels at the bottom of the screen to jump to page 1 for that device The name of the device selected appears at the top of the screen The Paganini system the Puccini Player and the Debussy DAC respond similarly The 3...

Page 7: ...put Note that the Word Clock connections must be wired correctly for Master mode operation or to sync to Word Clock see the DAC manual The Filter button changes the DAC filter setting See the DAC manual for information on filters Press the Balance button to use the Volume control on the left side of the handset to adjust the Balance Press again to change back Press the Phase button to change the p...

Page 8: ...nd of a listening session to mute the DAC outputs close the menu if it is open and turn the display off Press the Wake Sleep button again to return to normal operation The Paganini Transport and Puccini Player respond similarly Transport Page 2 Keypad Use the 0 9 buttons to select a track to play or program a sequence of tracks For example press 5 to go to track 5 or press 1 and then 2 to go track...

Page 9: ...e dither feature on and off The 44 1k button sets the clock frequency to 44 1kHz The 48k button sets the clock frequency to 48kHz The Display On Off button turns the main display on and off Press the Wake Sleep button at the end of a listening session to mute the DAC outputs close the menu if it is open and turn the display off Press the Wake Sleep button again to return to normal operation The Pa...

Page 10: ... 44 1 48 88 2 96 176 4 192 or DSD to set the Upsampler s output mode or sample rate For output rates of 88 2 and 96kS s make sure the Single Dual AES menu page is set to mode you need Note that the Upsampler s output sample rate cannot be less than the input sample rate The Paganini Upsampler responds similarly but it has fewer inputs Upsampler Page 2 Control The Display On Off button turns the ma...

Page 11: ...end a series of codes a macro to set up a 4 box system to upsample data from the Upsampler s AES input to either 176 4kS s or DSD The second row of 2 buttons sets the system to upsample data from the Upsampler s RCA1 input to either 176 4kS s or DSD The third row of 3 buttons sets the system to upsample data from the Upsampler s USB input to either 176 4kS s or 192kS s or DSD The Paganini 4 box sy...

Reviews: