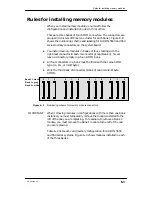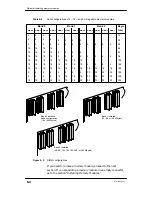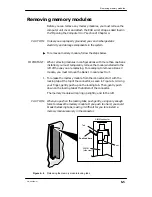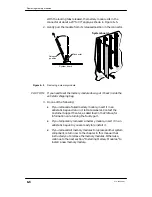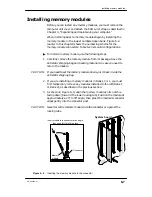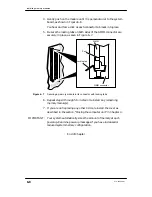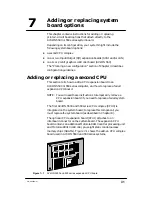
Adding or replacing an I/O expansion board
7-8
014–002250–01
Installing an I/O expansion board
Before you can install an I/O expansion board, you must prepare
your worksite, remove the computer unit cover, and attach the ESD
wrist strap as described in Chapter 4, “Expanding and maintaining
your computer system.”
CAUTION:
Unless you are properly grounded, you can discharge static
electricity and damage components in the system.
"
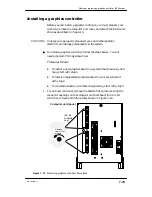
To install an I/O expansion board, follow the steps in this section.
You will need a medium Phillips screwdriver.
Proceed as follows:
D
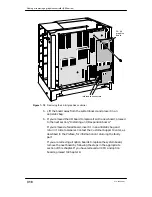
To install a new I/O expansion board in a system that
previously had none, start with step 1.
D
To install a replacement I/O expansion board in your system,
start with step 2.
D
To reinstall a board you removed temporarily, start with step 7.
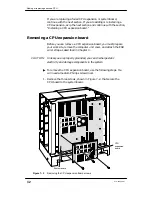
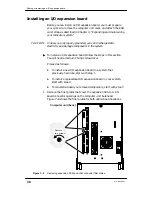
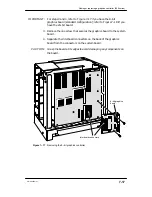
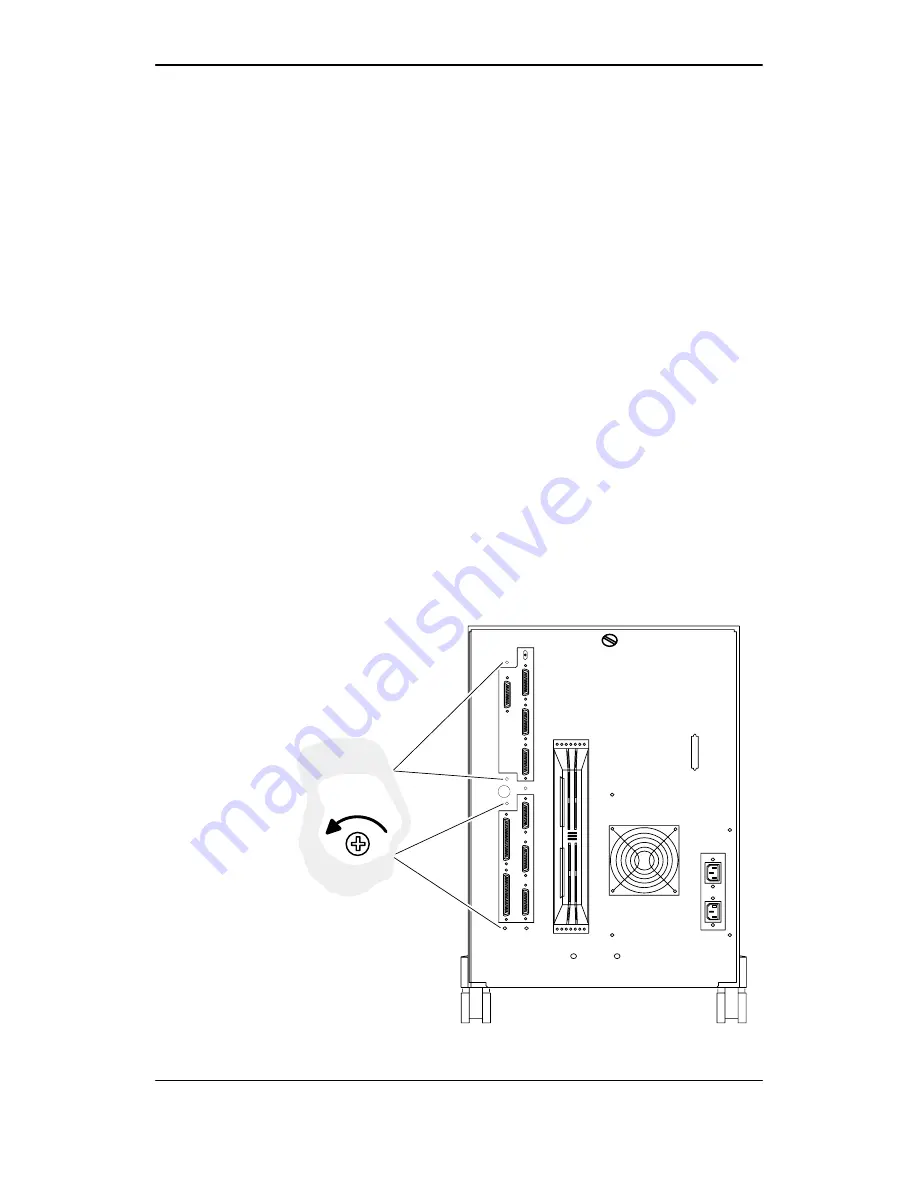
1. Remove the filler plates that cover the expansion SCSI or LAN
board connector openings on the computer unit bulkhead.
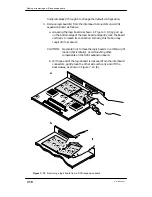
Figure 7–8 shows the filler plates for both option board locations.
Computer unit (back)
Remove
two screws.
Figure 7–8
Removing expansion SCSI and LAN connector filler plates
Summary of Contents for AViiON 550 Series
Page 2: ......
Page 6: ......
Page 12: ...Joining our users group x 014 002250 01 ...
Page 86: ...Opening and closing the computer unit 4 12 014 002250 01 ...
Page 96: ...Installing a drive assembly 5 10 014 002250 01 ...
Page 188: ......
Page 191: ......


