Adding or replacing a graphics controller (550 series)
7-16
014–002250–01
Removing a graphics controller
You will need to remove the graphics controller to replace a failed
system board, or to replace the graphics board. Before you can
remove the board, you must prepare a worksite, remove the
computer unit cover, and attach the ESD wrist strap as described in
Chapter 4.
CAUTION:
Unless you are properly grounded, you can discharge static
electricity and damage components in the system.
"
To remove an I/O expansion board, complete the following steps.
You will need a medium Phillips screwdriver.
1. Disconnect the external monitor and mouse cables attached to the
graphics connectors on your computer unit rear panel bulkhead (as
described in Chapter 2).
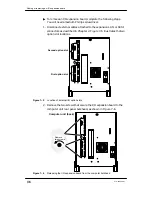
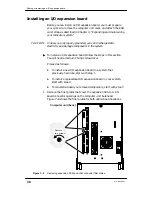
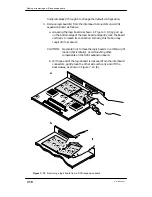
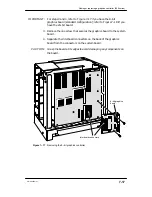
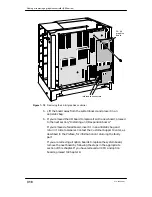
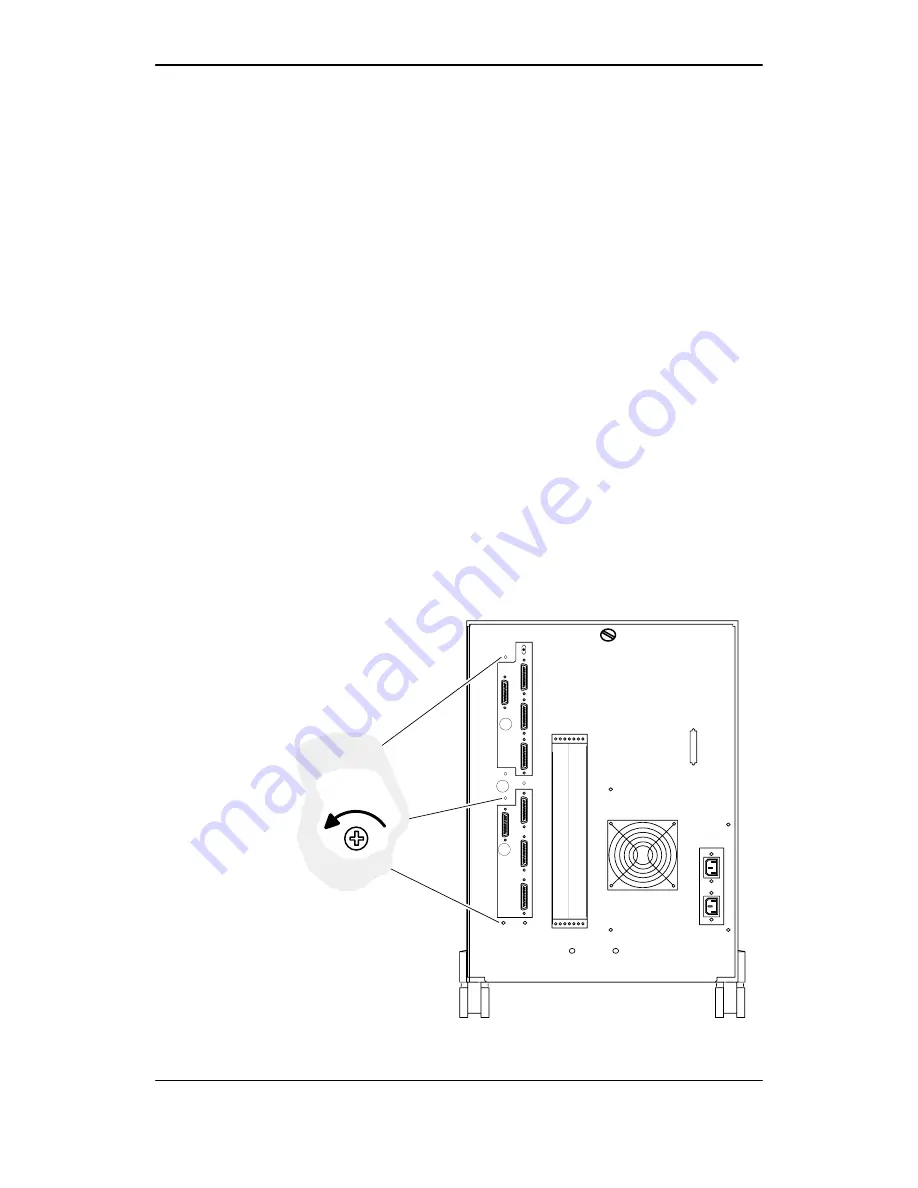
2. Remove the screws that secure the graphics controller to the
computer unit rear panel bulkhead, as shown in Figure 7–16.
IMPORTANT:
For an 8–bit graphics board, there are two screws; for a 24–bit
controller, there are three screws.
Computer unit (back)
Remove
two or three
screws.
(24–bit
controller
only)
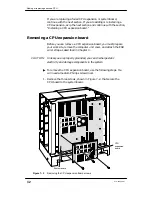
Figure 7–16 Releasing the graphics controller from the computer bulkhead
Summary of Contents for AViiON 550 Series
Page 2: ......
Page 6: ......
Page 12: ...Joining our users group x 014 002250 01 ...
Page 86: ...Opening and closing the computer unit 4 12 014 002250 01 ...
Page 96: ...Installing a drive assembly 5 10 014 002250 01 ...
Page 188: ......
Page 191: ......

