Replacing the speaker/LED assembly
9-7
014–002250–01
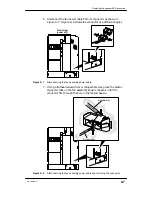
6. Disconnect the fan power cable from its connector as shown in
Figure 9–7. (Figure 9–6 shows the connector at a different angle.)
Front view
(cover off)
Figure 9–7
Disconnecting the fan assembly power cable
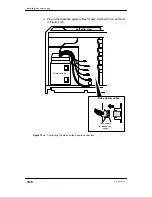
7. Using a flathead screwdriver or comparable tool, press the plastic
connector tabs on the fan assembly power connector until the
connector fits through the hole in the metal chassis.
Screwdriver
Screwdriver
Figure 9–8
Disconnecting the fan assembly power cable and removing the connector
Summary of Contents for AViiON 550 Series
Page 2: ......
Page 6: ......
Page 12: ...Joining our users group x 014 002250 01 ...
Page 86: ...Opening and closing the computer unit 4 12 014 002250 01 ...
Page 96: ...Installing a drive assembly 5 10 014 002250 01 ...
Page 188: ......
Page 191: ......


