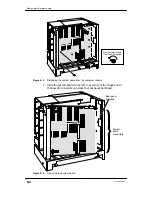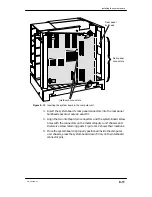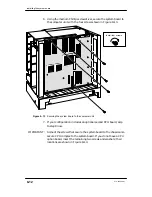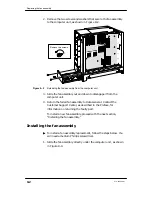
Removing the system board
8-5
014–002250–01
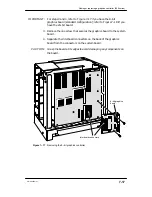
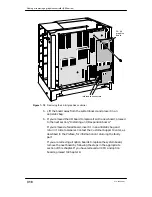
8. Carefully pull the system board away from the computer unit’s
metal chassis.
CAUTION:
To prevent damage to any components, be sure to grasp the system
board by its edges and avoid bowing the board
9. Place the system board, with the component side facing up, on an
ESD–free surface.
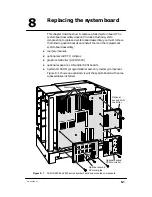
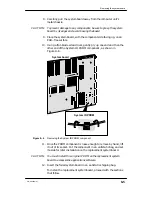
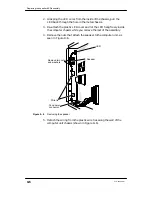
10. Using a flat–blade screwdriver, gently pry up one end and then the
other end of the System ID PROM component , as shown in
Figure 8–6.
System board
System ID PROM
Figure 8–6
Removing the System ID PROM component
11. Once the PROM component is loose enough to remove by hand, lift
it out of its socket. Put the component in an antistatic bag, and set
it aside for later installation on the replacement system board.
CAUTION:
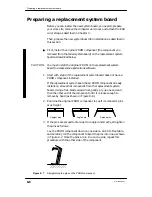
You must install this original PROM on the replacement system
board to access some applications software.
12. Insert the failed system board in an antistatic shipping bag.
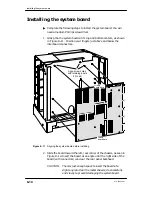
To install the replacement system board, proceed with the sections
that follow.
Summary of Contents for AViiON 550 Series
Page 2: ......
Page 6: ......
Page 12: ...Joining our users group x 014 002250 01 ...
Page 86: ...Opening and closing the computer unit 4 12 014 002250 01 ...
Page 96: ...Installing a drive assembly 5 10 014 002250 01 ...
Page 188: ......
Page 191: ......


