Replacing the fan assembly
9-3
014–002250–01
ÉÉÉ
ÉÉÉ
ÉÉÉ
ÉÉÉ
ÉÉÉ
ÉÉ
ÉÉ
ÉÉ
ÉÉ
ÉÉÉ
ÉÉÉ
ÉÉÉ
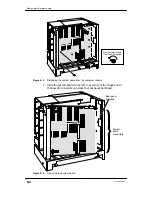
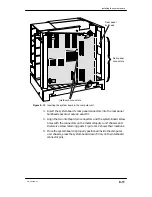
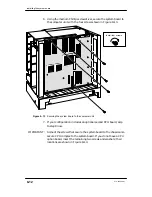
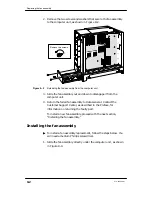
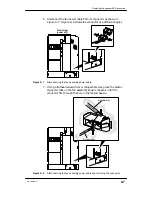
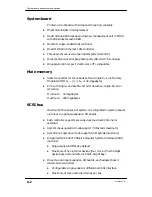
Install two screws.
Figure 9–3
Installing the fan assembly
2. Secure the fan assembly to the computer unit with the two screws
and washers shown in Figure 9–3.
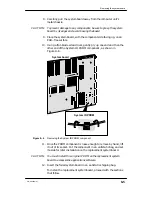
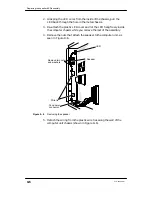
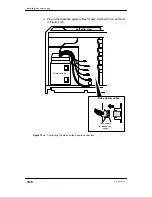
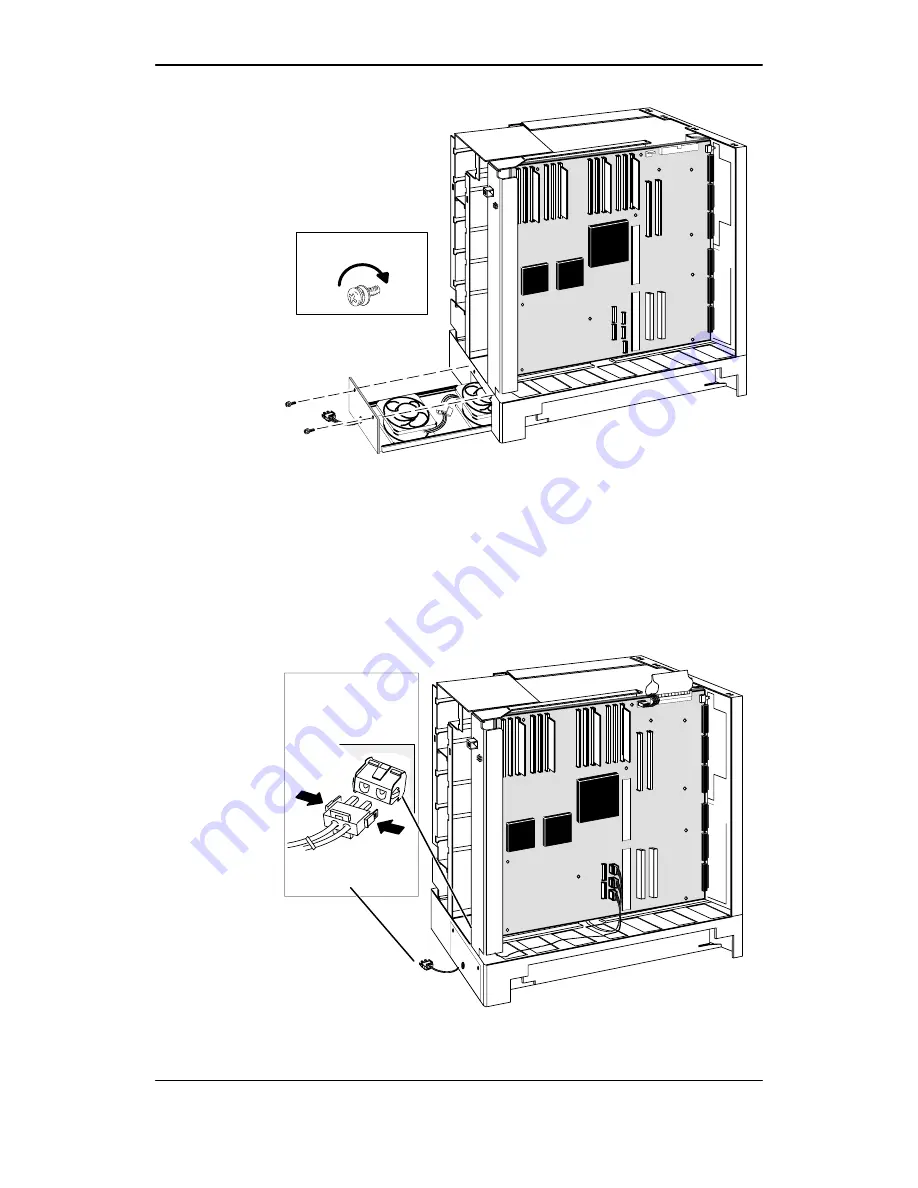
3. Plug the fan assembly power cable into the fan’s power supply
connector, as shown in Figure 9–4.
ÉÉÉ
ÉÉÉ
ÉÉÉ
ÉÉÉ
ÉÉÉ
ÉÉÉ
ÉÉÉ
ÉÉÉ
ÉÉÉ
ÉÉÉ
ÉÉ
ÉÉ
Fan assembly
power cable
Fan assembly
power connector
(inside metal
chassis.)
Figure 9–4
Plugging the fan assembly power cable into the power supply
Summary of Contents for AViiON 550 Series
Page 2: ......
Page 6: ......
Page 12: ...Joining our users group x 014 002250 01 ...
Page 86: ...Opening and closing the computer unit 4 12 014 002250 01 ...
Page 96: ...Installing a drive assembly 5 10 014 002250 01 ...
Page 188: ......
Page 191: ......


