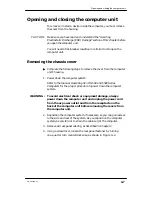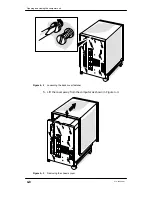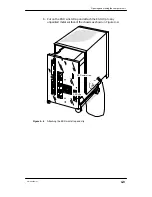
Removing a drive assembly
5-3
014–002250–01
Removing a drive assembly
Before you can remove a drive assembly, remove the computer unit
cover and attach the ESD wrist strap as described in Chapter 4,
“Expanding and Maintaining Your Computer System.”
CAUTION:
Unless you are properly grounded, you can discharge static
electricity and damage components in the system.
"
To remove the drive assembly from the computer unit, follow the
steps below. A drive assembly consists of one half–height drive with
mounting brackets and slide mount hardware.
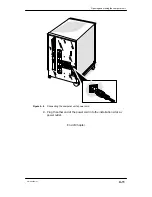
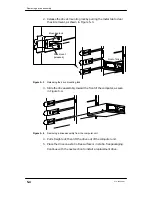
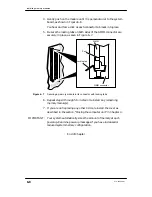
1. Unplug the drive power and SCSI bus cables from the back of the
drive, as seen in Figure 5–2.
Drive
SCSI bus cable
Power cable
Computer
rear panel
Figure 5–2
Removing the drive SCSI bus and power cables
For more information on cable connections, refer to the manual for
your drive model, listed in Guide to AViiON
and DG/UX
Systems Documentation.
Summary of Contents for AViiON 550 Series
Page 2: ......
Page 6: ......
Page 12: ...Joining our users group x 014 002250 01 ...
Page 86: ...Opening and closing the computer unit 4 12 014 002250 01 ...
Page 96: ...Installing a drive assembly 5 10 014 002250 01 ...
Page 188: ......
Page 191: ......


