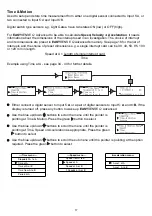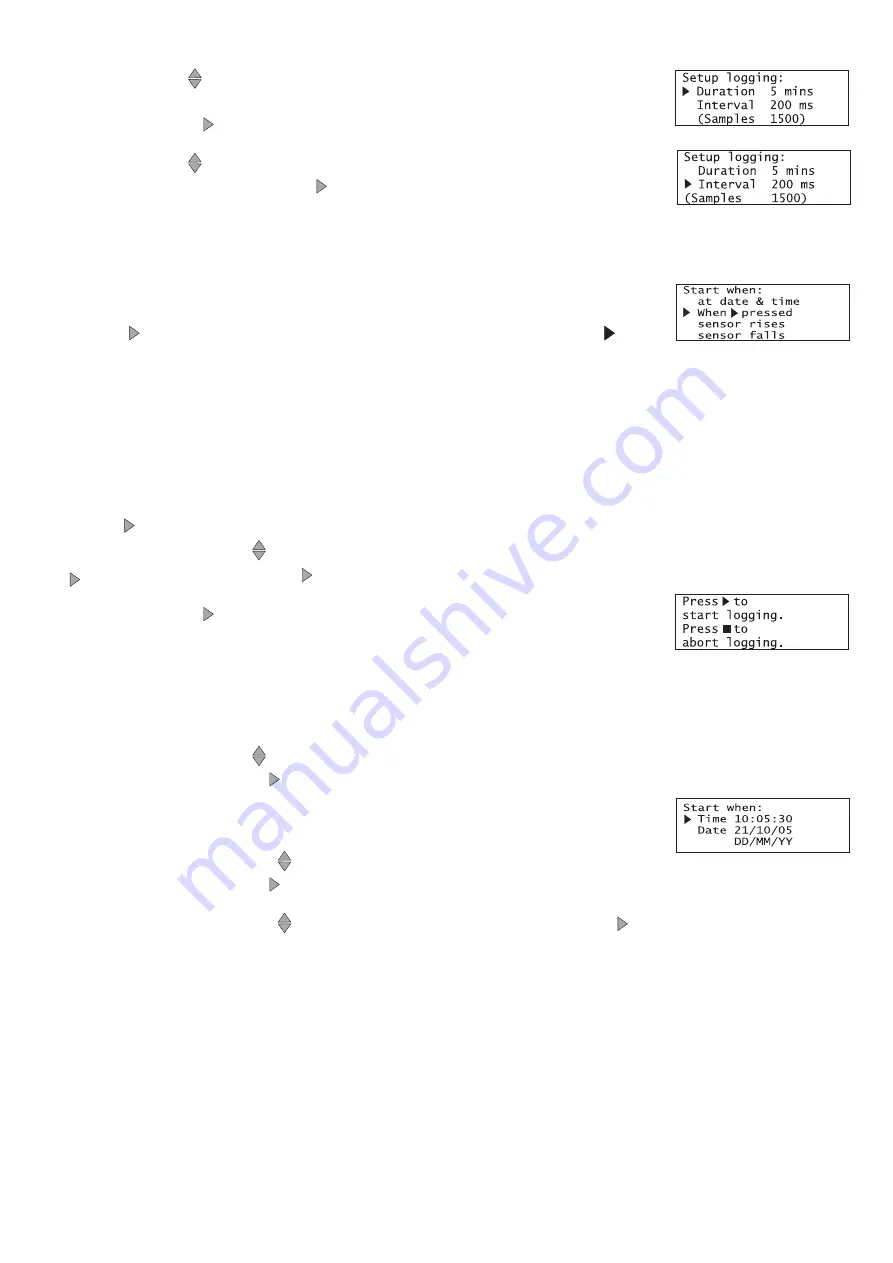
!
!
Line 2 - Scroll
through the choices to find a suitable duration of
recording from those available (a full list of the choices is on page 29-32).
Press the green button to select.
!
!
Line 3 - Scroll
through the choices to find a suitable interval between
each sample. Press the green button to select.
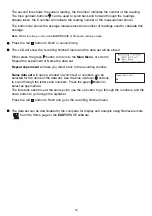
The number of samples will automatically alter as the time duration and interval between
samples are selected.
!
!
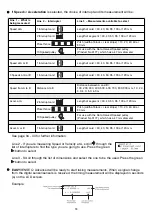
Select the start condition required from the following choices:
1.
‘When
pressed’
– logging will be started by pressing the green
button.
2.
‘at date & time’
– the recording will start at the time and date specified.
3.
‘sensor rises’
- logging will not start until the value from a sensor rises above a set level.
4.
‘sensor falls’ -
logging will not start until the value from a sensor falls below a set level.
When
pressed
Use the blue up/down
buttons to scroll though the menu until the pointer is pointing at ‘When
pressed’. Press the green button to select.
Press the green button on the
EASY
SENSE
Q
Advanced unit and
logging will start.
At date & time
Note:
When you select this option the LCD screen will show time, date, and the date format currently set. If these
are not correct change the settings in the System menu (see page 21).
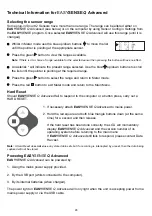
Use the blue up/down
buttons to scroll though the menu until the pointer is pointing at ‘at date
& time’. Press the green button to select.
Set the time and date that you want the recording to start:
!
!
Use the blue up/down
buttons to select the correct hour (using the
24 hour clock), press to select, repeat for minutes and then seconds.
!
!
Use the blue up/down
buttons to select the correct day, press to select, repeat for month
and then year.
Logging will not start until the date and time selected have been reached.
14


