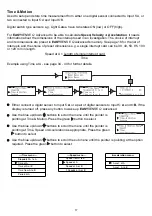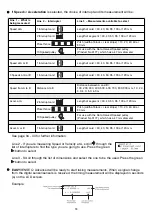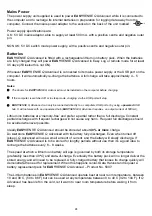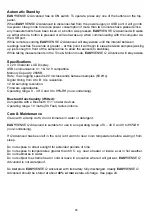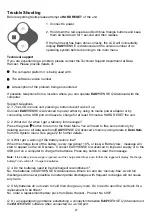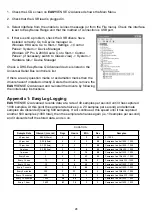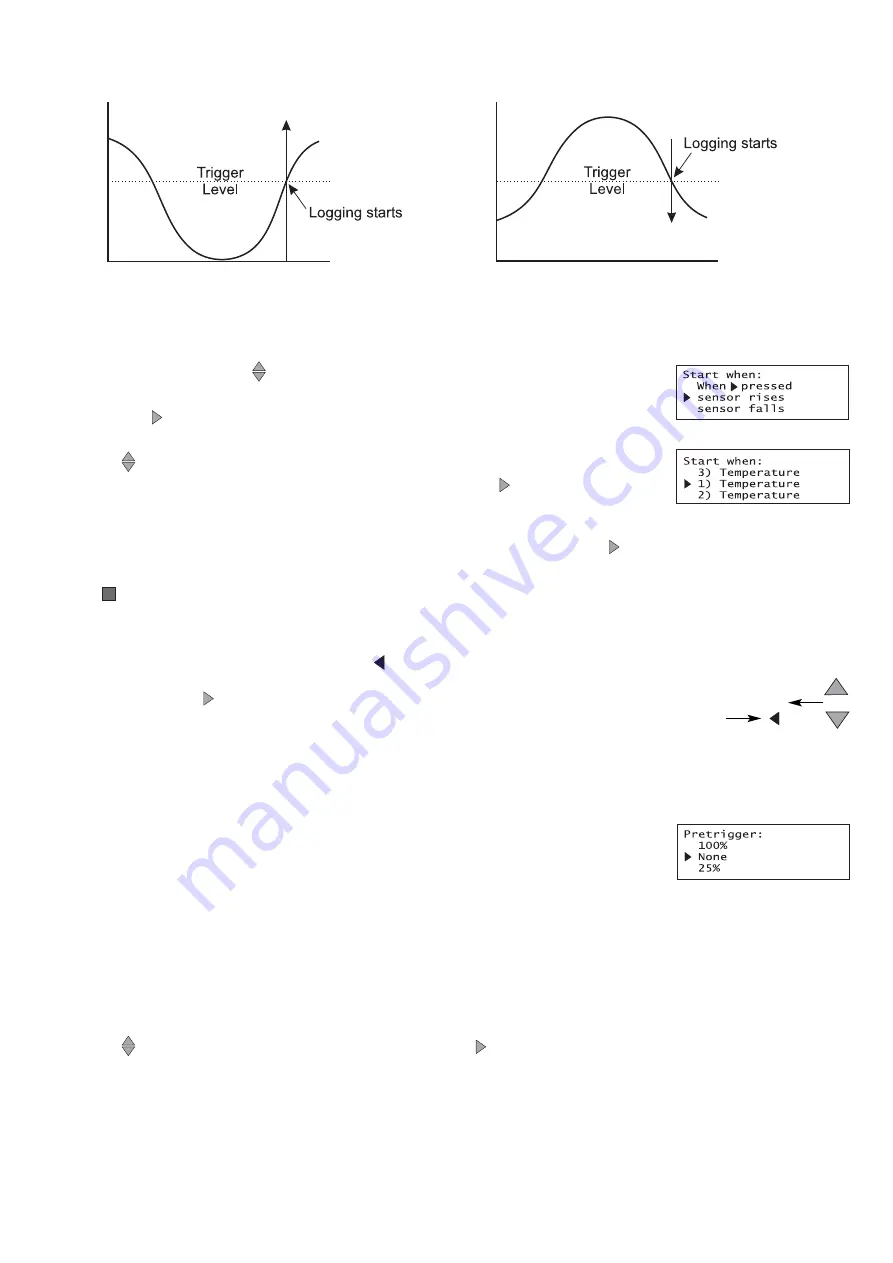
Sensor rises above or falls below
Use the blue up/down
buttons to scroll though the menu until the
pointer is pointing at ‘sensor rises’ or ‘sensor falls’ as appropriate. Press
the green button to select.
Scroll
though the connected sensors until the pointer is pointing at the
sensor that will be used as a trigger. Press the green button to select.
Enter the level at which the sensor will trigger the start - use the blue
buttons to scroll up or down through the numbers. Press the green
button to select a number. When the trigger level is selected press the
red
button.
Note:
The list starts each time at the same point (a space)
;
use the up button to go through
the numbers, and the down button to delete
( )
, decimal place and minus sign.
Press the green button to confirm your choice.
Logging will not start until the value rises above or falls below the set
level as appropriate.
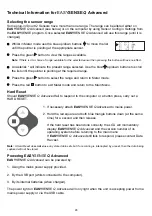
Pre-trigger
If ‘sensor rises’ or ‘sensor falls’ has been selected as the trigger event
and the selected logging duration/interval is fast enough, an option to
set a pre-trigger will be available [None, 25%, 50%, 75%, and 100%].
Pre-trigger will cause a percentage of samples to be taken before the trigger condition is met and
the remainder to be taken afterwards e.g. if 1,000 readings are to be taken and a 25% pre-trigger
is selected, 249 readings will be taken before the trigger condition is met.
If pre-trigger readings are not required leave the selection as None.
Scroll
through the choices and press the green button to select.
!
!
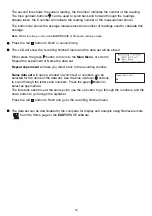
Recording will start as soon as the trigger condition is reached. The bottom line of the LCD .
screen is a visual indicator as logging progresses (each square takes a 20
th
of the selected
duration to fill in).
15
Rises above
Logging will not start until the
value rises to above the set level.
Falls below
Logging will not start until the
value falls to below the set level.
Delete a
mistake
9
8
7
6
5
4
3
2
1
0
.
-


