3. Pairing message: displays the point in the pairing process that the logger has reached.
Powered/Discovering
– this is shown when the Bluetooth module in EASYSENSE Q Advanced
is initialised.
Pairing enabled
- EASYSENSE Q Advanced is transmitting pairing information that can be
received by a Bluetooth receiver (the Bluetooth USB adapter or the PC).
Paired: xxxxxxxxxx
(e.g. 000B0D6904AE) – the pairing between EASYSENSE Q Advanced and
the computer is complete; the number displayed is the electronic identity of the Bluetooth device
it is paired with.
Once connected the pairing menu can be left by pressing the red
button to return to the
Bluetooth menu.
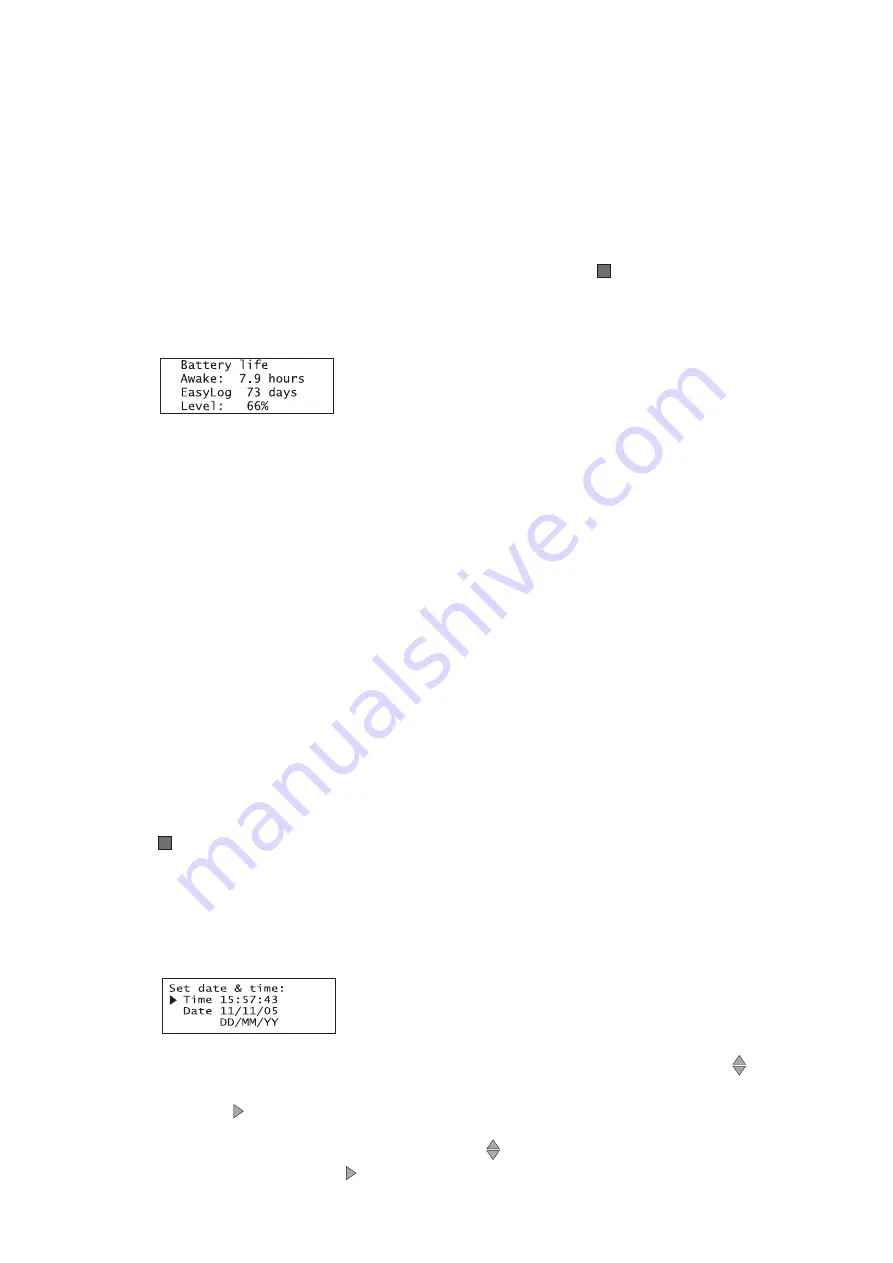
2. Battery life:
Note:
If
EASY
SENSE Q Advanced has been on charge, disconnect the power supply and/or USB cable for at least 15
seconds to obtain a true value.
EASY
SENSE
Q
Advanced will determine the power requirements of the sensors connected and
compare this with the charge level of the batteries. The LCD will display:
Line 2. The Battery Life awake – the number of hours
EASY
SENSE
Q
Advanced could
continuously operate without a power supply attached.
Line 3. Battery Life EasyLog - some methods of logging i.e. EasyLog or Logging with a long
duration, will switch
EASY
SENSE
Q
Advanced automatically into ‘sleep’ mode between
samples to reduce power consumption. Battery Life EasyLog will indicate the theoretical
number of days that
EASY
SENSE
Q
Advanced could record in this mode.
Line 4. Will indicate the capacity level of the battery.
The LCD display will show ‘Battery is charging’ if power is being supplied to
EASY
SENSE
Q
Advanced (via a power supply or USB connection).
Press the red
button to return to the System menu.
Note:
Ideally
EASY
SENSE Q Advanced should be stored with at least 40% or more charge. Do not store
EASY
SENSE
Q Advanced with its battery fully discharged or with sensors connected. Some reserve charge is needed to retain data
and settings in memory. See page 23 for powering information.
3. Set date & time:
Set date format: Select how you would like the date displayed. Use the blue up/down
buttons to
scroll through the choice of formats: DD-MM-YY, MM-DD-YY, YYYY-MM-DD until your choice of
format is shown. Press to select.
Set Time: uses a 24 hour clock. Use the blue up/down
buttons to scroll the numbers up or down
until the correct hour is shown, press to select, the cursor will move onto minutes. Repeat for
minutes and then seconds.
21


