Pick and Place Probe
Replacing a PNP Probe Assembly
PSV5000 Owner’s Manual
- 117 -
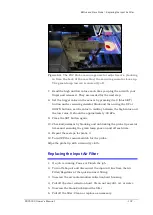
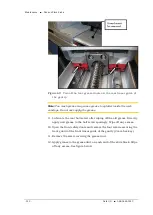
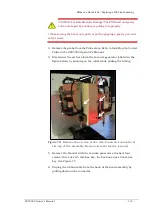
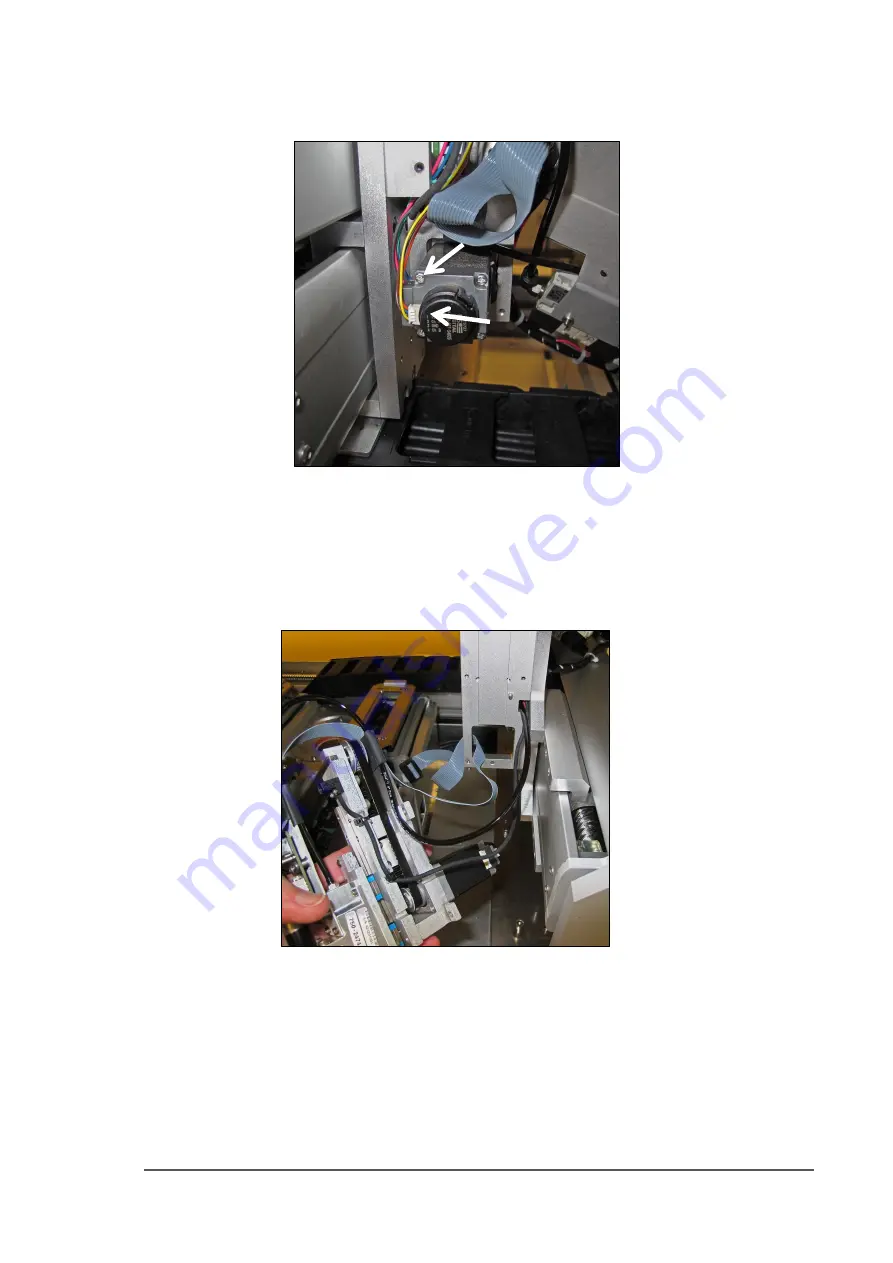
Figure 73:
Rear view of motor with two connectors (arrows). Note
that the yellow wire is on the bottom of the small connector.
11.
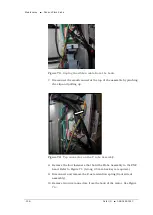
Carefully pull the Probe Assembly with air tubing and wiring toward
the front of the machine.
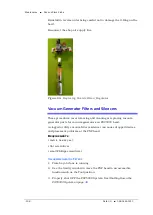
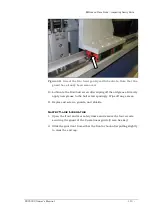
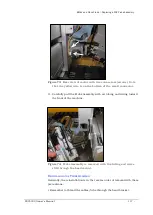
Figure 74:
Probe Assembly is removed with the tubing and wires
still through the head mount.
R
EINSTALLING THE
P
ROBE
A
SSEMBLY
Generally, the reinstallation is in the reverse order of removal with these
precautions:
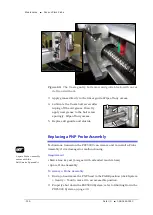
• Remember to thread the cables/tube through the head bracket.
Summary of Contents for PSV5000
Page 12: ......
Page 36: ......
Page 160: ......
Page 161: ...Electrical Schematics for PSV5000 and Equipment ...
Page 162: ......
Page 163: ......
Page 164: ......
Page 165: ......
Page 166: ......
Page 167: ......
Page 168: ......
Page 169: ......
Page 170: ......
Page 171: ......
Page 172: ......
Page 173: ......
Page 174: ......
Page 175: ......
Page 176: ...PROGRAMMABLE MEDIA EXPERTS ...

