Setup ■ Setting Up the Laser Marking Module
- 56 -
Data I/O ■ 096-0465-001C
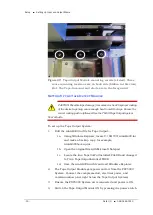
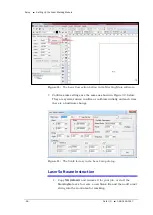
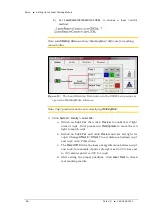
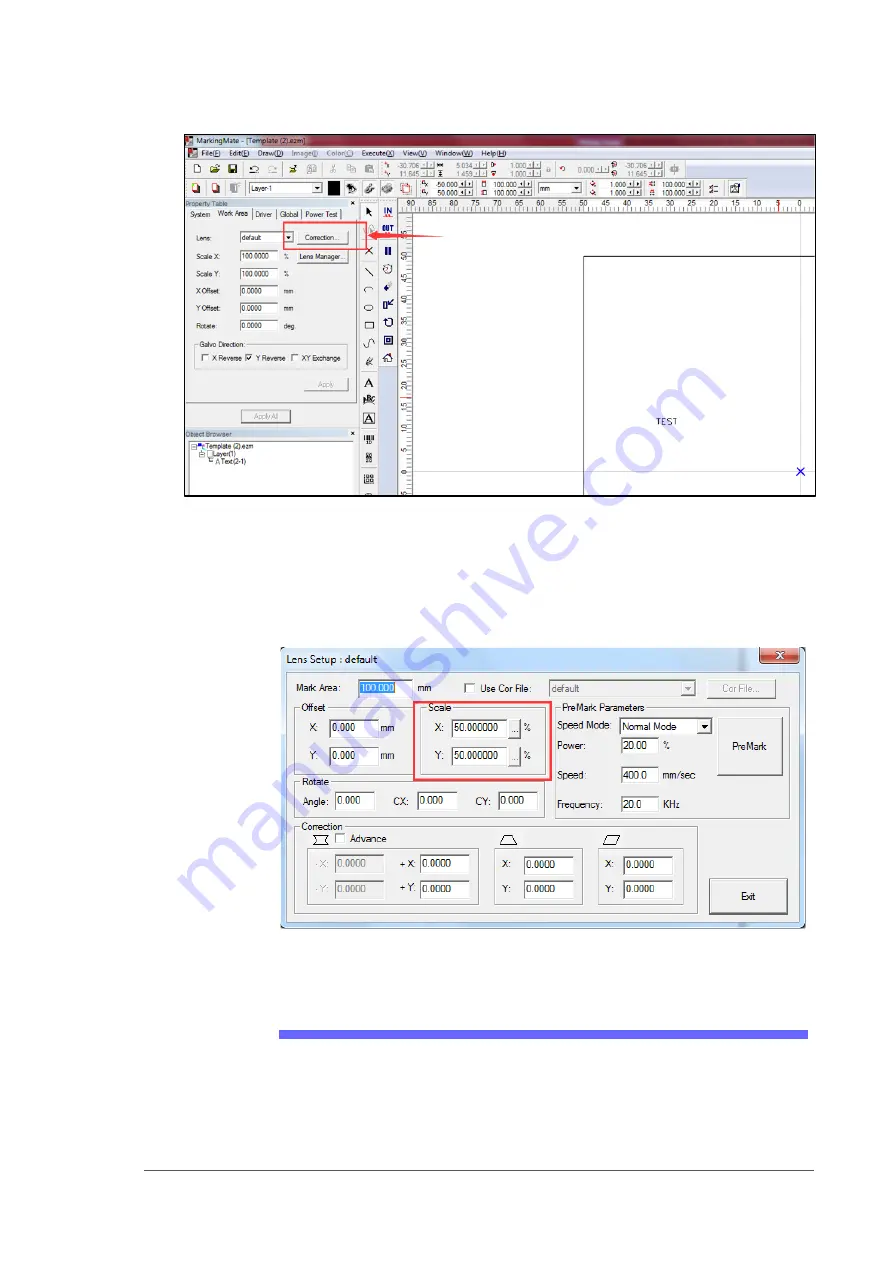
Figure 30:
The Lens Correction button in the MarkingMate software.
7.
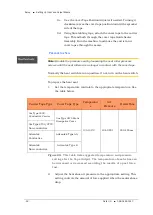
Confirm scale settings are the same as shown in Figure 32: below.
They are system values: confirm or calibrate initially and each time
there is a hardware change.
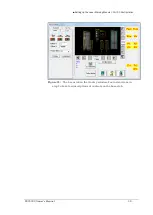
Figure 31:
The
Scale
factors in the Lens Setup dialog.
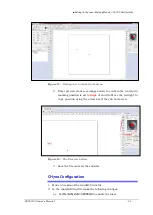
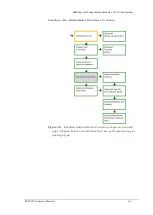
Laser Software Instruction
1.
Copy
Template.ezm
and rename it for your job, or start the
MarkingMate.exe to create a new blank file and then add a text
string into the work area for marking.
Summary of Contents for PSV5000
Page 12: ......
Page 36: ......
Page 160: ......
Page 161: ...Electrical Schematics for PSV5000 and Equipment ...
Page 162: ......
Page 163: ......
Page 164: ......
Page 165: ......
Page 166: ......
Page 167: ......
Page 168: ......
Page 169: ......
Page 170: ......
Page 171: ......
Page 172: ......
Page 173: ......
Page 174: ......
Page 175: ......
Page 176: ...PROGRAMMABLE MEDIA EXPERTS ...

