Pick and Place Probe
Checking the Probe Tip
PSV5000 Owner’s Manual
- 103 -
Pick and Place Probe
The workspace Pick and Place head (PNP head) has one probe which
requires periodic maintenance. The headings below describe
maintenance.
Checking the Probe Tip
A worn or damaged probe tip on the PNP head can cause dropped devices
and placement problems.
1.
Check the probe tip for cracks or tears. If necessary, replace with a
probe tip of the same size.
2.
Test the probe tip—
2a.
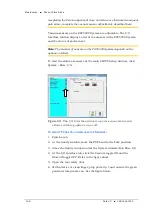
At the Setup window, click System > Gantry.
2b.
Click the Vacuum switch to ON.
2c.
Open the safety door and place a device on the target probe.
2d.
If the vacuum does not firmly hold the device, replace the
probe tip with a probe tip of the same size.
C
HECKING THE
P
ROBE
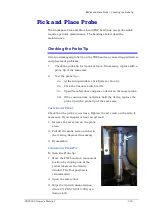
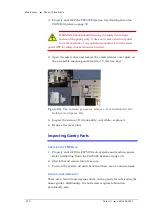
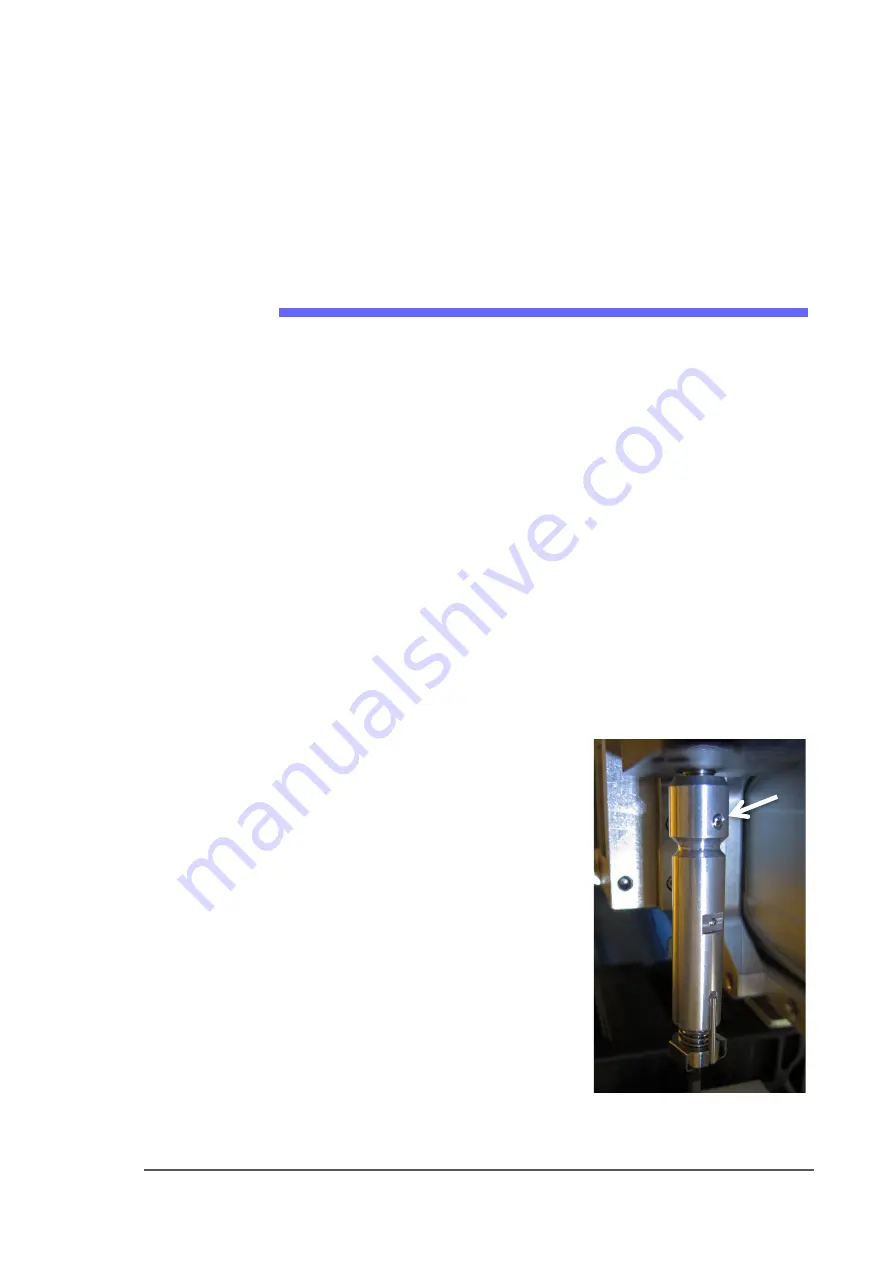
Check that the probe is not loose. Tighten the set screw on the stem if
necessary. If you suspect or hear an air leak:
1.
Remove the set screw on the probe
stem.
2.
Pull off the probe stem and check
the O-Ring. Replace if necessary.
3.
Reassemble.
C
LEANING THE
P
ROBE
T
IP
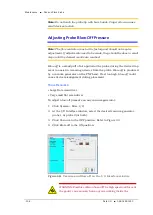
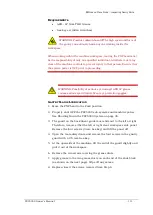
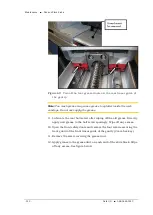
To clean the Probe tip:
1.
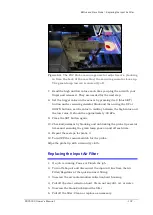
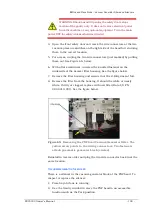
Move the PNP head to a convenient
position by clicking one of the
yellow labels on the Gantry
window. The Tool position is
recommended.
2.
Open the safety door.
3.
Wipe the tip with alcohol wipes
(Data I/O PN 570-0410-001) or a
damp cloth.
Summary of Contents for PSV5000
Page 12: ......
Page 36: ......
Page 160: ......
Page 161: ...Electrical Schematics for PSV5000 and Equipment ...
Page 162: ......
Page 163: ......
Page 164: ......
Page 165: ......
Page 166: ......
Page 167: ......
Page 168: ......
Page 169: ......
Page 170: ......
Page 171: ......
Page 172: ......
Page 173: ......
Page 174: ......
Page 175: ......
Page 176: ...PROGRAMMABLE MEDIA EXPERTS ...

