SR200 & SR300 Card Printers and LM200 & LM300 Laminators User’s Guide
29
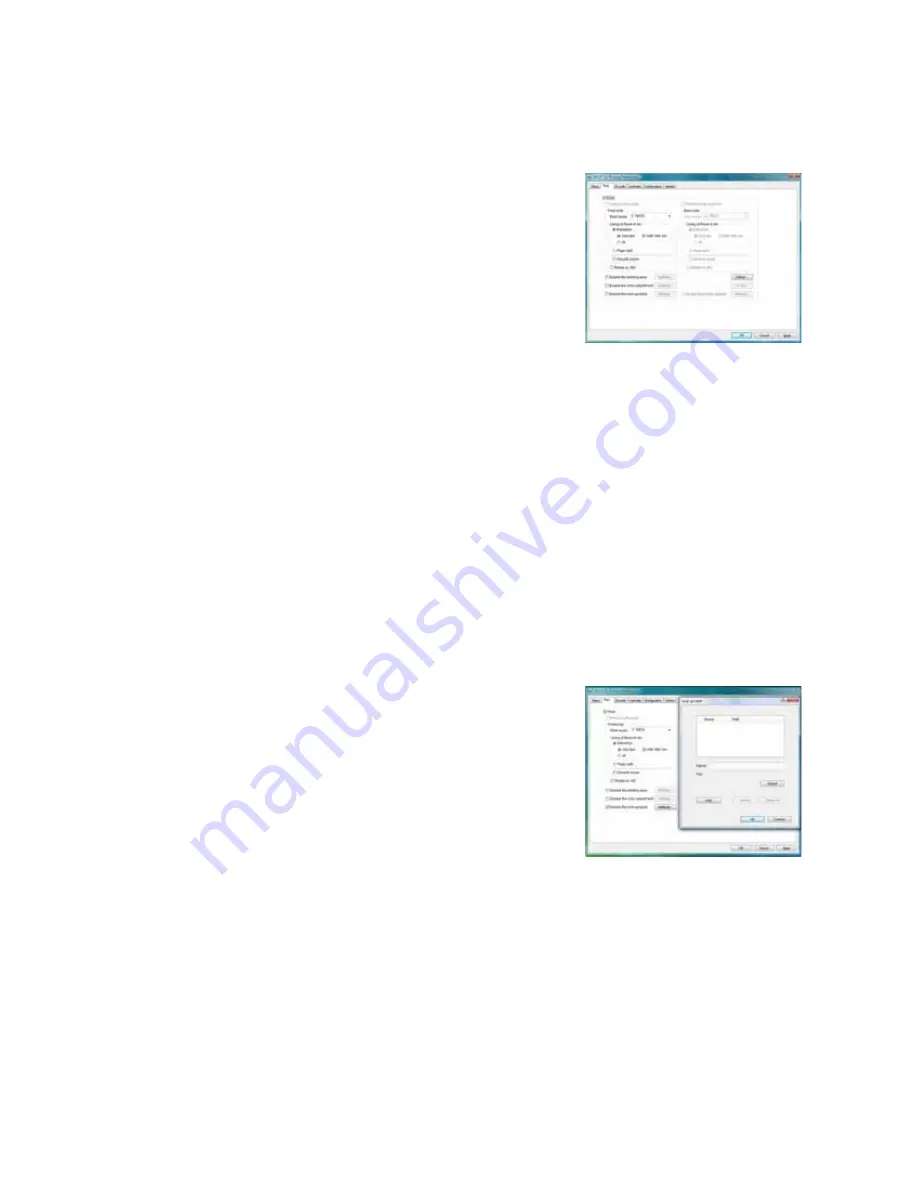
Print Tab
The
tab
contains
settings
for
using
the
color
(YMC)
panels,
black
(K)
panels
and
additional
panels
of
the
ribbon.
The
tab
also
has
controls
for
color
adjustment,
setting
up
a
look
up
table,
setting
up
page
split,
and
dithering.
Refer
to
“Page
Split”
on
page 32
for
more
information.
To
text,
bar
codes,
or
both,
using
black
(K)
ink
on
a
card
using
an
ink
ribbon
with
YMCK
panels,
select
Extraction
>
Only
text
.
To
black
areas
of
graphics
with
K
ink
ribbon,
select
Extraction
>
All
.
If
you
graphics
with
black
ink,
you
can
set
the
density
of
dithering
by
clicking
the
Dither
button.
If
your
printer
includes
a
turnover
unit
for
two
‐
sided
printing,
you
can
specify
whether
to
on
both
sides
of
the
card.
For
each
side,
you
can
select
the
ribbon
panels
to
use
and
whether
to
rotate
the
image
(your
ID
software
might
specify
these
settings,
which
override
the
tab).
Use
ribbon
panels
such
as
peel
‐
off
or
UV
only
if
the
ribbon
includes
them
and
your
ID
software
sends
data
for
them.
(Sending
data
for
panels
that
are
not
present
causes
errors.)
Use
the
Printing
area
settings
to
block
a
specific
area
from
printing,
such
as
an
area
for
peel
‐
off
ribbon.
Use
the
UV
Ink
settings
if
you
use
ribbon
with
a
UV
panel.
Look Up Table
The
look
up
table
adjusts
printing
by
substituting
one
color
for
another.
It
is
sent
to
the
printer,
where
the
values
are
used
as
the
card
is
printed.
The
look
up
table
requires
a
file
with
a
full
set
of
256
values
(0–255)
for
each
plane,
in
order,
for
yellow,
magenta,
cyan,
and
black
(1024
values).
Each
field
can
have
a
value
from
0
through
255.
Data
must
be
ASCII
numeric
values,
separated
by
a
comma
or
line
feed.


