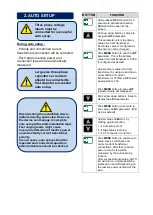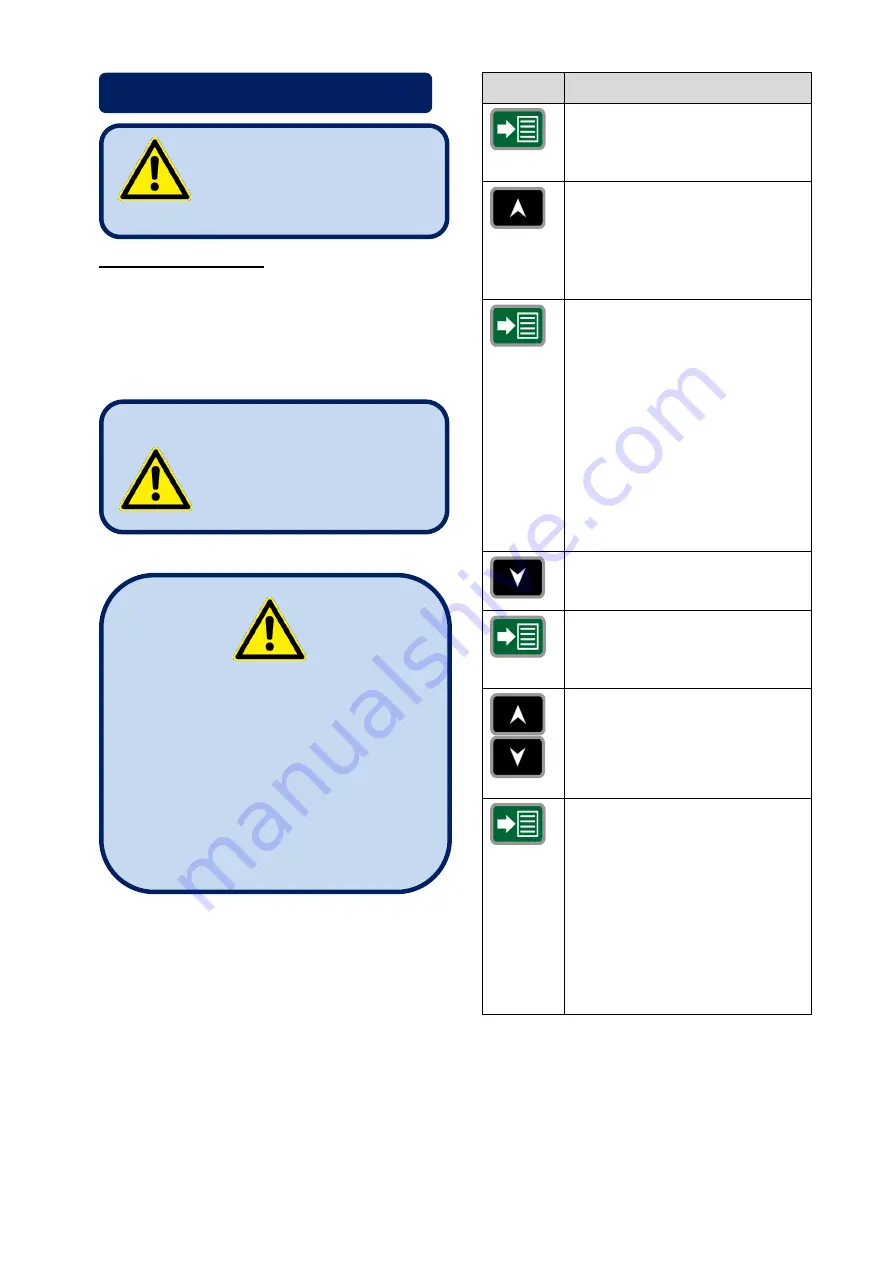
During auto setup :
- Polarity and unmatched current
transformers connection will be corrected.
-
Each step’s reactive power and
connection type will be automatically
measured.
BUTTON
FUNCTION
Hold pressed MENU button for 3
seconds to activate auto setup.
LErn
should be seen at top
screen.
Push up arrow buttons 4 times to
navigate
ctrF
parameter.
This parameter refers to primary
value of current transformer.
Secondary value is configured as
5A and can not be changed.
Click
MENU
button to see the
ctrF
parameter. This is the primary
value of current transformer. 500A
is configured as default.
Adjust primary value of current
transformer by using up and down
arrow buttons. If current
transformer is 150/5A,
ctrF
should
be adjusted to 150.
Click
MENU
button to save
ctrF
(adjusted value will disappear)
Click arrow down button 4 times to
display the
LErn
parameter.
Click
MENU
button once more to
see value of
LErn
parameter. (Will
be 0 as default)
Adjust value of
LErn
to
1 by
clicking up arrow button.
1
Auto setup (3+2)
2
Step values learning
3
CT connection correction
Click
MENU
button to enable auto
setup. Device will check and
correct current transformer
connections. After that, reactive
power of each step will be
measured by the auto learning
function.
After successful auto setup, AUTO
led will turn on, and steps will be
swithced on and off depending on
the reactive power demand of the
load.
2. AUTO SETUP
Three phase voltage
inputs must be
connected for successful
auto setup.
Large size three phase
capacitors or reactors
should be connected to
first steps for successful
auto setup.
Disconnecting the installation side is
preferred during auto setup. However,
the device can manage to complete
auto setup with stable installation load.
Fast varying loads might cause
inaccurate detection of reactive power
as well as faulty current transformer
polarity.
In such cases, auto setup should be
repeated and connected capacitors
and/or inductors should be checked.


