Sentry ONE User Guide
Device Access (macOS Environment)
1. Plug the Sentry ONE encrypted USB drive into an available USB port on the macOS notebook
or desktop and wait for the operating system to detect it.
2. Double click the
Unlocker
volume that appears on the desktop to start the initialization process.
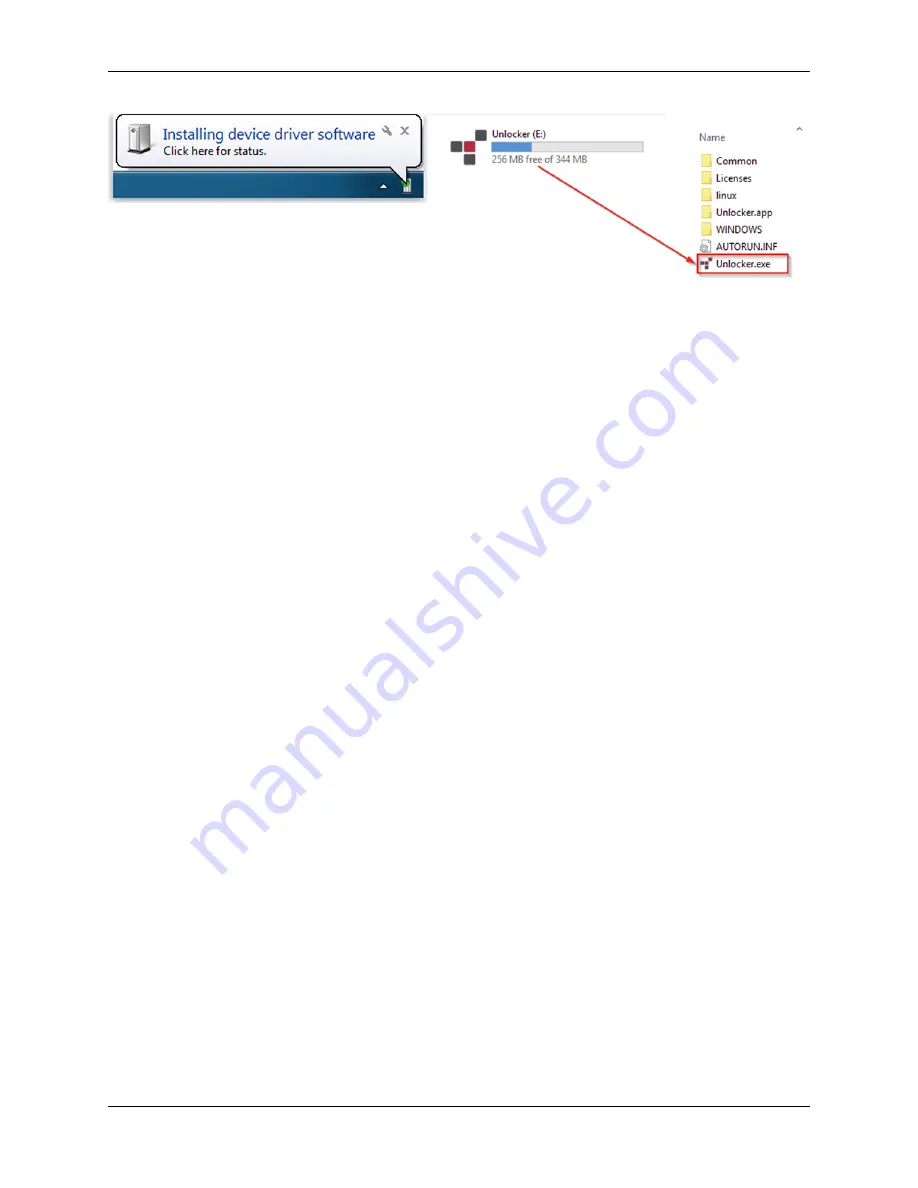
• If the Unlocker volume does not appear on the desktop, open Finder and locate the
Unlocker volume on the left side of the Finder window (listed under Devices.) Highlight
the volume and double-click the Unlocker application icon in the Finder window. This will
start the initialization process.
Standard Device Initialization
Initialization of your Sentry ONE device will depend on if you have the
Standard
(Optionally Man-
aged) or (Forced)
Managed
device. Initializing a Sentry ONE Managed will require an Activation
Code or Connection Token from your Ironkey EMS or SafeConsole Administrator. Ironkey EMS and
SafeConsole require a device license for activation.
License sold separately.
For information on how
to initialize a Sentry ONE Managed see:
Setting Up A Managed Device
.
1. Select a language preference from the list. By default, device software will use the same
language as your computer’s operating system (if available).
2. Review the license agreement, check the checkbox to accept it, and click
Continue
.
3. In the Password text box, type a device password, then re-enter your password in the Confirm
text box. The password protects the data on the secure drive. Passwords are case-sensitive
and must have at least 8 characters (including spaces).
4. If initializing on Windows, you will be given the option of formatting the PRIVATE USB drive as
either FAT32 or exFAT. For more information, see
Formatting My Device
.
5. Click
Continue
. The device will finish initializing. Once complete, the DataLocker Control Panel
will open. Your device is now ready to store and protect your data.
© Copyright DataLocker Inc.
6

