Sentry ONE User Guide
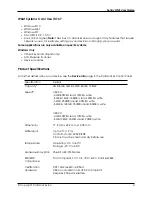
Specification
Details
OS Compatibility
Windows 10, Windows 8.1, Windows 7 (SP1)
macOS v.10.9.x-10.13.x
Linux 2.6.x***
Accessibility
DataLocker Control Panel is designed to be Section 508
compliant. Users with disabilities have keyboard navigation
and screen reader support.
Warranty
2 Years Limited
Designed and assembled in the U.S.A., Sentry ONE devices do not require any software or drivers to
be installed.
* Advertised capacity is approximate. Some space is required for onboard software.
** Speed varies with host hardware, software, and usage.
*** Limited Feature Set. No online management features.
Recommended Best Practices
1. Lock the device:
• when not in use
• before unplugging it
• before the system enters sleep mode
2. Never unplug the device when the LED is lit.
3. Never share your device password.
4. Perform a computer anti-virus scan before setting up the device.
Setting Up My Device
To ensure there is ample power provided to the Sentry ONE encrypted USB drive, insert it directly
into a USB 2.0/3.0 port on a notebook or desktop. Avoid connecting it to any peripheral devices
that may feature a USB port, such as a keyboard or USB-powered hub. Initial setup of the device
must be done on a supported Windows or macOS based operating system.
Device Access (Windows Environment)
1. Plug the Sentry ONE encrypted USB drive into an available USB port on the notebook or
desktop and wait for Windows to detect it.
• Windows 7/8.1/10 users will receive a device driver notification.
• Once the new hardware detection is complete, Windows will prompt to begin the
initialization process.
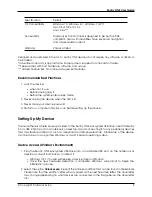
2. Select the option
Unlocker.exe
inside of the Unlocker partition that can be found in File Explorer.
Please note that the partition letter will vary based on the next free drive letter. The drive letter
may change depending on what devices are connected. In the image below, the drive letter
is E:.
© Copyright DataLocker Inc.
5


