DATALOGIC JOYA™ X1
24
1
3
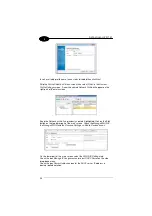
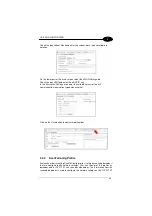
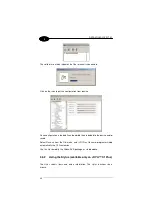
Insert a suitable profile name, leave status disabled then click
Next
.
Skip the
Profile Selection Criteria
screen then select
Finish
in the
Review
Profile Settings
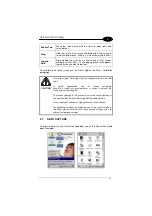
screen. A new line named
Network Profile
will appear on the
right part of the main screen
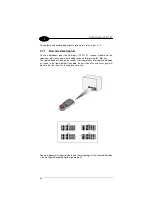
Keep the
Network profile
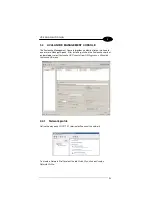
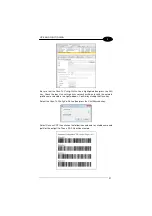
line previously created highlighted. Click on the Edit
button on the top lower part of the main screen. Check the
Manage WLAN IP,
the
Manage WLAN
and the
Override Settings on Mobile Devices boxes.
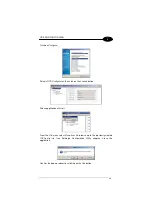
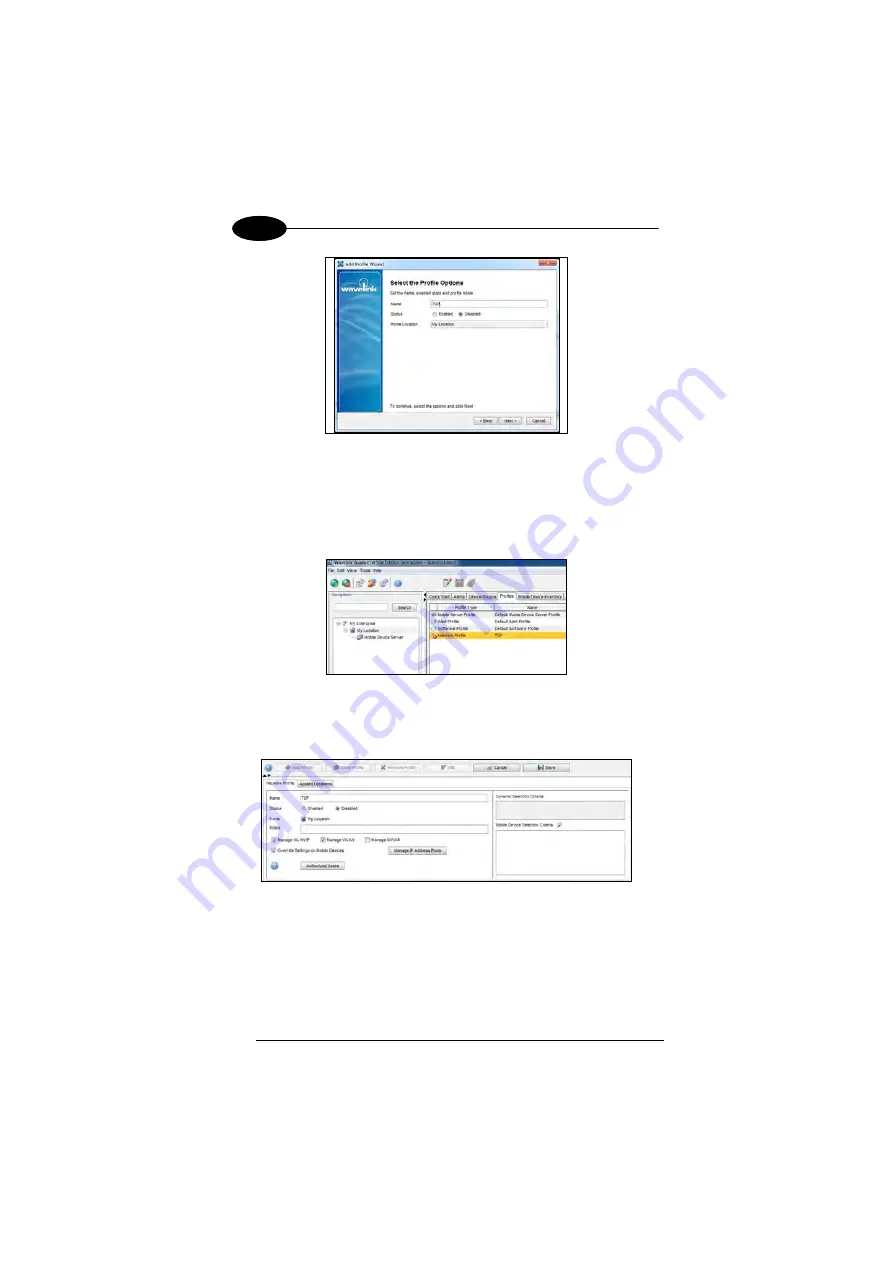
On the lower part of the main screen select the
WLAN IP Settings
tab.
Check the box
Manage IP Assignment
and select
DHCP Server
on the side
drop-down menu.
Check the box
Server Address
and enter the DHCP server IP address in
decimal dotted notation.
Summary of Contents for JOYA X1 R2U
Page 1: ...Datalogic JOYATM X1 R2U Ready to Use User s manual ...
Page 38: ...DATALOGIC JOYA X1 32 1 3 Wait for the installation end Select Finish Select the DLdcu package ...
Page 89: ...JOYA CRADLE DISPENSER 83 5 All other commands could be developed by developers using JOYA SDK ...
Page 98: ......
Page 99: ......

