Calibration Verification (Pounds)
Product Reference Guide
83
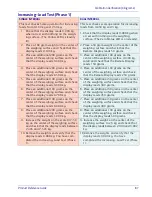
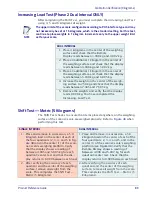
Increasing- Load Test (Phase 2 Dual Interval)
Shift Test (10 Pounds)
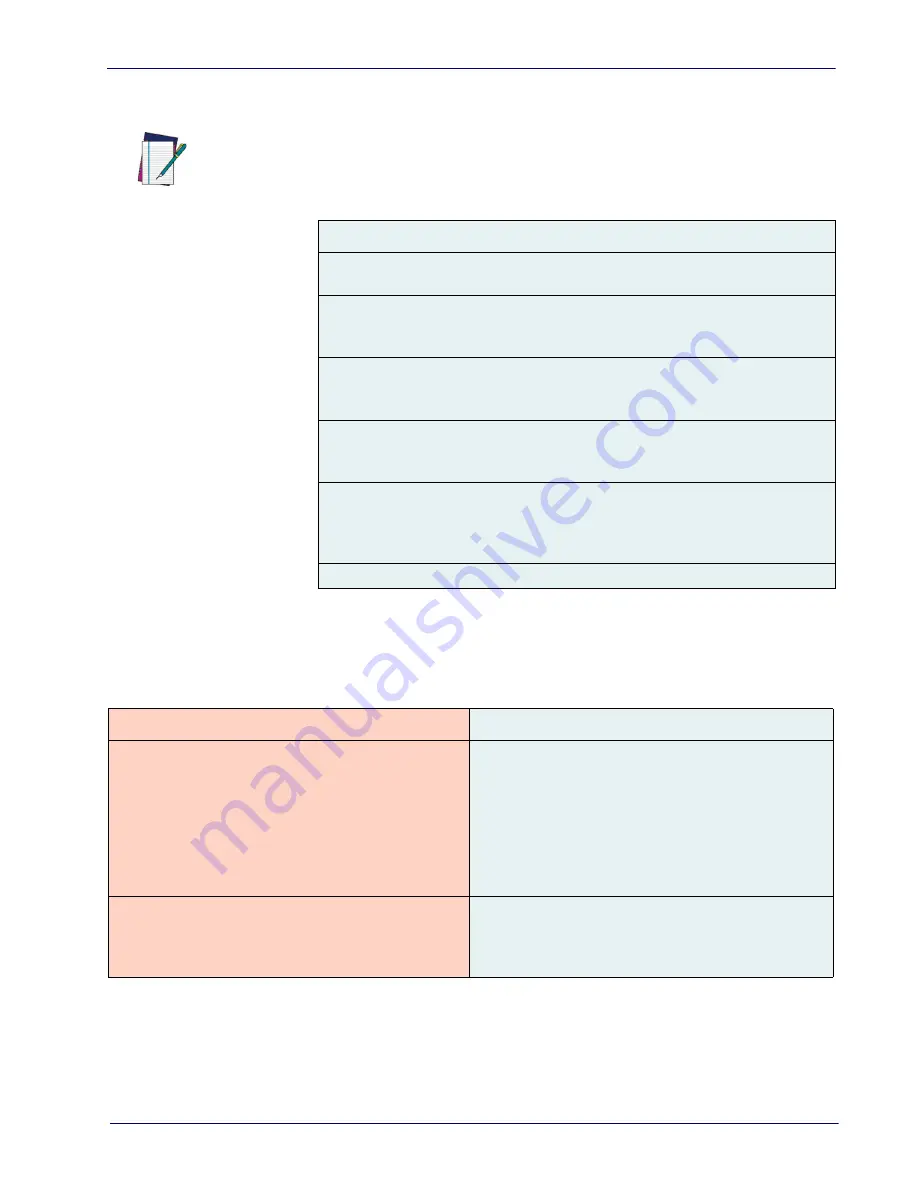
The Shift Test checks to ensure that items placed anywhere on the weighing
surface of the scanner/scale are weighed properly. Refer to
when
performing this test.
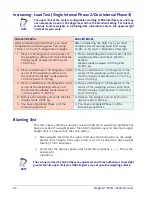
NOTE
The upper limit of the scale is configurable according to the POS interface type and
may not necessarily be set at 30 pounds, which is the standard setting. For this test,
continue to place weights in two pound increments only up to the upper weight limit
set for your scale.
DUAL INTERVAL
After completing the Shift Test, you must complete the Increasing
Load Test using 8.0, 10.0 and 12.0 pounds of weight.
1. With the scale starting at zero, place 8.0 pounds in the center
of the weighing surface and check that the display reads
between 7.995 and 8.005 lb.
2. Place an additional two pounds (10 pounds total) in the cen-
ter of the weighing surface. Check that the display reads
between 9.995 and 10.005 lb.
3. Place an additional two pounds in the center of the weighing
surface increasing the load to 12.0 pounds and check that
the display reads between 11.995 and 12.005 lb.
4. Place an additional five pounds (fifteen pounds total) on the
center of the weighing surface. Verify that the Remote Dis-
play reads between 14.99 and 15.01. Remove the weights
and verify that the display reads 0.00.
5. You have completed the Increasing-Load Test (Phase 2).
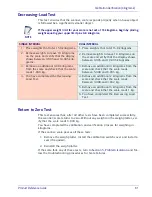
SINGLE INTERVAL
DUAL INTERVAL
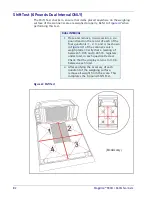
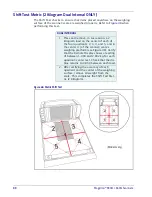
1. Place and remove in succession, a ten-
pound load on the center of each of the
four quadrants (1, 2, 3, and 4 in
) of the scanner/scale’s weigh platter.
Verify that a reading of between 9.99
and 10.01 lb registers under load and
that the display returns to 0.00 between
each load.
1. Place and remove, in succession, a ten-
pound load on the center of each of the
four quadrants: 1, 2, 3, and 4, (as shown in
) of the scanner/scale’s weigh
platter. Verify that a reading of between
9.995 and 10.005 lb. registers, under load,
in each quadrant tested. Check that the
display returns to 0.00 between each load.
2. After verifying the accuracy of each
quadrant of the weighing surface,
remove all weight from the scale. You
have completed the Shift Test.
2. After verifying the accuracy of each
quadrant of he weighing surface, remove
all weight from the scale. This completes
the Shift Test.
Summary of Contents for Magellan 9300i
Page 1: ...Magellan 9300i 9400i Scanner and Scanner Scale with Imaging Technology Product Reference Guide...
Page 12: ...x Magellan 9300i 9400i Scanners NOTES...
Page 28: ...16 Magellan 9300i 9400i Scanners NOTES...
Page 60: ...48 Magellan 9300i 9400i Scanners NOTES...
Page 72: ...60 Magellan 9300i 9400i Scanners NOTES...
Page 92: ...80 Magellan 9300i 9400i Scanners Figure 46 EAS antenna EAS Antenna Calibration Switch Cover...
Page 104: ...92 Magellan 9300i 9400i Scanners NOTES...
Page 114: ...102 Magellan 9300i 9400i Scanners NOTES...
Page 136: ...Enter Exit Programming Mode Imaging and CSS Features 124 Magellan 9300i 9400i Scanners NOTES...
Page 214: ...202 Magellan 9300i 9400i Scanners NOTES...
Page 276: ...Enter Exit Programming Mode Interface Related Features 264 Magellan 9300i 9400i Scanners NOTES...
Page 292: ...Enter Exit Programming Mode Data Editing 280 Magellan 9300i 9400i Scanners NOTES...
Page 468: ...456 Magellan 9300i 9400i Scanners NOTES...
Page 472: ...460 Magellan 9300i 9400i Scanners NOTES...
Page 480: ...468 Magellan 9300i 9400i Scanners NOTES...
Page 482: ...470 Magellan 9300i 9400i Scanners NOTES...

