COVER REPLACEMENT
CAUTION: The reader must be disconnected from the power supply during the cover
replacement procedure.
1. Unscrew the eight screws using a 2.5 mm Allen wrench.
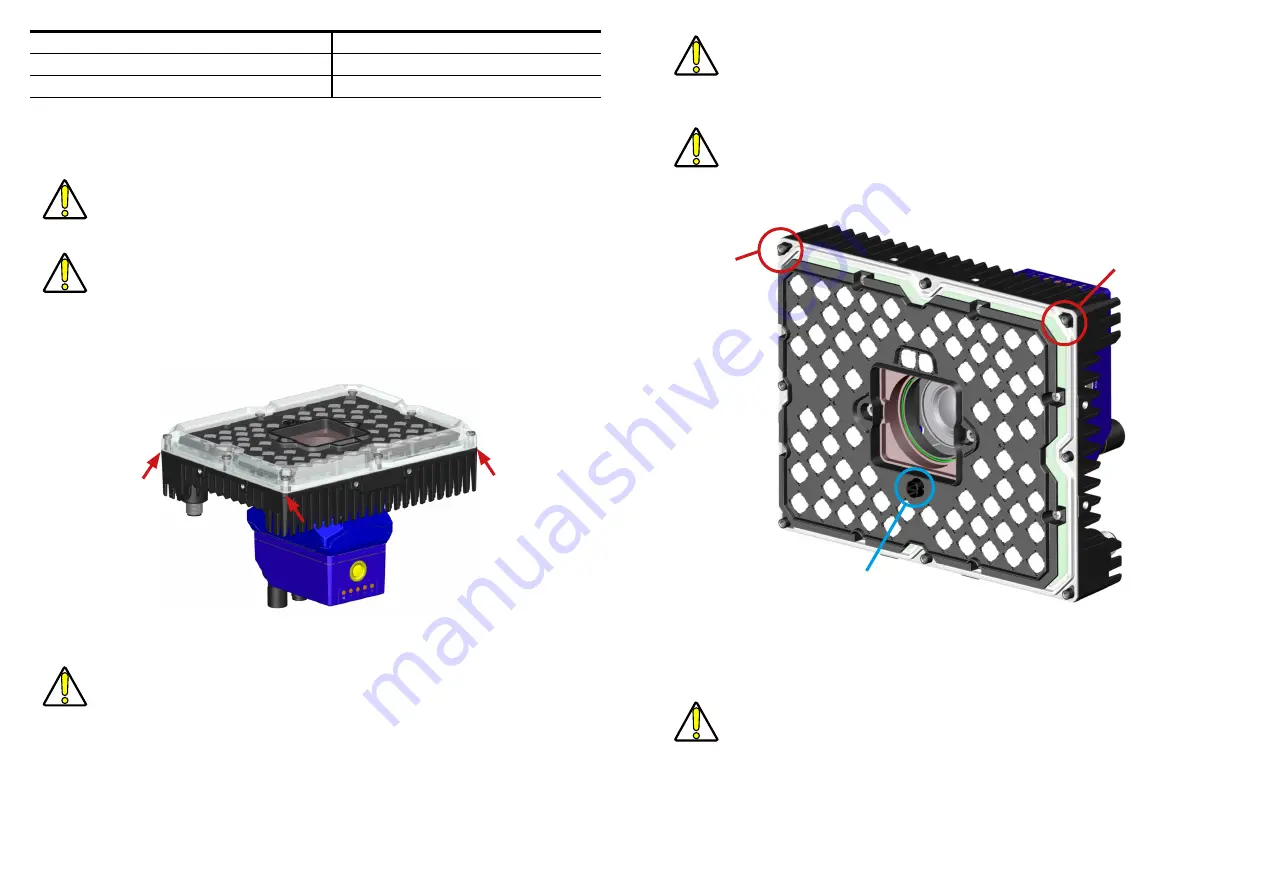
2. Remove the cover manually by gently levering it from its corners. See Fig. 1.
CAUTION: Make sure to operate in a dust-free environment during the cover replacement
procedure.
Fig. 1 - Removing the cover
Description
Order number
Cover STD LT 72L M320/P2
93ACC0341
Cover Polarizer LT 72L M320/P2
93ACC0342
CAUTION: The cover has a predefined mounting direction. The top two pins of the illuminator
(see Fig. 2) have a different shape than the others, which are cylindrical: make sure to align
these special pins with the corresponding cover seats.
4. Place the new cover on the reader.
CAUTION: To avoid damage, do not press on the window.
5. Insert the eight screws and loosely tighten them in a clockwise direction.
6. Finally tighten the screws to a torque of 0.8 N m.
Fig. 2 - Aligning the cover
CAUTION: All cover accessories are supplied with a mounted gasket. Make sure the gasket is
correctly placed on the new cover.
3. Make sure the new cover is free of dust, dirt and fingerprints. If necessary, wipe it clean using soft
material and alcohol. Avoid any abrasive substances.
CAUTION: Do NOT bum
p
/extract/tamper with the TOF sensor shield (see Fig. 2).
Special pin
Special pin
TOF sensor shield


