MATRIX 450™ REFERENCE MANUAL
8
1
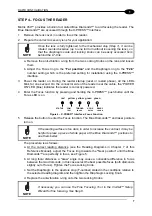
Figure 5 – Focus Function Using Blue Diamonds™
6. Exit the Focus function by pressing the X-PRESS™ push button once. The Blue
Diamonds™ turn off.
7. Replace the lens cover, screwing it tightly to the base.
STEP 5 – CALIBRATE IMAGE DENSITY
In order to function correctly to the fullest extent of its capabilities, Matrix 450™ must acquire
information regarding image density or PPI (pixels per inch). This calibration takes place
through the X-PRESS™ Interface and the
Focusing and PPI Setup Chart
included in the
package. This procedure is necessary for the first time installation, if the lens type is changed
or if the focal distance is changed.
Locate
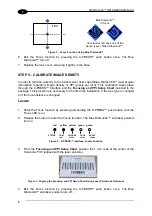
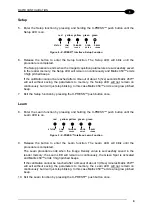
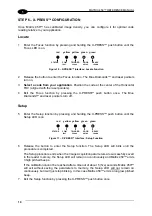
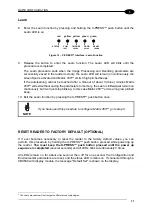
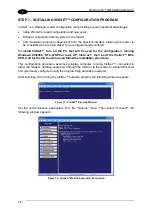
1. Enter the Focus function by pressing and holding the X-PRESS™ push button until the
Focus LED is on.
2. Release the button to enter the Focus function. The Blue Diamonds™ and laser pointers
turn on.
Figure 6 – X-PRESS™ Interface: Locate Function
3. From
the
Focusing and PPI Setup Chart
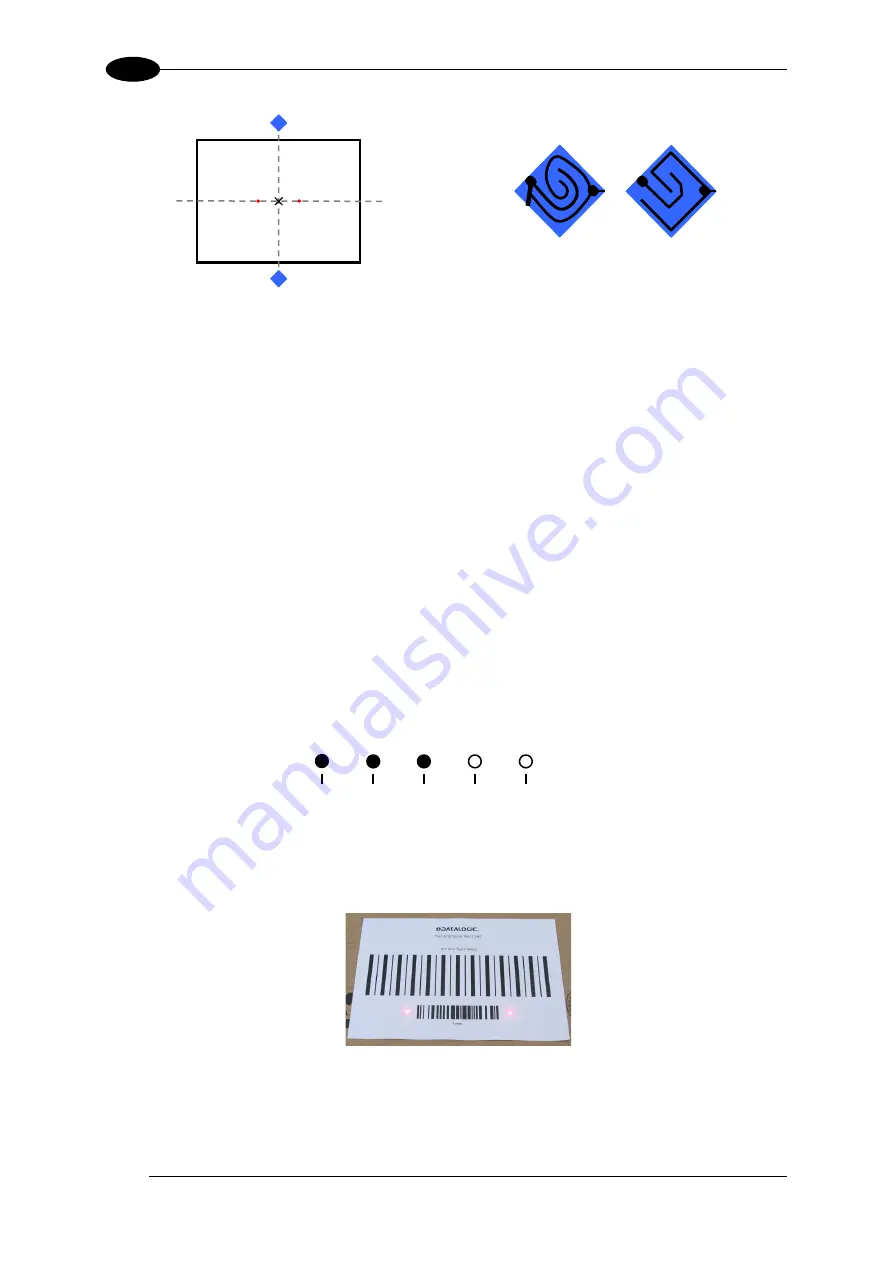
, position the 1 mm code at the center of the
Horizontal FOV (aligned with the laser pointers).
Figure 7 –Aligning the Focusing and PPI Setup Chart Using Laser Pointers as Reference
4. Exit the Focus function by pressing the X-PRESS™ push button once. The Blue
Diamonds™ and laser pointers turn off.
READY
SETUP
FOCUS
TEST
LEARN
GOOD
TRIGGER
COM
STATUS
red yellow yellow green green
Your reader can have one of the
above types of Blue Diamonds™.
Blue Diamond™
in focus
FOV
Summary of Contents for Matrix 450
Page 1: ...MATRIX 450 Reference Manual...
Page 12: ...xii...
Page 160: ...www automation datalogic com...


