MATRIX 450™ QUICK REFERENCE GUIDE
9
STEP 4 – FOCUS THE READER
Matrix 450™ provides a built-in tool called Blue Diamonds™ to aid focusing the reader. The
Blue Diamonds™ are accessed through the X-PRESS™ Interface.
1. Remove the lens cover in order to focus the reader.
2. Prepare the correct accessory lens for your application:
NOTE
Once the lens is fully tightened to the mechanical stop (Step 1), it can be
rotated counterclockwise (up to one full turn without loosening the lens), so
that the diaphragm scale and locking knobs can be easily accessed from
behind the LT-03x.
a. Remove the anti-vibration o-ring from the two Locking Knobs on the lens and loosen
them.
b. Adjust the Focus ring to the "
Far position
" and the Diaphragm ring to the "
F2.8
"
number setting which is the preferred setting for installation using the X-PRESS™
interface.
3. Power the reader on. During the reader startup (reset or restart phase), all the LEDs
blink for one second. On the connector side of the reader near the cable, the “POWER
ON” LED (blue) indicates the reader is correctly powered.
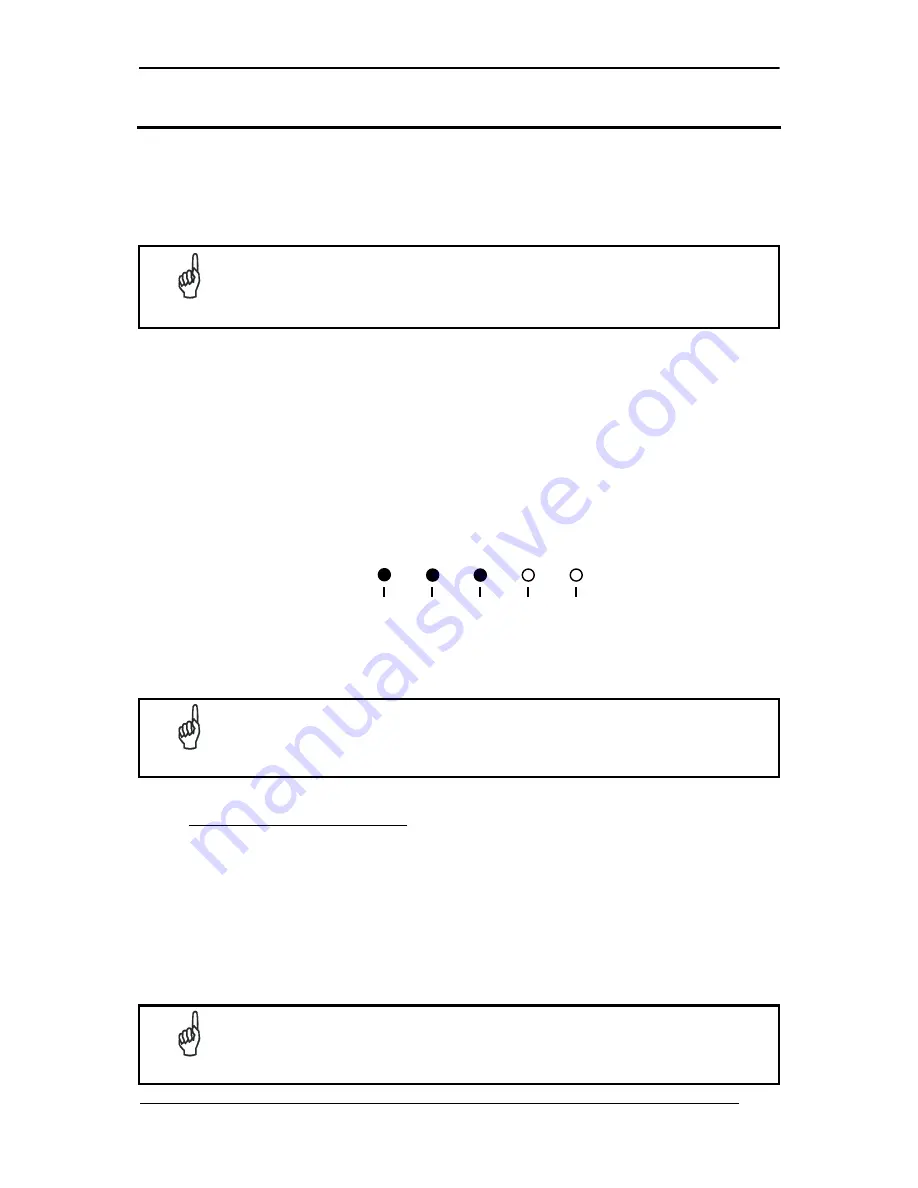
4. Enter the Focus function by pressing and holding the X-PRESS™ push button until the
Focus LED is on.
Figure 4 – X-PRESS™ Interface: Focus Function
5. Release the button to enter the Focus function. The Blue Diamonds™ and laser pointers
turn on.
NOTE
If the reading surface is too dark, in order to increase the contrast, it may be
helpful to place a piece of white paper at the Blue Diamonds™ positions to
see them better.
The procedure is as follows:
a. At the correct reading distance (see the Reading Diagrams in this Quick Reference
Guide), adjust the Focus ring towards the "Near position" until the Blue Diamonds™
are perfectly in focus, see Figure 5.
b. At long focal distances a "skew" angle may cause a noticeable difference in focus
between the two diamonds, in this case select the best possible focus (both diamonds
slightly out of focus). Tighten the Focus Locking Knob.
c. Set the Diaphragm to the aperture stop (F-number) stated in the conditions relative to
the selected reading diagram and then tighten the Diaphragm Locking Knob.
d. Replace the anti-vibration o-ring onto the two Locking Knobs.
NOTE
If necessary you can use the Fine Focusing Tool in the VisiSet™ Setup
Wizard for fine focusing. See Step 8.
READY
SETUP
FOCUS
TEST
LEARN
GOOD
TRIGGER
COM
STATUS
red
yellow yellow green green


