Getting Started
8
PowerScan
TM
PD7100 Corded
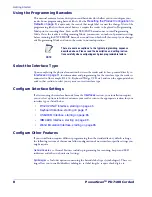
Using the Programming Barcodes
This manual contains feature descriptions and barcodes which allow you to reconfigure your
reader. Some programming barcode labels, like the
Resetting the Product Configuration to
, require only the scan of that single label to enact the change. Most of the
programming labels in this manual, however, require the reader to be placed in Programming
Mode prior to scanning them. Scan an ENTER/EXIT barcode once to enterProgramming
Mode. Once the reader is in Programming Mode, you can scan a number of parameter settings
before scanning the ENTER/EXIT barcode a second time, which will then accept your changes,
exit Programming Mode and return the reader to normal operation.
Select the Interface Type
Upon completing the physical connection between the reader and its host, proceed directly to
for information and programming for the interface type the reader is
connected to (for example: RS-232, Keyboard Wedge, USB, etc.) and scan the appropriate bar-
code in that section to select your system’s correct interface type.
Configure Interface Settings
If after scanning the interface barcode from the
section, your installation requires
you to select options to further customize your reader, turn to the appropriate section for your
interface type as listed below:
•
RS-232 ONLY Interface, starting on page 45
•
Keyboard Interface, starting on page 71
•
USB-OEM Interface, starting on page 85
•
IBM 46XX Interface, starting on page 89
•
Wand Emulation Interface, starting on page 95
Configure Other Features
If your installation requires different programming than the standard factory default settings,
the following sections of this manual allow configuration of non-interface-specific settings you
might require:
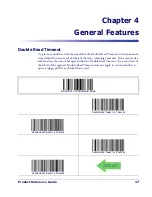
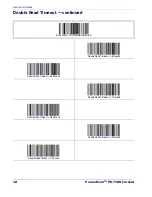
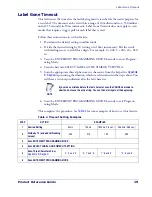
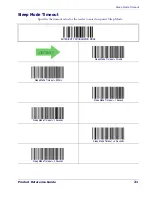
General Features includes programming for scanning, beeper and LED
indicators and other such universal settings.
Includes options concerning the barcode label types (symbologies). These set-
tings allow you to enable/disable symbologies, set label lengths, require check digit, etc.
NOTE
There are some exceptions to the typical programming sequence
described above. Please read the description and setting instruc-
tions carefully when configuring each given programmable feature.
Summary of Contents for PD7110-BB
Page 11: ...8 PowerScanTM PD7100 Corded...
Page 15: ...Introduction 4 PowerScanTM PD7100 Corded NOTES...
Page 21: ...Getting Started 10 PowerScanTM PD7100 Corded NOTES...
Page 81: ...RS 232 USB Com Interfaces 70 PowerScanTM PD7100 Corded NOTES...
Page 88: ......
Page 99: ...USB OEM Interface 88 PowerScanTM PD7100 Corded NOTES...
Page 111: ...Wand Emulation Interface 100 PowerScanTM PD7100 Corded NOTES...
Page 345: ...Symbologies 334 PowerScanTM PD7100 Corded NOTES...
Page 349: ...338 PowerScanTM PD7100 Corded NOTES...
Page 367: ...356 PowerScanTM PD7100 Corded NOTES...
Page 369: ...358 PowerScanTM PD7100 Corded Sample Barcodes continued Code 32 Codabar Code 93 Code 11...
Page 371: ...360 PowerScanTM PD7100 Corded NOTES...
Page 373: ...362 PowerScanTM PD7100 Corded 6 7 8 9 A B C...
Page 374: ...Product Reference Guide 363 D E F...
Page 375: ...364 PowerScanTM PD7100 Corded NOTES...
Page 388: ...Microsoft Windows Codepage 1252 Product Reference Guide 377 NOTES...

