PowerScan® M8500 Battery Maintenance
Product Reference Guide
33
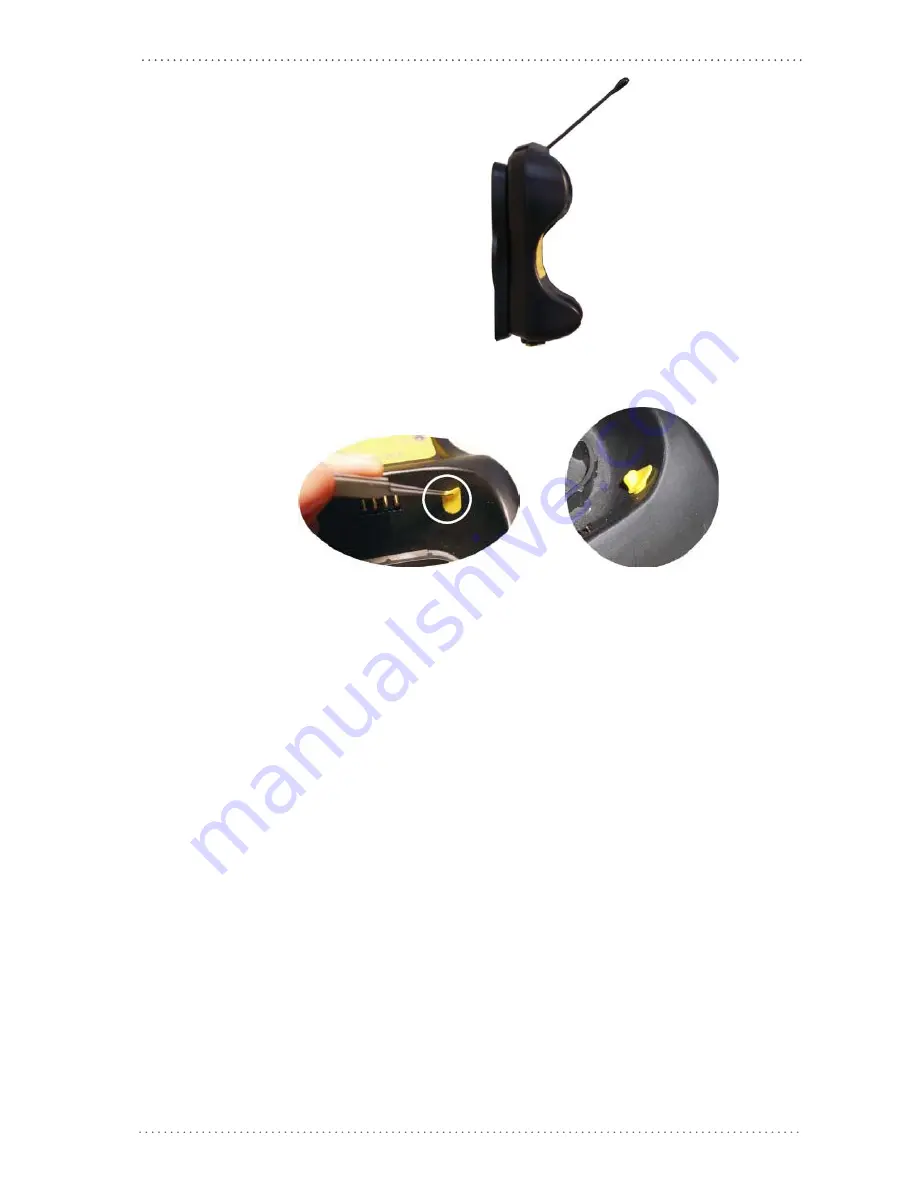
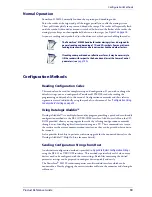
Wall Mounting
1. Remove the yellow caps and insert the two wall mounting lock hinges provided with
your cradle.
2. Position the cables to be connected to the BC-80X0/C-8000 cradle along the dedi-
cated channels (see figures on
page 32
.)
3. Complete the procedure using one of the following two methods:
If using the adhesive strips:
• Carefully clean the adhesive strip seats of the base to remove any impurities that
could reduce adhesion.
• Remove the protective plastic from one side of the adhesive strips and stick them
onto the base surface.
• Remove the plastic from the other side of the strips and affix the base to the wall as
indicated in the figure below.
If using the mounting screws:
• Using the mounting holes on the base as a pattern, mark the wall where you desire
to mount the BC-80X0/C-8000.
• Drill the appropriate size holes and insert the threaded dowels (not provided) into
the holes.
• Position the base on the wall as indicated in the figure below and affix it by means
of the screws (not provided).
Summary of Contents for PowerScan M8500
Page 17: ...Preface 14 PowerScan M8500 NOTES...
Page 28: ...Installation Product Reference Guide 25 WEDGE Connection PEN Emulation Connection...
Page 55: ...PowerScan M8500 Setup 52 PowerScan M8500 NOTES...
Page 137: ...Configuration Using Code Symbols 134 PowerScan M8500 NOTES...
Page 157: ...Advanced Data Formatting 154 PowerScan M8500 NOTES...
Page 211: ...Host Configuration Strings 208 PowerScan M8500 NOTES...
Page 219: ...Sample Barcodes 216 PowerScan M8500 QR PDF417 DataMatrix Normal DataMatrix Inverse PDF417...
Page 225: ...Hex Numeric Table 222 PowerScan M8500 AUTOSCAN PATTERN CODE s...
Page 226: ...Product Reference Guide 223 NOTES...
Page 227: ...Hex Numeric Table 224 PowerScan M8500 NOTES...
Page 232: ......


