Datalogic Applications
User’s Manual
111
5. Click
in the button bar.
6. Since
dialog boxes vary by the model of your printer,
configure the print as you normally do. Close these dialog boxes
to exit.
7. Click
Start menu
>
Programs
>
Device Tools
>
Scan2Deploy
.
8. Scan the barcode.
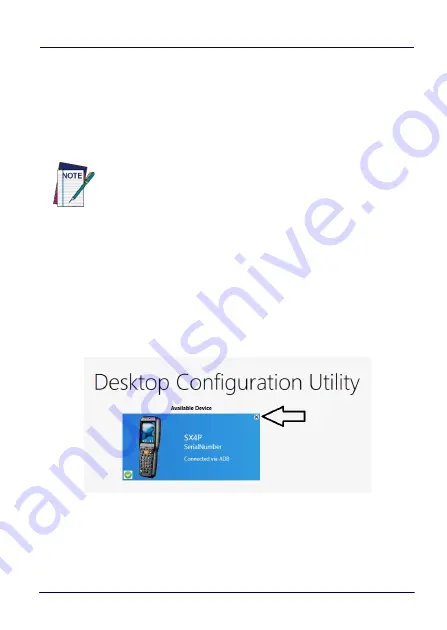
Your device should appear in the
Available Device
list of the
DXU
main window. Click
Available Device
to continue configuring your
device.
Delete a Device from the Available Device List
Click the exit button (
X
) located at top right of the device.
NOTE
Scan to Configure, also under Device Tools, allows you to
configure a Wavelink Avalanche barcode to configure.
Summary of Contents for WEC7 OS
Page 1: ...Skorpio X4 WEC7 OS Rugged Mobile Computer with 1D 2D Imager User s Manual...
Page 8: ...vi Skorpio X4 NOTES...
Page 34: ...Battery 26 Skorpio X4 NOTES...
Page 45: ...Getting Started User s Manual 37 Alphanumeric Keyboard 38 Keys...
Page 47: ...Getting Started User s Manual 39 Numeric Keyboard 28 Keys...
Page 90: ...Settings 82 Skorpio X4 NOTES...
Page 144: ...Datalogic Applications 136 Skorpio X4 SureFox...
Page 159: ...Datalogic Applications User s Manual 151 NOTE Changes require a device reboot...
Page 210: ...Technical Features 202 Skorpio X4 NOTES...
Page 212: ...Test Codes 204 Skorpio X4 High Density Codes continued 0 25 mm 10 mils 80 EAN 13 80 EAN 8...
Page 214: ...Test Codes 206 Skorpio X4 Medium Density Codes continued 0 38 mm 15 mils 100 EAN 13 100 EAN 8...
Page 216: ...Test Codes 208 Skorpio X4 Low Density Codes continued 0 50 mm 20 mils 120 EAN 13 120 EAN 8...
Page 218: ...Test Codes 210 Skorpio X4 NOTES...
Page 246: ...Safety and Regulatory Information 238 Skorpio X4 NOTES...
Page 248: ...Reference Documentation 240 Skorpio X4 NOTES...
Page 257: ...Glossary User s Manual 249 NOTES...


