3
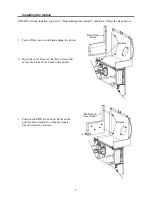
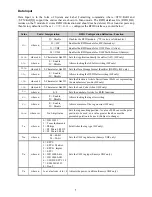
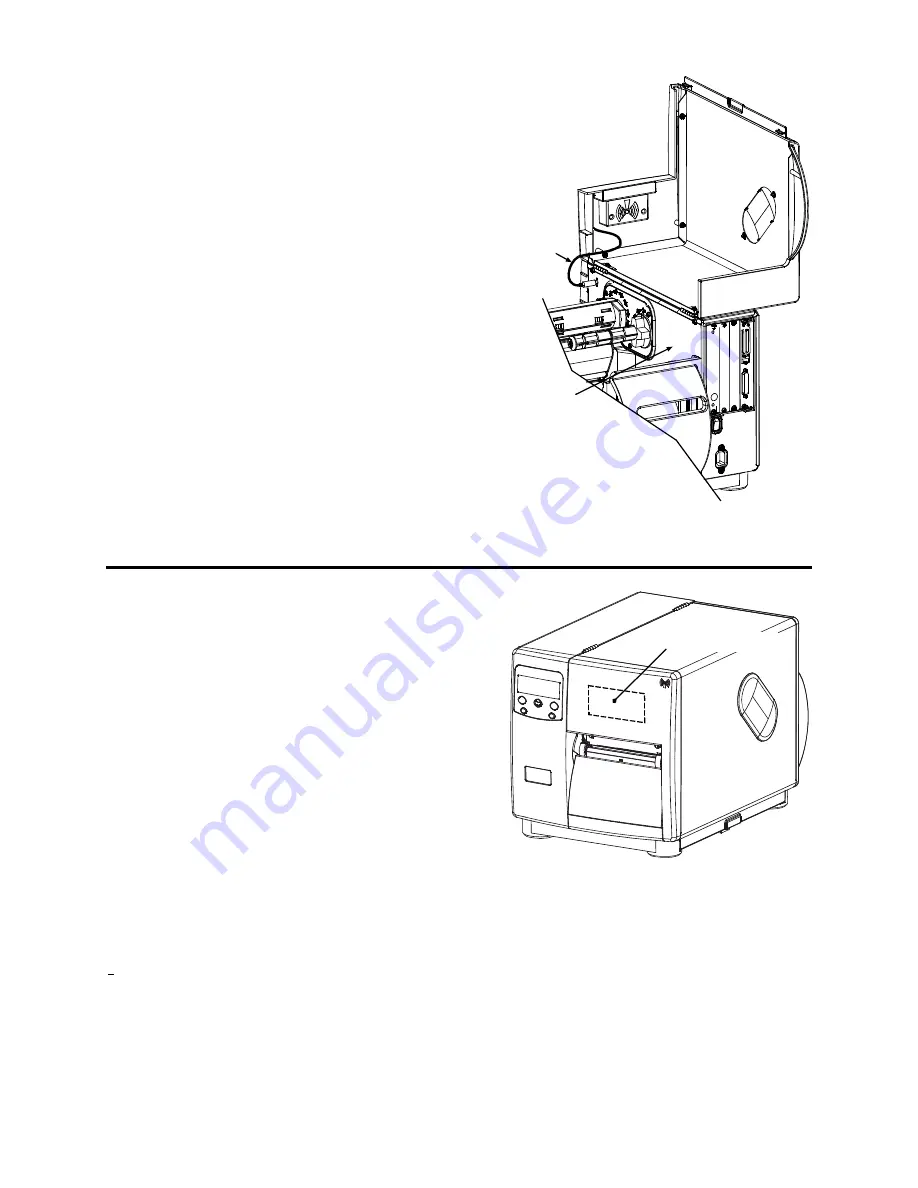
4. Route the RFID Cable, as shown, then connect
the cable to the connector in the Centerplate.
This completes the installation. Load Smart labels
and ribbon (if necessary) then close the printer’s
cover. Proceed to “Programming Information.”
RFID
Cable
Centerplate
Programming
Information
Because the RFID device is attached to the cover, the
cover must be lowered for all printing applications.
Printer setup for the RFID media is also critical, so
the Present Distance and RFID position distance
should place the inlay directly under the upper tear
bar (near the antenna location). During operation,
RFID functions will be performed first and then the
printing functions will follow.
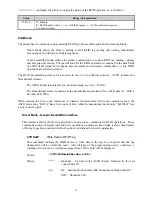
Ensure that the correct hardware has been enabled
(see below) so that the RFID module will initialize at
power up. There are three different modules:
RFID
Module/Antenna
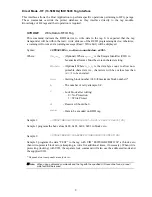
Securakey HF (13.56 MHz) is capable of encoding data into standard ISO 15693 tags. These
typically have four bytes of data per block, with the number of blocks differing by manufacturer
(Texas Instrument contains 64 writable blocks; Philips contains 28 blocks; and, ST Micro LRI S12
contains 16 blocks. ST Micro LRI 64 tags are also supported.)
Alien UHF (915MHz) is capable of encoding data into 64 or 96-bit Class 1 EPC tags.
Samsys UHF (868 or 915 MHz) is multi-protocol. The protocols supported
*
are EPC Class 0, EPC
Class 0+ (Impinj or Matrics), EPC Class 1, EPC Class 1 Gen2, ISO 18000-6A, ISO 18000-6B
^
,
UCODE EPC 1.19 and EM4022/4222. Each offers different data sizes and other unique features.
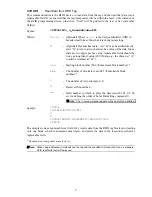
* Not all protocols may be supported; see the firmware release notes for details.
^ ISO 18000-6B includes Intellitag® and UCODE non-EPC.


