A-Class
17
;
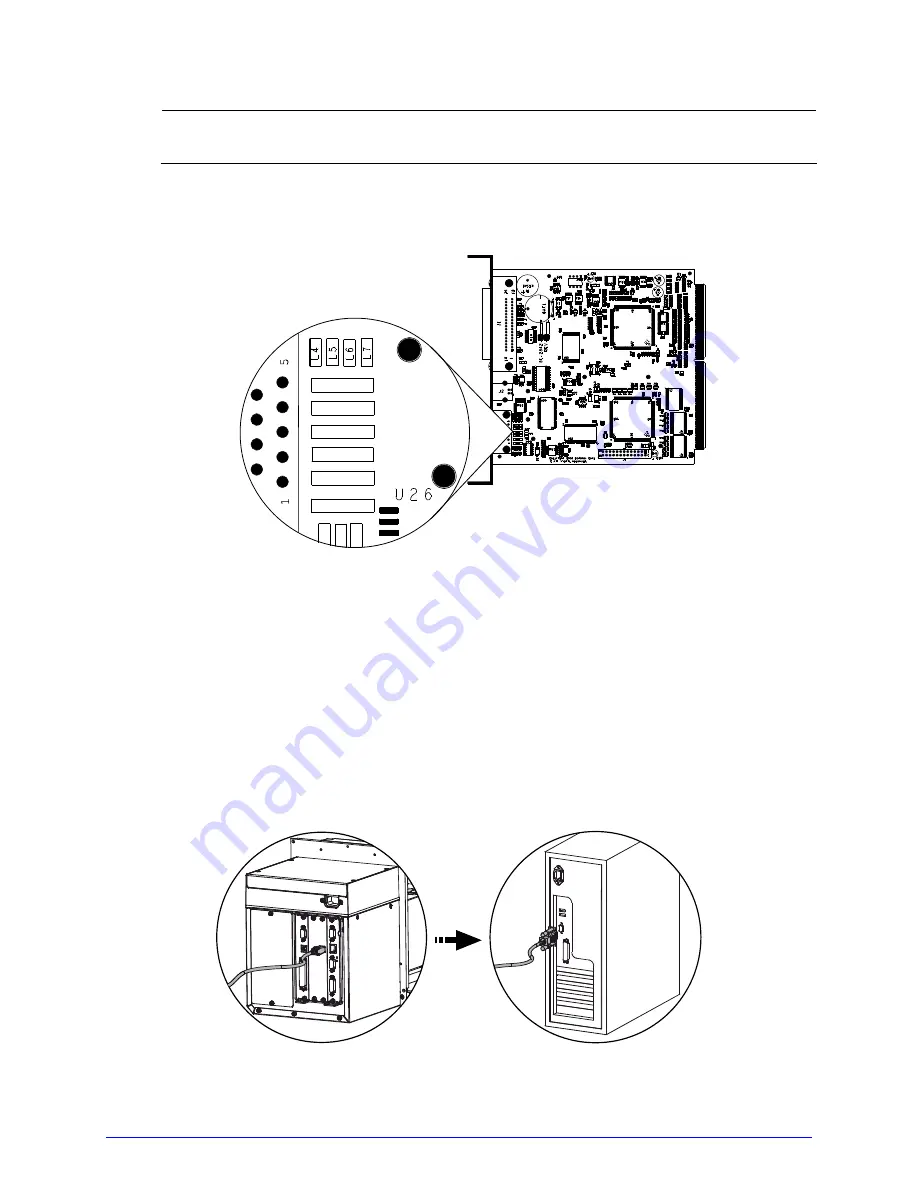
The Main Logic Card location varies depending upon the model of printer.
3. On the Main Logic Card, move the jumpers JMP1, JMP2, JMP3, JMP4, JMP5, and JMP6
from their positions across pins 1 & 2, and place them across pins 2 & 3,
respectively.
JMP 1
JMP 2
JMP 3
JMP 4
JMP 5
JMP 6
4. Replace the Main Logic Card and secure it using the previously removed screws.
5. Connect an RS-422/485 interface cable to Serial Port A (see the pin-out table,
above).
6. Plug in and turn ON the printer. Configure the port communication settings to match
that of the host.
COM D Port Connections
10101010
Summary of Contents for A-Class A-4212
Page 1: ...Operator s Manual ...
Page 2: ......
Page 5: ......
Page 6: ......
Page 8: ......
Page 14: ...vi ...
Page 22: ...8 A Class ...
Page 84: ...70 A Class ...
Page 128: ...114 A Class ...
Page 136: ...122 A Class ...
Page 140: ...126 A Class ...
Page 144: ...130 A Class ...
Page 158: ...144 A Class ...
Page 160: ...146 A Class ...
Page 166: ...152 A Class ...


