62
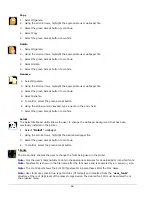
Copy
1.
Select Organize.
2.
Using the scroll arrows, highlight the appropriate user wallpaper file.
3.
Select the green Accept button to continue.
4.
Select Copy.
5.
Select the green Accept button to confirm.
Delete
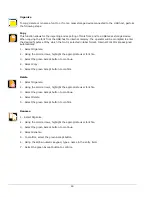
1.
Select Organize.
2.
Using the scroll arrows, highlight the appropriate user wallpaper file.
3.
Select the green Accept button to continue.
4.
Select Delete.
5.
Select the green Accept button to confirm.
Rename
R
N
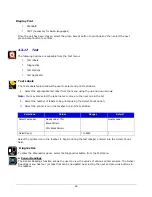
1. Select Organize.
2.
Using the scroll arrows, highlight the appropriate user wallpaper file.
3.
Select the green Accept button to continue.
4.
Select Rename.
5.
To confirm, select the green Accept button.
6.
Using the alpha-numeric keypad, type a name in the entry field.
7.
Select the green Accept button to confirm.
Select
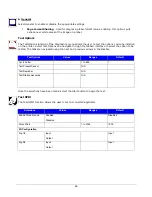
The Select Wallpaper utility allows the user to change the wallpaper background that has been
previously installed in the printer.
1.
Select “Select” wallpaper.
2.
Using the scroll arrows, highlight the desired wallpaper file.
3.
Select the green Accept button to continue.
4.
To confirm, select the green Accept button.
f.
Fonts
The Fonts utility enables the user to change the fonts being used in the printer.
Note:
It is the user’s responsibility to obtain the appropriate licenses for downloaded or imported fonts
.
Note:
Typeface ID is shown in the file name after the font name and is separated by an equal (=) sign.
Note:
The Font Report shows the Font ID/Typeface ID in parentheses after the font name.
Note:
User fonts can contain true type font files (ttf format) and imported from the “user_fonts”
directory at the root (top) level of the mass storage device. The desired font ID must be entered from
the organize menu.

