DI-4108 and DI-4208 Hardware Manual
Controls, Indicators, and Connections
27
Apply Ethernet and Stand-alone Configuration to Device
Load Ethernet settings or stand-alone configuration settings using the Control Button. Ethernet and Stand-alone
configurations can also be applied via the Dashboard (preferred method). Device must be in Idle mode for Ethernet or
USB thumb Drive (mode LED blinks green/yellow). The Unlock Code must be purchased for your device in order to
apply the stand-alone configuration.
1. Save configuration files to your USB thumb drive.
2. Confirm device is in Idle mode for USB Flash Drive (mode LED blinks Green/Yellow).
3. Push and hold the Control button.
4. Plug the thumb drive into the device (Drive) while holding the button in.
5. Release the button when the mode LED changes to Red/Black.
6. The device will read and load the configuration files to the device and revert to Idle mode when complete.
Configuration files include network.json (Ethernet configuration) and config.whd or config.whc (WinDaq configura-
tion). Use the WinDaq Dashboard to create configuration files.
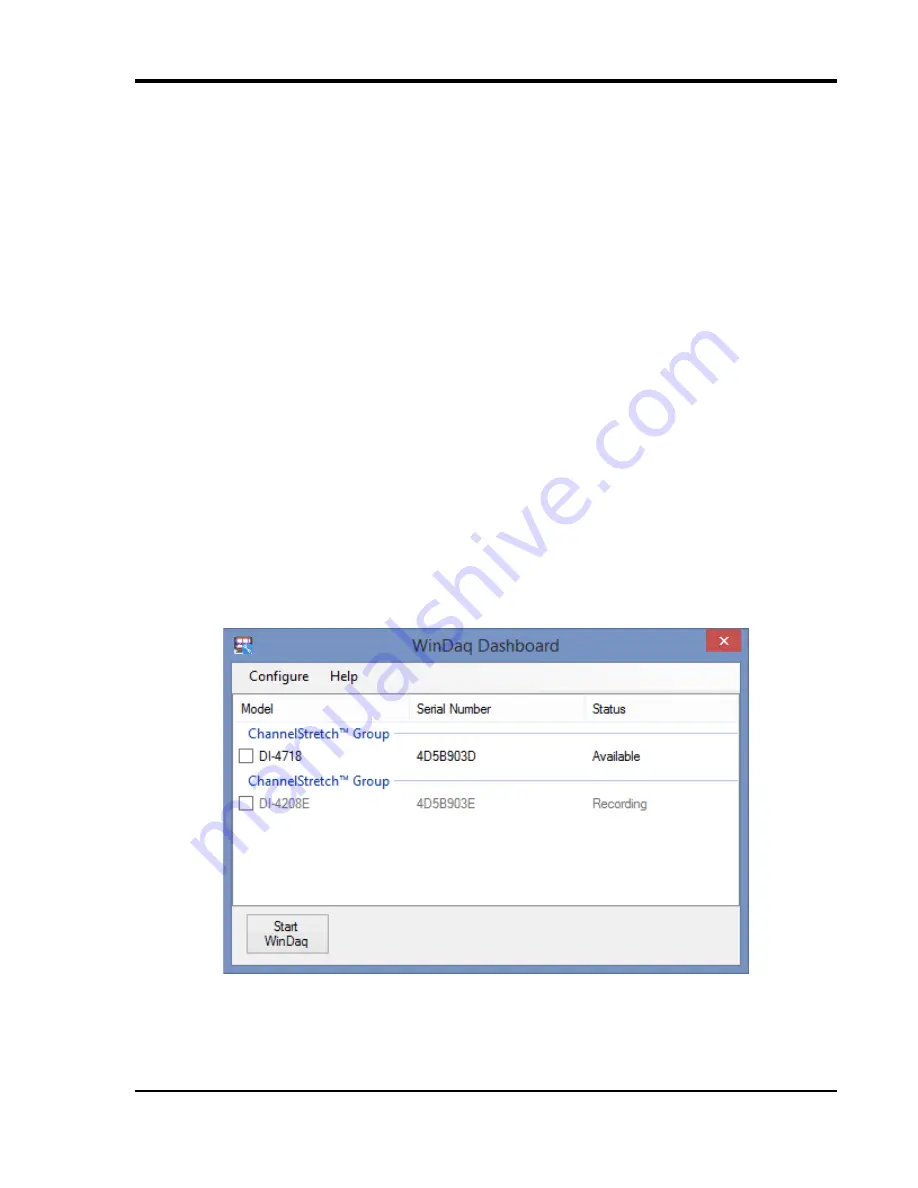
WinDaq Dashboard
The WinDaq Dashboard allows you to run WinDaq Data Acquisition software, sync the device clock with your PC,
modify Ethernet settings, configure your instrument for stand-alone data logging to record data to a USB flash drive,
and access the USB thumb drive via the Ethernet interface. Devices in a ChannelStretch™ Group can synchronize
data recording in that group. Select all the devices under a ChannelStretch group and click on the Start WinDaq but-
ton. Stand-alone data logging is not available using ChannelStretch.

