background image

DI–718B and DI-718Bx Series Hardware Manual

Instrument Controls, Indicators, and Connections

23

Connecting Signals

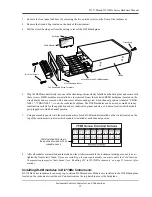
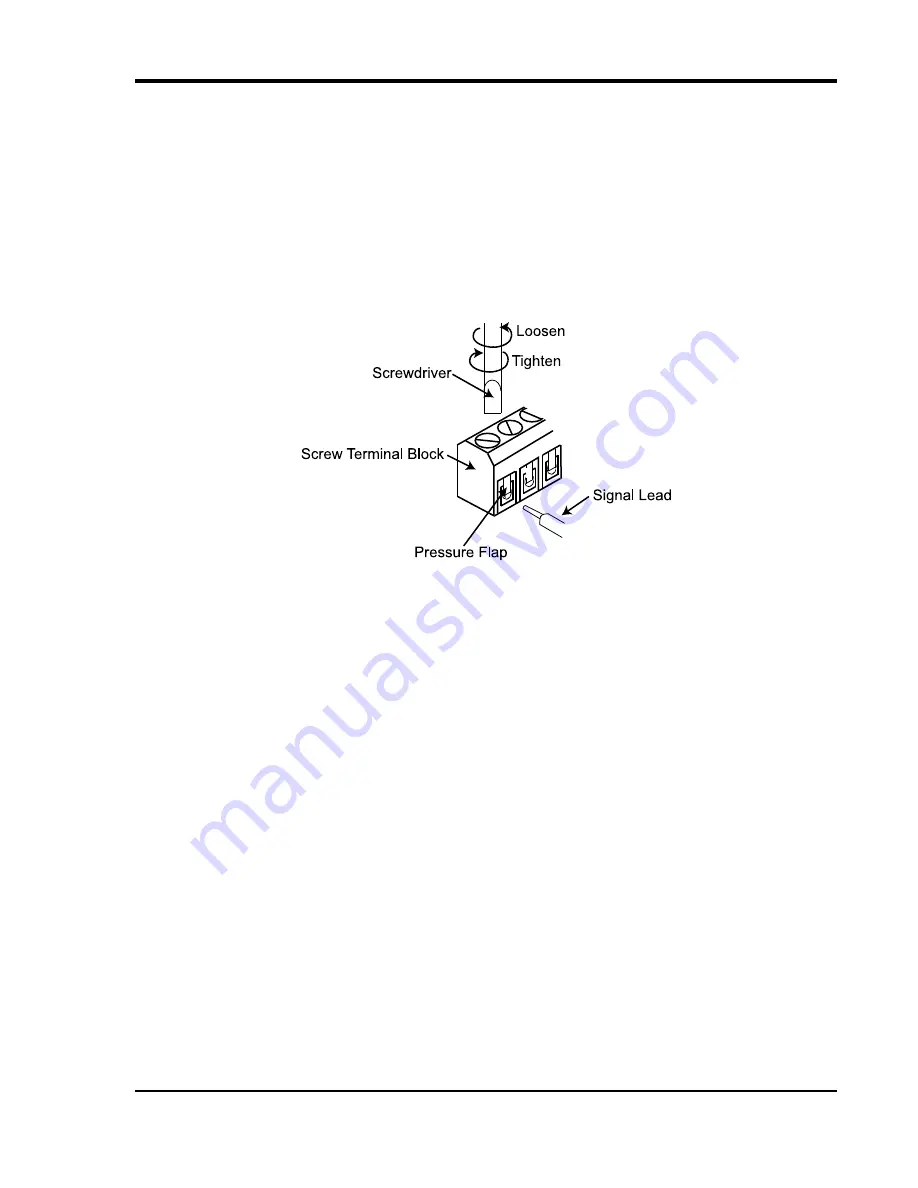
Use the removable screw terminal blocks located on the front of the instrument to connect your analog input signals. 
Refer to the Screw Terminal Access sticker on the top of the instrument for pinout.

1. Insert the stripped end of a signal lead into the desired terminal directly under the screw.

2. Tighten the pressure flap by rotating the screw clockwise with a small screwdriver. Make sure that the pressure 

flap tightens only against the signal wire and not the wire insulation. 

Do not over-tighten.

3. Tug gently on the signal lead to ensure that it is firmly secured.

When an input signal is connected and W

IN

D

AQ

 Acquisition software is run, W

IN

D

AQ

’s real time display immedi-

ately reveals the input waveform on your computer’s monitor.

Summary of Contents for DI-718B Series

Page 1: ...l magnetic optical chemical manual or otherwise without expressed written authorization from the com pany The distribution of this material outside the company may occur only as authorized by the comp...

Page 2: ......

Page 3: ...products that have been repaired or altered by persons other than DATAQ Instru ments employees or products that have been subjected to misuse neglect improper installation or accident DATAQ Instrument...

Page 4: ......

Page 5: ...tion 7 Ethernet Device Installation 9 Installing an Ethernet Device Directly Connected to your PC or Connected via a Hub or Switch Where ONLY DI 71x Products are Installed 10 Installing an Ethernet De...

Page 6: ...ted Models 29 Enabling Disabling Digital Remote Control 29 Analog Input Channel Configuration 29 Enabling Channels for DI 718B Instruments 29 Enabling Channels for DI 718Bx Instruments 30 EU Settings...

Page 7: ...e Input Modules Narrow Wide Bandwidth 46 DI 8B40 41 Analog Voltage Input Modules 1kHz Bandwidth 47 DI 8B42 2 Wire Transmitter Interface Modules 48 DI 8B43 DC LVDT Input Modules 49 DI 8B45 Frequency In...

Page 8: ......

Page 9: ...xed single ended analog inputs that allow your analog signals to be converted into 14 bit digital data via an on board A D converter Differential input is not supported Digital Inputs The DI 718B prov...

Page 10: ...nager which can be found in the Start menu under the WINDAQ program group called Dataq Instruments Hardware Manager WINDAQ Waveform Browser playback software also known as WWB offers an easy way to re...

Page 11: ...800 S s averaging mode DI 718Bx 05 FSR 50 V 8B module CJC error test condi tions 1 channel 100 S s averaging mode Resolution 1 part in 8 192 Gain DI 718Bx only 1 2 4 8 software selectable per channel...

Page 12: ...Removable Memory Stand alone Models only Type Standard Secure Digital not SDHDor SDxC Sample rates of 2kHz require SD speeds of 133x or higher Up to 2kHz require speeds of 13x or higher Capacity 16MB...

Page 13: ...minal blocks for signal conditioned channels Operating Environment 0 C to 70 C Enclosure Aluminum base with steel wrap around Aluminum end panels with plastic bezels Aluminum top hatch for access to 8...

Page 14: ......

Page 15: ...6 position screw terminal blocks DI 718B models include a 3 5mm stereo phone plug for Remote Control Operations Built In Remote Con trol Jack on page 17 The WINDAQ Resource CD ROM DATAQ screwdriver fo...

Page 16: ...DI 148 DI 158 DI 710 DI 715B or DI 718B instrument be sure to install to the same folder 10 In the Select an Interface box select USB and click OK 11 DO NOT connect your USB device or cable to your PC...

Page 17: ...I 158 DI 710 DI 715B or DI 718B instrument be sure to install to the same folder 9 In the Select an Interface box select the Ethernet option and click OK to continue 10 When prompted to Select a Progr...

Page 18: ...ernet device directly connected to your PC you MUST use a crossover cable provided Installation of an Ethernet device via an Ethernet hub switch containing ONLY DI 71x products also requires you to ch...

Page 19: ...elect Internet Protocol TCP IP in the This connection uses the following items window and click on the Properties button 5 Click on the General tab 6 Select the radio button Use the following IP addre...

Page 20: ...lick on the OK button to close the Internet Protocol TCP IP Properties dialog box then click on the OK but ton in the Local Area Connection Properties dialog box for the changes to take effect 10 You...

Page 21: ...c IP The Manage IP Addresses dialog box will open 6 Click on the MAC address of your device in the list of displayed MAC addresses the MAC address of your device can be found on the silver sticker loc...

Page 22: ...or continued use of WINDAQ HS High Speed option to ensure compliance with the Software License Agreement The Software License Agreement can be found in the WINDAQ Software manual or in the WINDAQ prog...

Page 23: ...Windows Program Manager Group as specified during installation default is Start Programs WINDAQ Dataq Instruments Hardware Manager All available devices will automatically appear in the list box when...

Page 24: ......

Page 25: ...8B Models The two 16 port screw terminals on the front of the instrument are used to interface analog input channels 1 through 8 Each channel has four terminals In In Ex and Ex for input signals and e...

Page 26: ...channels 1 through 16 Each channel has four terminals In In Ex and Ex for input signals and excitation if required Use the sticker located on the top of your instrument for quick reference to terminal...

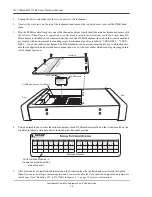
Page 27: ...hich module gets plugged into which channel position 7 Using an erasable pencil write the module number of each DI 8B module installed on the sticker located on the top of the instrument to indicate w...

Page 28: ...L 1 CHAN NEL 2 etc on the socketed backplane The DI 8B modules can be mixed or matched in any combination suit able for the application and are identical in pinout and size so it doesn t matter which...

Page 29: ...DI 718B Instruments on page 18 for disassembly 1 Unplug the device and make sure there is no power to the instrument 2 Remove the front panel and bezel by removing the two screws on the front of the...

Page 30: ...here is the channel number Jumpers are installed on the circuit board in the off position Move the jumper to the TC pins for each channel using a Thermocou ple module Note If you are not using a Therm...

Page 31: ...he stripped end of a signal lead into the desired terminal directly under the screw 2 Tighten the pressure flap by rotating the screw clockwise with a small screwdriver Make sure that the pressure fla...

Page 32: ...s connection is mandatory for the unit to meet CE guidelines Interface Port The Interface port allows you to connect the instrument to your PC via USB or Ethernet cable Control Button Stand alone mode...

Page 33: ...The Control Button can be used to stop or start recording data to your memory card SD when using the instrument as a stand alone data logger The Control Button can also be used to reconfigure the ins...

Page 34: ...software Do not remove the memory card before the instrument completely closes the file When Mode LED turns green the memory card may be removed Removing the card before completion will cause Error M...

Page 35: ...ntrol button to begin recording data two series of blinking Orange before reverting back to Green indicates that the memory card is locked Use another card or unlock the current one One series of blin...

Page 36: ......

Page 37: ...e the Remote Control features in WINDAQ Acquisition Software with DI 718B instruments Channel 1 or Chan nel 9 must be enabled as the Digital Input channel For DI 718Bx instruments Channel 1 or Channel...

Page 38: ...sition software Channel 17 or Channel 1 must be enabled as the Digital Input Channel EU Settings DI 718B and DI 718Bx Instruments All waveform data is initially scaled annotated and displayed in volts...

Page 39: ...DI 718B and DI 718Bx Instruments enter PC Operation Mode when the instrument is connected to the PC either directly or through a network and the user initiates WINDAQ Acquisition software As soon as...

Page 40: ...nfiguration soft ware Press F1 to access Help topics related to the currently displayed feature You must run the software with the device properly installed and connected to your PC Operation To use y...

Page 41: ...n the file attempts to wrap the LED blinks orange and stays orange Memory card read write speed in SPI mode is too slow to record data in cir cular memory configuration LED is green but I cannot forma...

Page 42: ...file Leave the memory card in until power is restored then allow the instrument to close the data file After a new file has begun stop recording The memory card may now be removed and read for analysi...

Page 43: ...order to perform Advanced CODAS calculations File Save As option 8 CALC is still available Converting data from a wdc format to a wdq format is also possible with File Save As Choose option 2 Binary w...

Page 44: ......

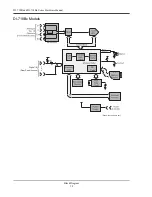
Page 45: ...DI 718B and DI 718Bx Series Hardware Manual Block Diagram 37 6 Block Diagram DI 718B Models SD Code SD 5V 4 7K 5V 4 7K...

Page 46: ...DI 718B and DI 718Bx Series Hardware Manual Block Diagram 38 DI 718Bx Models SD Code SD Digital I O Rear Panel Access Stand alone models only...

Page 47: ...y be enabled as Channel 17 Note The Digital I O is not available in stand alone mode Except for Remote Start Stop DI O0 and Remote Event DI O1 Use the table below for pinout of the DI 705 screw termi...

Page 48: ...ti aliasing and the other two are on the system side A special input circuit on the DI 8B30 and DI 8B31 modules provides protection against accidental connection of power line voltages up to 240VAC Is...

Page 49: ...e and frequency response which provides 70dB of normal mode rejection at 60Hz One pole of this filter is on the field side of the isolation barrier for anti aliasing and the other two are on the syste...

Page 50: ...al is then chopped by a proprietary chopper circuit and transferred across the transformer isolation barrier suppressing transmission of common mode spikes and surges The computer side circuitry recon...

Page 51: ...with a three pole filter optimized for time and frequency response which provides 70dB of normal mode rejection at 60Hz One pole of this filter is on the field side of the isolation barrier for anti...

Page 52: ...xcitation current does not flow in the input signal leads which allows RTD measurements to be made independent of lead resistance The excitation cur rents are small 0 25mA which minimizes self heating...

Page 53: ...s the self heating of the potentiometer Signal filtering is accomplished with a three pole filter optimized for time and frequency response which provides 70dB of normal mode rejection at 60Hz One pol...

Page 54: ...d side of the isolation barrier for anti aliasing and the other four are on the system side A special input circuit on the DI 8B38 module provides protection against accidental connection of power lin...

Page 55: ...n the system side A special input circuit on the DI 8B40 and DI 8B41 modules provides protection against accidental connection of power line voltages up to 240VAC Clamp Circuits on the I O and power t...

Page 56: ...esponse which provides 60dB per decade of normal mode rejection above 100Hz One pole of this filter is on the field side of the isolation barrier for anti aliasing and the other two are on the system...

Page 57: ...r rier for anti aliasing and the other four are on the system side A special input circuit on the 8B43 modules provides protection against accidental connection of power line voltages up to 240VAC Cla...

Page 58: ...sensors The excitation is available on the EXC terminal with return on the terminal A special input circuit on the DI 8B45 modules provides protection against accidental connection of power line volt...

Page 59: ...rmal mode rejection at 60Hz One pole of this filter is on the field side of the isolation barrier for anti aliasing and the other two are on the system side A special input circuit on the DI 8B47 modu...

Page 60: ...on the system side A special input circuit on the DI 8B50 and DI 8B51 modules provides protection against accidental connection of power line voltages up to 240VAC Clamp circuits on the I O and power...

Page 61: ......

Page 62: ...Q Instruments Inc 241 Springside Drive Akron Ohio 44333 Support www dataq com ticket Telephone 330 668 1444 Fax 330 666 5434 Direct Product Links click on text to jump to page Data Acquisition Data Lo...

Reviews: