DI–720/DI–722/DI–730 Series User Manual
Getting Started
9
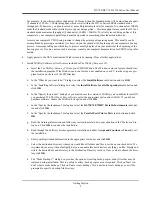
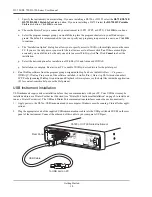
For example, if you will record five channels at 20 Hz each, then the Standard mode will be more than adequate
(5 channels @ 20 Hz = 100 Hz throughput, which is well within the DI-7xx Series 40KHz standard mode
throughput). If, however, you plan to record at a much higher sample rate (for example, five channels at 10KHz
each) the Standard mode will not reliably record your data gap-free — this throughput rate exceeds the DI-7xx's
standard mode maximum throughput (5 channels @ 10KHz = 50KHz). To reliably record data gap-free at this
sample rate, your computer's parallel port must be operated in something other than standard mode.
Access your computer's CMOS setup routine to change the printer port operating mode. This usually can be
accomplished by pressing a certain key (or keys) on your keyboard at the beginning of your computer's boot-up
process. A message telling you which key to press is usually displayed on your monitor at the beginning of the
boot-up process. If you do not see such a message, consult your computer documentation for CMOS setup infor-
mation.
4.
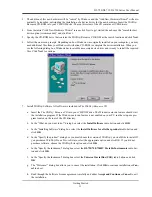
Apply power to the DI-7xx instrument. Windows must be running. Close all other applications.
5.
Install W
IN
D
AQ
Software. All software is included in
The W
IN
D
AQ
Resource CD
.
a.
Insert the
The W
IN
D
AQ
Resource CD
into your CD-ROM drive. The Windows auto run feature should start
the installation program. If the Windows auto run feature is not enabled on your PC, run the setup.exe pro-
gram located on the root of the CD directory.
b.
In the “What do you want to do?” dialog box select the
Install Software
radio button and click
OK
.
c.
In the “Installing Software” dialog box select the
Install Software for all other products
radio button and
click
OK
.
d.
In the “Specify the product” dialog box you must choose the version of W
IN
D
AQ
you would like to install. If
you purchased W
IN
D
AQ
/Pro or Pro+ software, select the appropriate option and click OK. If you did not
purchase software, choose the W
IN
D
AQ
/Lite option and click
OK
.
e.
In the “Specify the Instrument” dialog box select the
DI-720/740/730HV Portable Instruments
radio but-
ton and click
OK
.
f.
In the “Specify the Instrument” dialog box select the
Parallel Port (Printer Port)
radio button and click
OK
.
g.
Read the warning information and follow any instructions relevant to your situation in the “Welcome” dia-
log box. Click
OK
to continue the installation.
h.
Read through the Software License agreement carefully and either
Accept and Continue
or
Cancel
to exit
the installation.
i.
Enter your Registration Information in the appropriate text boxes and click
OK
.
j.
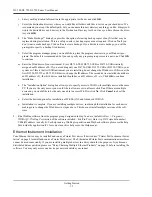
Select the destination directory where you would like all folders and files to reside on your hard drive. We
recommend you accept the default path, but you can name this new directory anything you like. Simply sub-
stitute the desired drive and directory in the Destination Directory text box. Once you have chosen the direc-
tory click
OK
.
k.
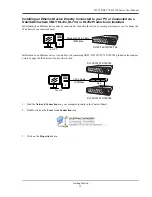
The “Make Backups?” dialog box provides the option of creating backup copies of any files that may be
replaced during installation. This is a safety courtesy; backup copies are not required. Click on
No
if you
don't want to make backups. Click on
Yes
to create backups. If you decide to create backups, you will be
prompted to specify a backup file directory.
Summary of Contents for DI-725/E
Page 2: ......
Page 4: ......
Page 6: ......
Page 10: ......
Page 32: ......
Page 40: ......
Page 45: ...DI 720 DI 722 DI 730 Series User Manual Block Diagram 35 6 Block Diagram DI 720 Series 1 32...
Page 46: ...DI 720 DI 722 DI 730 Series User Manual Block Diagram 36 DI 722 Series...
Page 106: ......
Page 107: ......

