DI–720/DI–722/DI–730 Series User Manual
Getting Started
10
l.
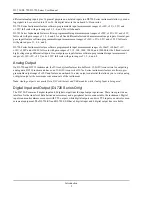
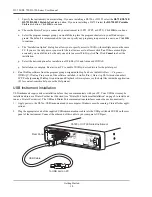
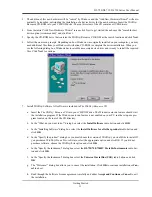
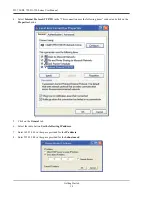
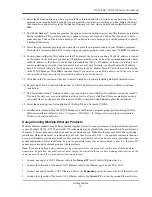
Specify the instrument you are installing. If you are installing a DI-720 or DI-722 select the
DI-720/DI-740/
DI-722/DI-5001 Portable Unit
radio button. If you are installing a DI-730 select the
DI-730HV Portable
Unit
radio button. Click
OK
to continue.
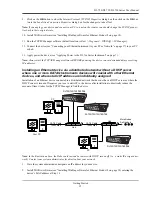
m. Choose the Printer Port you connected your instrument to (LPT1, LTP2, or LPT3). Click
OK
to continue.
n.
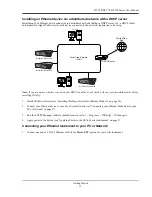
Select the program manager group you would like to place the program shortcuts in your Windows pro-
grams. The default is recommended, but you can specify any program group or create a new one. Click
OK
to continue.
o.
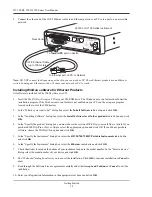
The “Installation Option” dialog box allows you to specify access to W
IN
D
AQ
for multiple users on the same
PC. If you are the only user or you would like to allow access to all users click
Yes
. If there are multiple
users and you would like to be the only one able to access W
IN
D
AQ
click
No
. Click
Cancel
to abort the
installation.
p.
Select the desired options for installation of W
IN
D
AQ
/XL and Advanced CODAS.
q.
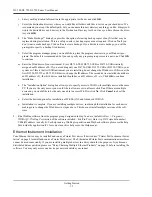
Installation is complete. Re-start your PC to enable W
IN
D
AQ
device drivers for the printer port.
6.
Run WinDaq software from the program group designated in Step 5n above (default is
Start > Programs >
WINDAQ > WinDaq
Pro(version of the software installed - Lite/Pro/Pro+)
Data Acq DI-7xx
(model number)
LPT
. For help running WinDaq Acquisition and Playback software please see the help files inside the application
(F1 for context-sensitive help or use the Help menu).
USB Instrument Installation
USB instruments require driver installation before they can communicate with your PC. Your USB device may be
installed and run as a Printer Port device if desired (see “Printer Port Instrument Installation” on page 8 to install and
run as a Printer Port device). The USB and Printer Port communications interfaces cannot be used concurrently.
1.
Apply power to the DI-7xx-USB instrument and your computer. Windows must be running. Close all other appli-
cations.
2.
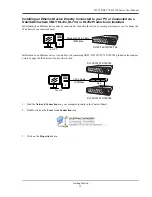
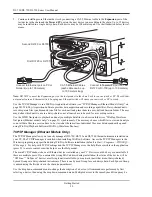
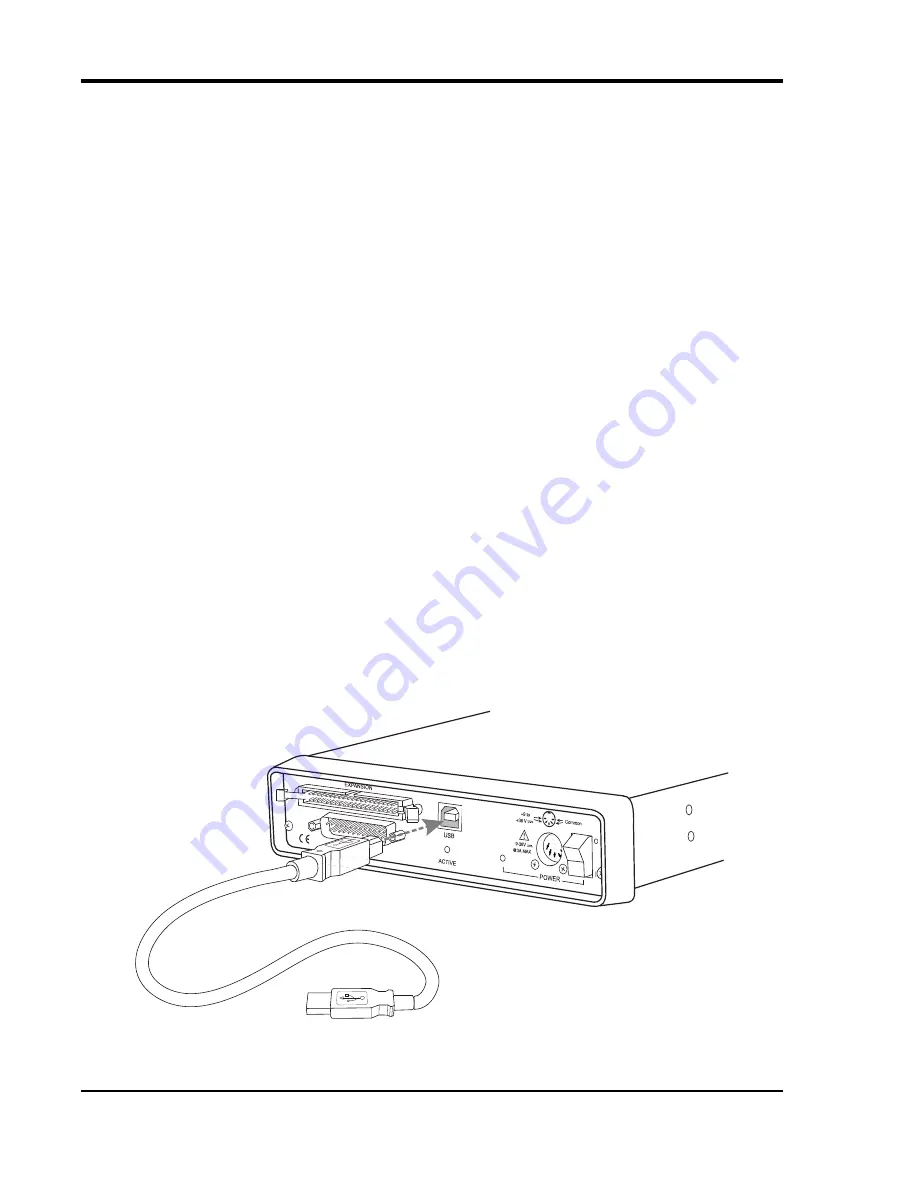
Plug the appropriate end of the supplied USB communications cable into the USB port (labeled USB) on the rear
panel of the instrument. Connect the other end of this cable to your computer's USB port.
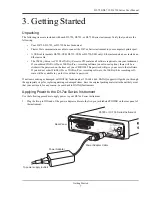
To USB port on PC
Rear Panel
USB Cable
DI-720 or DI-730 Series Instrument
Summary of Contents for DI-725/E
Page 2: ......
Page 4: ......
Page 6: ......
Page 10: ......
Page 32: ......
Page 40: ......
Page 45: ...DI 720 DI 722 DI 730 Series User Manual Block Diagram 35 6 Block Diagram DI 720 Series 1 32...
Page 46: ...DI 720 DI 722 DI 730 Series User Manual Block Diagram 36 DI 722 Series...
Page 106: ......
Page 107: ......

