DI–720/DI–722/DI–730 Series User Manual
Getting Started
15
9.
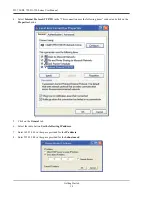
Click on the
OK
button to close the
Internet Protocol (TCP/IP) Properties
dialog box then click on the
OK
but-
ton in the
Local Area Connection Properties
dialog box for the changes to take effect.
Note: If you unplug your device and connect your PC to a network or router you should change the TCP/IP proper-
ties back to their original state.
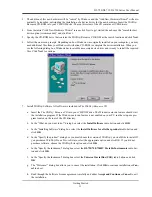
10. Install W
IN
D
AQ
software (see “Installing WinDaq software for Ethernet Products” on page 18).
11. Run the TCP/IP Manager software (default location is
Start > Programs > WINDAQ > IP Manager
).
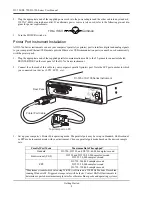
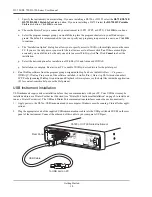
12. Connect the device (see “Connecting your Ethernet Instrument to your PC or Network” on page 17) to your PC
or hub.
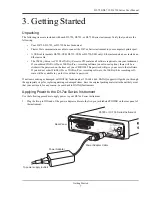
13. Apply power the device (see “Applying Power to the DI-7xx Series Instrument” on page 7).
Note: Always start the TCP/IP Manager software BEFORE powering the device to avoid extended delays resolving
IP addresses.
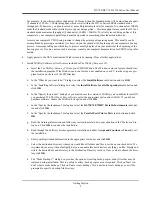
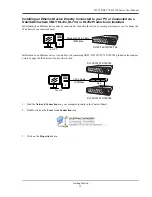
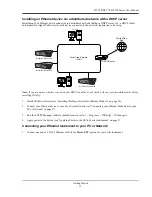
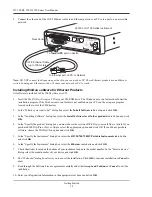
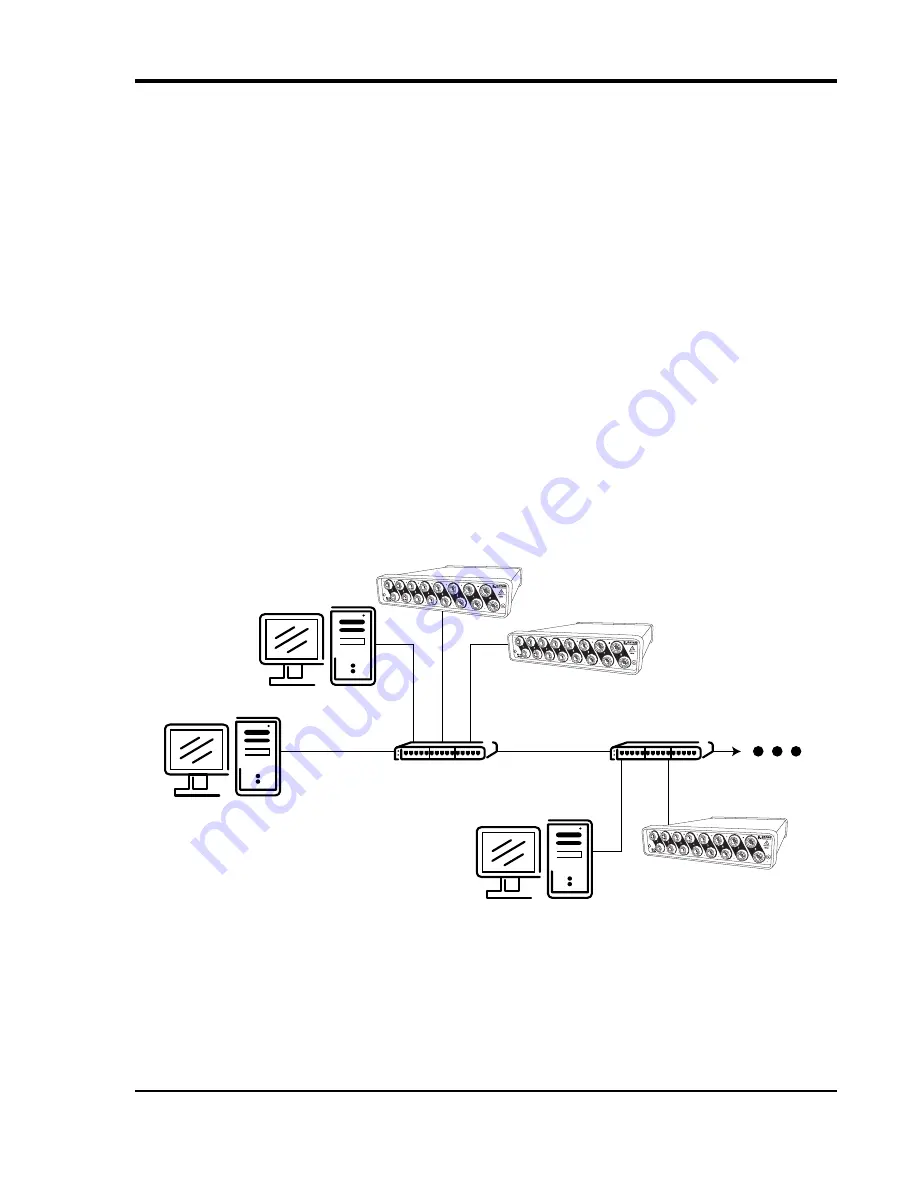
Installing an Ethernet device via a distributed network without a DHCP server
where one or more DATAQ Instruments devices will coexist with other Ethernet
devices, and where static IP address are individually assigned
Installation of an Ethernet device connected to a distributed network that does not have a DHCP server or where the
DHCP server is turned off requires you to set a static IP to the device after installation to drastically reduce the
amount of time it takes for the TCP/IP Manager to find the device.
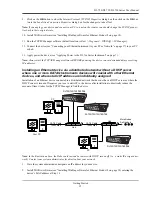
Note: In the illustration above, the Hubs could instead be routers with DHCP turned off (i.e., a static IP assigned net-
work). Contact your system administrator for details about your network.
1.
Have the system administrator designate an IP address for your device.
2.
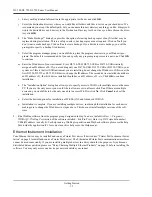
Install W
IN
D
AQ
software (see “Installing WinDaq software for Ethernet Products” on page 18) entering the
device’s MAC address at Step 14.
CAT-5 Cable
100M Max
Your PC
Hub
CAT-5 Cable
100M Max
Hub
PC
PC
More Nodes
As Needed
DI-720/722/730/785/788
DI-720/722/730/785/788
DI-720/722/730/785/788
Summary of Contents for DI-725/E
Page 2: ......
Page 4: ......
Page 6: ......
Page 10: ......
Page 32: ......
Page 40: ......
Page 45: ...DI 720 DI 722 DI 730 Series User Manual Block Diagram 35 6 Block Diagram DI 720 Series 1 32...
Page 46: ...DI 720 DI 722 DI 730 Series User Manual Block Diagram 36 DI 722 Series...
Page 106: ......
Page 107: ......

