DI–720/DI–722/DI–730 Series User Manual
Getting Started
16
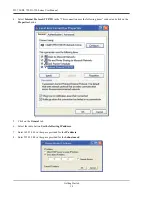
3.
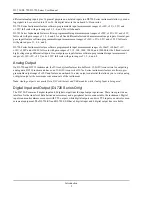
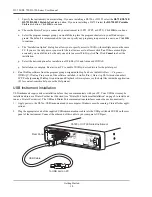
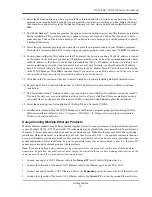
Run the TCP/IP Manager software (default location is
Start > Programs > WINDAQ > IP Manager
).
4.
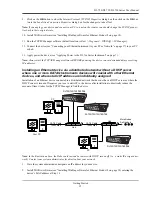
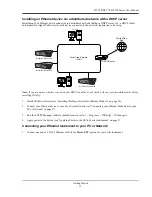
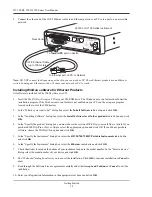
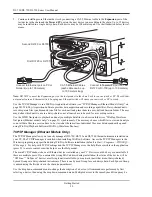
Connect the device to your network (see “Connecting your Ethernet Instrument to your PC or Network” on
page 17).
5.
Power the device (see “Applying Power to the DI-7xx Series Instrument” on page 7).
6.
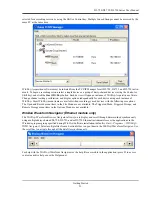
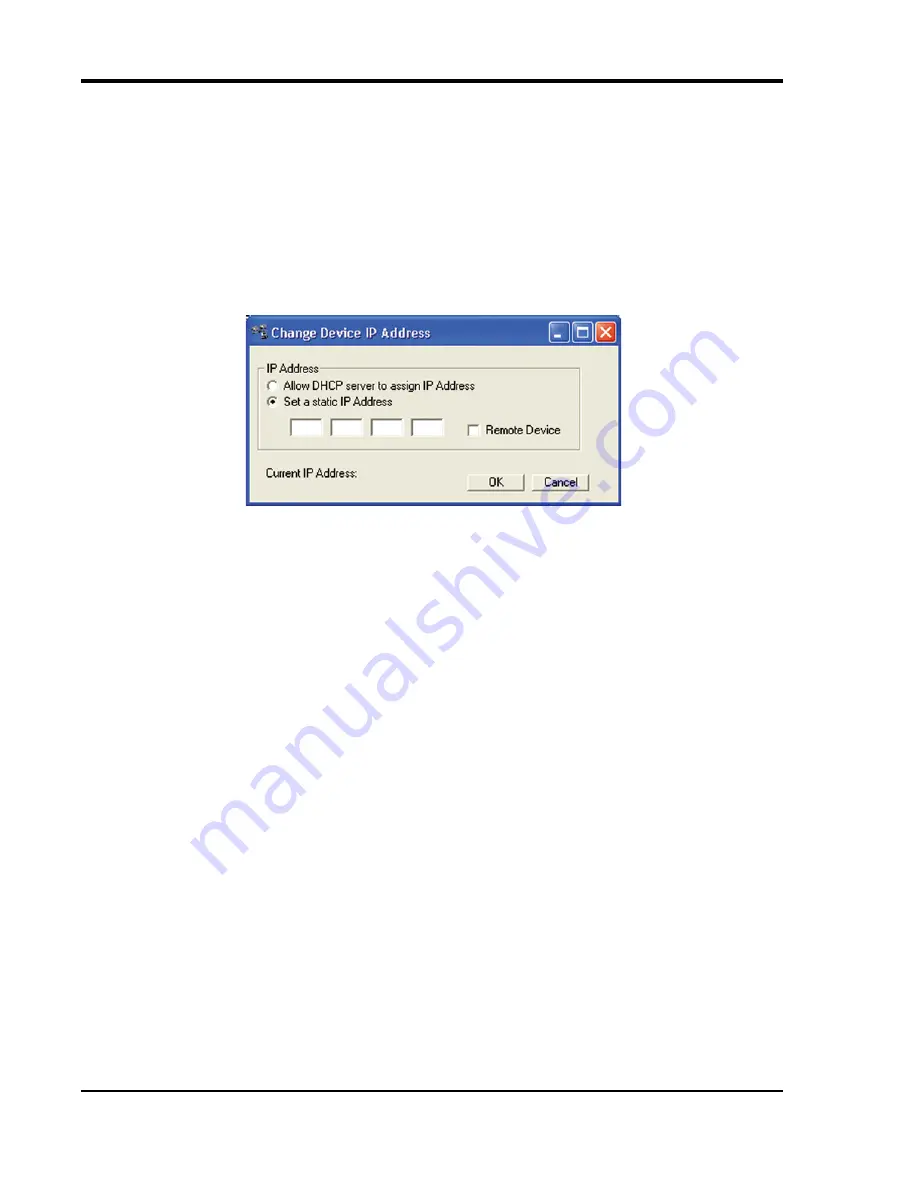
In the
TCP/IP Manager main window
,
select the device
you have installed.
7.
Select the
Change IP Address
drop down command.
8.
Select the
Set a static IP Address
radio button.
9.
Enter the IP address provided by your system administrator in Step 1 above.
Do not
check the Remote Device
checkbox.
10. Click on the
OK
button for the change to take effect.
Note: These instructions change the settings inside the device. If you move the device to a DHCP-enabled network
(i.e., where IP addresses are assigned automatically by a DHCP server or router) you will need to change the device
settings using the Dataq TCP/IP Manager. See the Dataq Instruments TCP/IP Manager help file for complete details.
Summary of Contents for DI-725/E
Page 2: ......
Page 4: ......
Page 6: ......
Page 10: ......
Page 32: ......
Page 40: ......
Page 45: ...DI 720 DI 722 DI 730 Series User Manual Block Diagram 35 6 Block Diagram DI 720 Series 1 32...
Page 46: ...DI 720 DI 722 DI 730 Series User Manual Block Diagram 36 DI 722 Series...
Page 106: ......
Page 107: ......

