DN200 User Manual Rel 1.0
1.5
System Setup
The DN200 can be set up from the built in Web server (GUI) using the Ethernet 1 port. To set up the
radio, make sure you have the following at hand
Powered DN200
Ethernet connection from Ethernet 1 to PC/laptop
Laptop/PC installed with Internet Explorer 6 or higher
Connecting to the Serial Console (CLI)
The DN200 is equipped with a RJ-45 Serial connector, also known as the factory port. A propriety cable
can be provided if the installer wishes to perform an installation using the CLI. However, Datasat
reserves the right to only provide CLI access to trained and approved installers, to comply with local
regulatory laws and restrictions
.
1.5.1 Accessing the Web Interface (GUI)
To configure the DN200 via Ethernet 1, follow the steps below
Make sure the DN200 in not powered up.
Always make sure all power connections are complete before powering the DN200. This is specially
true when using the Power over ethernet feature of the DN200.
Connect Ethernet 1 port to a Laptop/PC using a CAT5 or higher grade cable. Once connection has been
established, switch the DN200 by connecting the DC power
Now run Internet Explorer (IE) 6 or higher on your laptop.
The default factory IP address of Ethernet Port 1 is 169.254.1.1. In IE, enter 169.254.1.1
The DN200 splash screen should appear requesting user name and password
The default user name is ‘
root
’ and password is ‘
blackout
’
Click submit
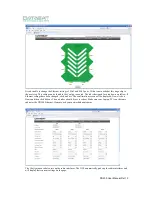
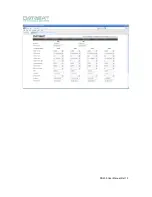
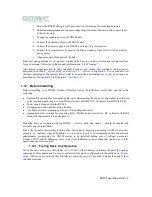
You should now be in the home screen of the DN200. The node can now be set up. This screen will show the
available interfaces with the RED and GREEN color indicating the status of the interfaces.
Active interface: Green
In-active Interface: Red

