XD20 Installation and Operating Guide
Version 1.1
Document # 9301H264001.1
58
5.5.2. DTS Special Venue Timecode Offset
Information on the delay setting for special venues is available in
Appendix L: Tech Notes
. There are two
pages of information:
•
DTS Special Venue Timecode Offset
•
Timecode Printing Offset for 35MM and 70MM Film.
5.5.3. Verify Sound Performance
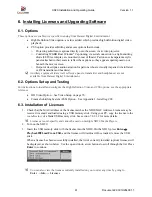
1 Thread the DTS Demo reel (Buzz and Bill) through the projector and D600 reader. Be sure XD20
is fully booted and ready to play. The soundtrack for Buzz and Bill is factory-loaded on the hard
drive.
2 Start the projector. When the Audio LED lights, verify that the XD20 automatically switches the
cinema processor to the DTS Digital format. Verify that sound is heard in the monitor speaker.
Open the porthole (if possible) and verify that sound is heard in the auditorium.
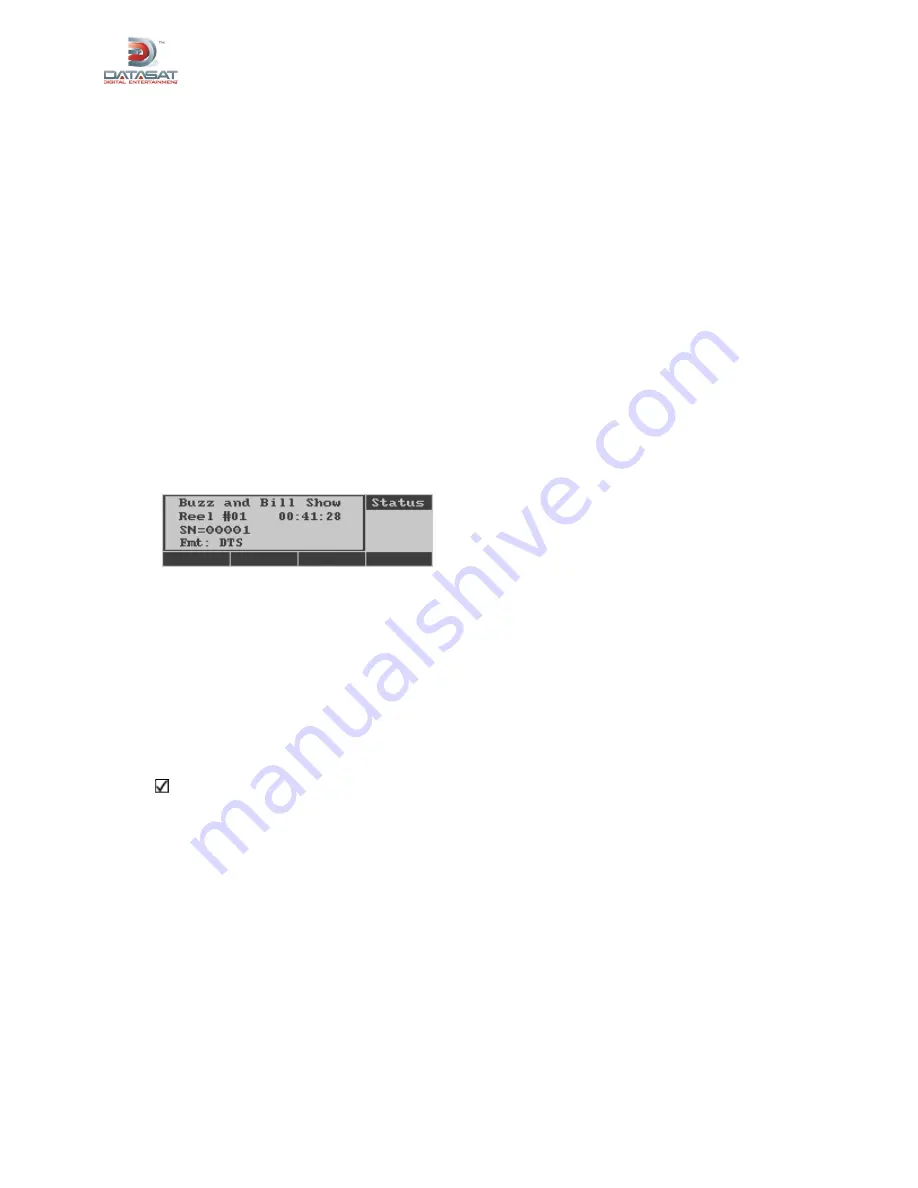
3 While still in the booth, verify that the XD20 front panel display shows the film title, serial
number, reel number and running timecode. (Information in the display's fourth line is
configurable by the user. For more information on selecting the type of information to display in
Line 4, see Chapter 1, Operating the XD20 Media Player, in this manual.)
o
Line 1: Film title
o
Line 2: Film serial number
o
Line 3: Reel number and running time
o
Line 4: Can be selected by user. This example displays the format, which is DTS.
4 Go into the theater while the Demo reel is playing. Verify sound is in-sync, sounds well balanced
and has excellent digital sound quality.
If levels sound unbalanced, check the cinema processor’s output levels. Then be sure that the
XD20 output of 300mV RMS on all channels matches the buss level of your cinema processor.
XD20 MUST match the cinema processor’s buss level. (The buss level of your cinema
processor should be indicated in its manual, otherwise, consult the manufacturer.)
5 If the theater has two projectors, repeat this procedure for Projector 2.


