44208-00006-000 DSV3-SP User’s Manual
Rev 0B
2/12/2009
25
Copyright © 2009 by Datastrip, Inc. All rights reserved.
Reproduction in whole or in part is prohibited.
Preview Size
320 x 240, 160 x 120
Used to select the size of the preview image displayed on the DSV3
screen. Values indicate the height and width of the preview image.
Sharpness
Normal, Less Sharp, More Sharp This setting softens or sharpens areas in the image where an edge
changes from one brightness level to another.
White Balance
Automatic, Sunlight, Outdoor
shadow, Fluorescent, Tungsten,
LED
Controls the process of removing unrealistic color casts, so objects which
appear white in the scene being captured are rendered white in the
photograph. Specify the setting closest to the environment in which the
snapshot is being taken.
Zoom
x1, x2
Used to provide the equivalent of two lenses with different focal lengths.
X1 is normal operation, X2 is the “zoomed” mode.
10.2
Smart Card Reader & Scanner Demo (SuperViewer.exe)
This application demonstrates the primary features of the DSV3 products: reading optical or smart card
media and performing one-to-one fingerprint matching. The types of documents supported include the
following document types or symbology that contains Datastrip-formatted information:
•
ISO 7816 Contact Smart Cards
•
ISO 14443 Contactless Smart Cards
The following symbologies are supported on DSV3 units equipped with an optional optical scanner.
•
Datastrip2D and 2DSuperscript Two-Dimensional Barcodes
•
PDF417
•
OCRB
•
Linear Barcodes
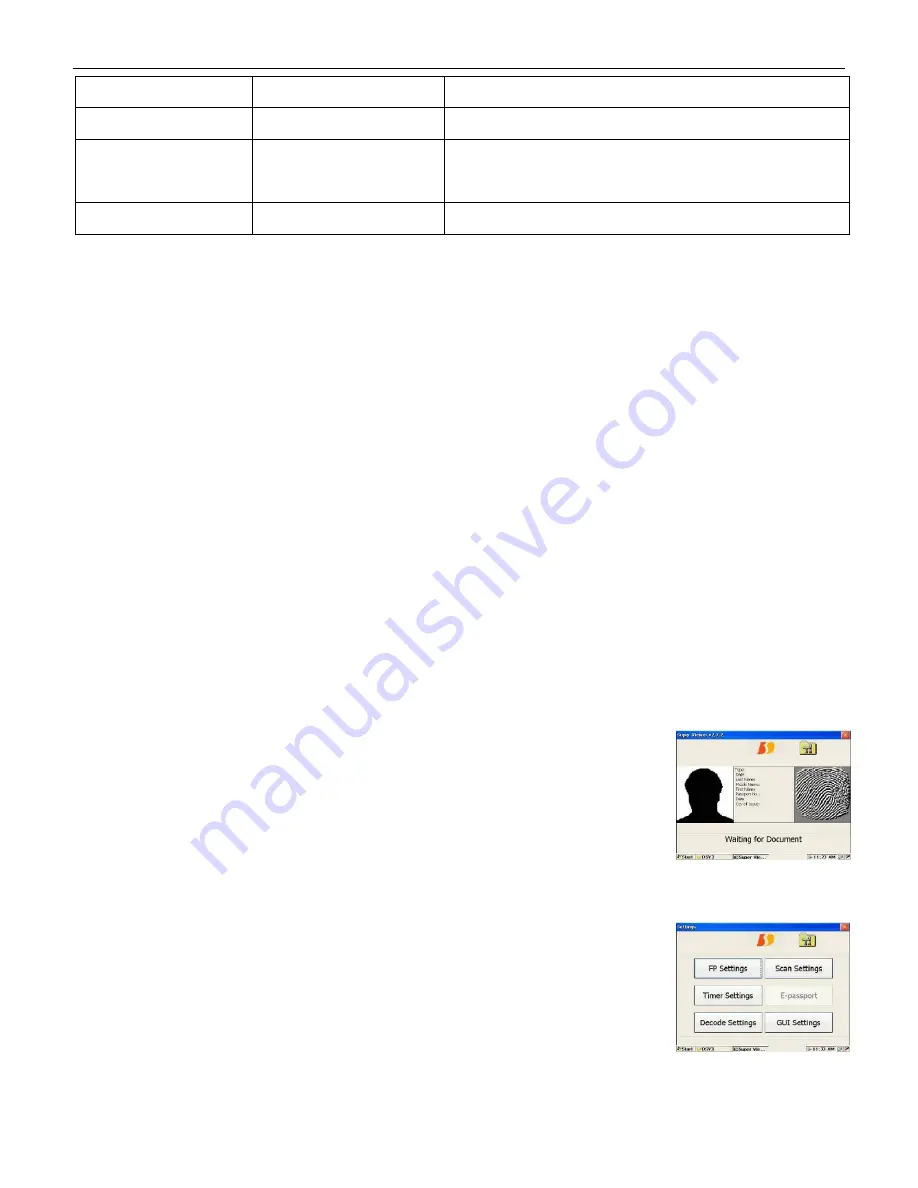
When SuperViewer application is launched, the
Main Screen
is displayed and the unit is ready to scan a
document or read a smart card. The application automatically reads and decodes a submitted document
and the result is displayed in the Photo, Text, and Fingerprint windows. If the default icon or text is
displayed, the document did not contain that type of data.
If a fingerprint was stored on the document, the application will also perform a one-to-one match of a
fingerprint stored on the document to the fingerprint captured by the on-board fingerprint sensor. This
demonstrates a typical scenario of verifying that a card holder is the same person whose fingerprint is
stored on the document.
Main Screen
Clicking the Datastrip logo will return the user to the Main Screen and will reset
the scanner subsystem (if the unit is a DSV3 scanner model). On the
Main
Screen
, a user can perform the following operations:
•
Clicking on the
‘toolbox’
button will open the
Configuration Screen
.
•
Clicking on the
‘OK’
or
‘X’
will exit the application.
•
Clicking on the
Photo
,
Text,
or
Fingerprint
windows expands that
window
Configuration Screen
On the
Configuration
screen, the following operations are available:
•
Clicking on the ‘FP Settings’ button will open the fingerprint threshold
setting screen. Refer to the
Fingerprint Settings Screen
section below
for details
.
•
Clicking on the ‘Scan Settings’ button will open the scanner settings
screen. Refer to the
Scanner Settings Screen
section below for details
.
•
Clicking on the ‘Timer Settings’ button opens the “Display Timer Diagnostics” screen. To use


