22
3.
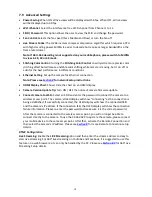
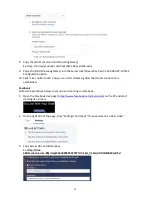
After login, the user will be able to view the camera’s live image on the
Streaming
page
(please enable Adobe Flash player in your browser).
4.
If on the Streaming page, the camera’s live image does not appear, please enable Live
Streaming in RTMP Configuration and make sure you have entered the correct Server
URL/Stream Key.
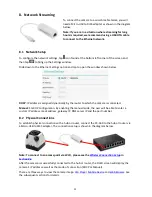
Note: To configure the RTMP connection, tap icon found at the bottom left corner of the
screen and then tap
to bring up the Settings window. Slide down to the RTMP
Configuration option and tap to open a window on which RTMP connection is configured.
8.3 360° Live Streaming
To start 360
°
live streaming, please set the view mode to Global 3K or 4K. The frame rate
for 3K is 24 and 4K is 10.
Note: The 4K bandwidth is lower than that of 3K due to its low frame rate.
After selecting the view mode, we can proceed to set up 360
°
live streaming on the PC.
Ethernet Connection
The Ethernet Connection offers the user an easy setup and connection stability. All you need is a
Micro-USB to RJ45 to connect the camera to a router. Follow the procedure outlined below to set
up 360° live streaming on a PC via an RJ45 port.
1.
Connect a PC to a hub or router.
2.
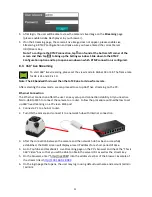
Turn ON the camera and connect it to a network hub with Internet connection.
3.
After the connection between the camera and the network hub has been successfully
established, the OLED screen will display a local IP address for a short period of time.
4.
Go to YouTube and Facebook’s Live Streaming page on the PC’s browser and check the “This is
360° Video” box so that you will be able to obtain the server URL as well as the stream key.
5.
On the browser, enter “http://(ip):8080” into the address text bar of the browser. Example of
the stream link is
http://192.168.0.2:8080
6.
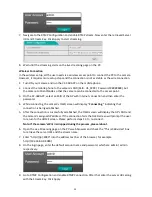
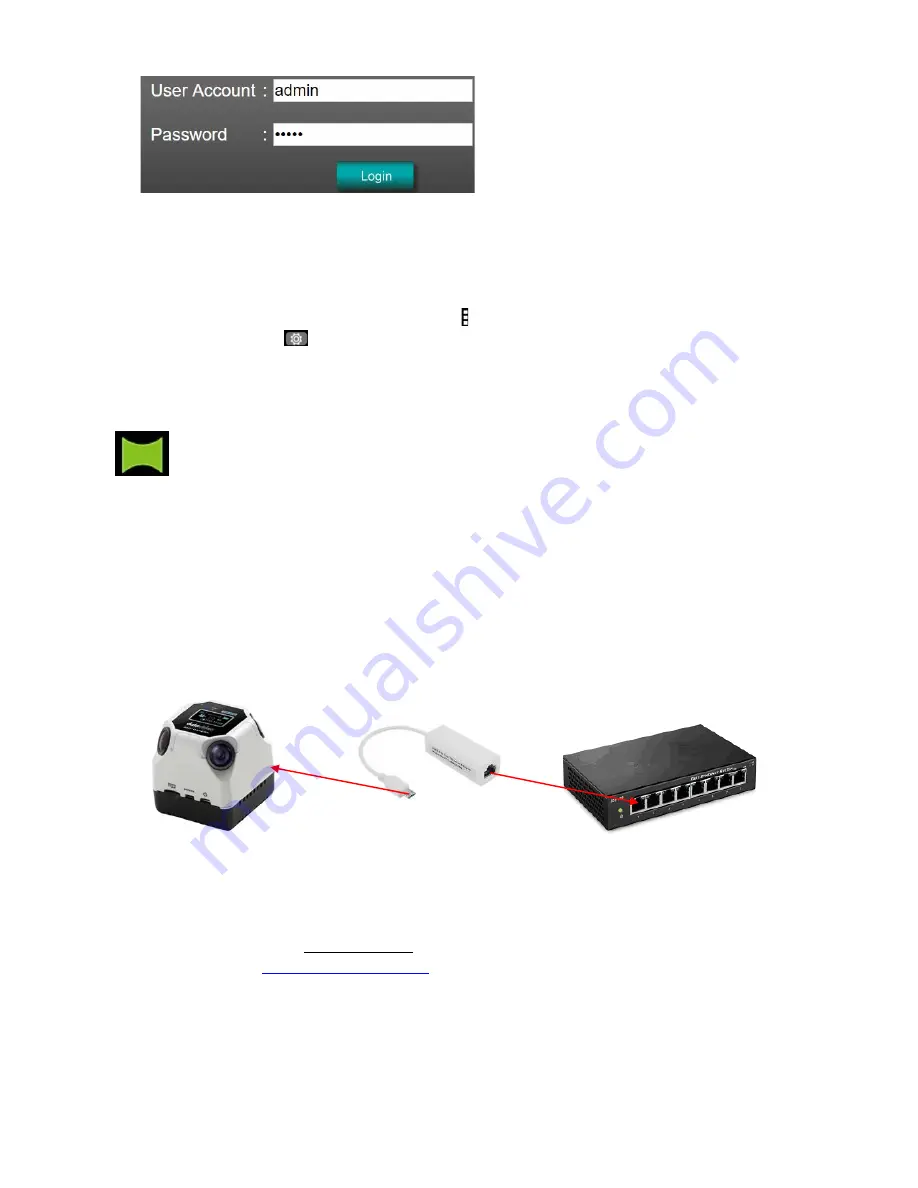
On the login page that opens, the user may log in using default username and account (admin
/ admin).

