


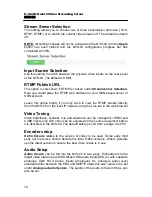
H.264 Network Video Streaming Server
NVS-20
How to set up the NVS-20
As we see from the System Diagram on the previous page the Datavideo
NVS-20 is designed to sit between the video source equipment and the
delivery IP network.
Connect live video and audio to the NVS-20
Referring to page 9, connect your live video and audio source cabling to the
rear panel of the NVS-20.
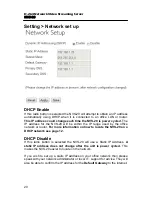
Connect the NVS-20 to the local IP network
Referring to page 9, connect an RJ-45 Ethernet cable to the rear panel of the
NVS-20 from the local IP network. This could be from an office LAN face plate
on the wall or direct to an existing LAN network router / switch.
Connect power to the NVS-20
The NVS-20 comes with its own power supply unit which connects it to a
normal wall/power outlet. The unit can also be powered from a Datavideo PD-
2 power distribution unit. The power or PWR LED on the front of the NVS-20
should glow red when connected and switched on. The unit takes
approximately 1 minute to start so please be patient and wait for the power
LED to change to green.
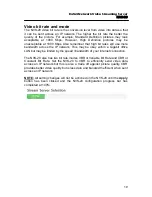
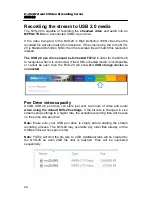
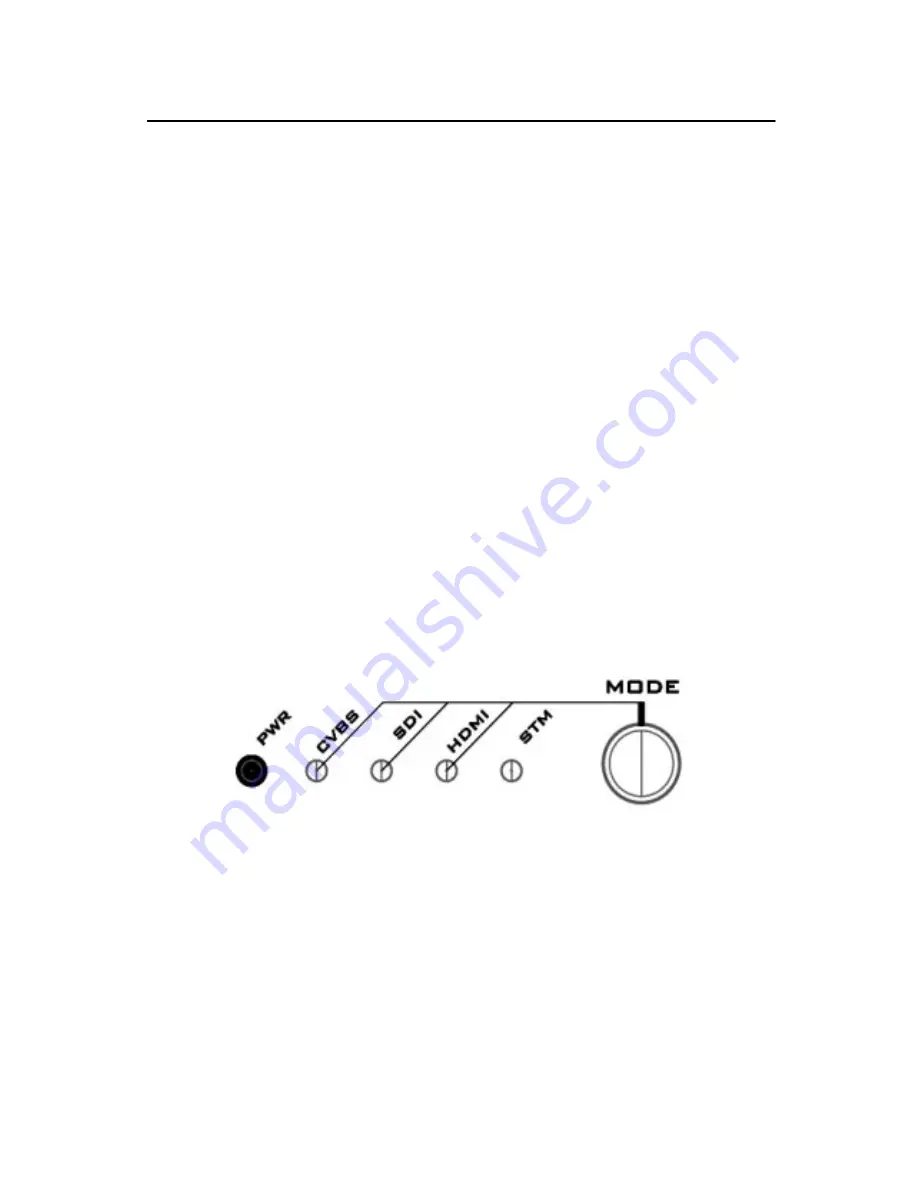
Select the input connection to be streamed
The
MODE
button on the front panel of the NVS-20 is used to select the live
video input connected to the rear of the unit. Press this button to cycle through
the HDMI, SDI and Composite [CVBS] inputs.
Each time the button is pressed an LED will light for the selected source, the
default at power on is HDMI. If no source video is detected then the LED will
flash red. If a live video source is detected then the LED will change to steady
green.
The STM or stream LED will go green once the unit is correctly configured by
computer IP connection.
11


