15
6.
The reset is complete as soon as you see the
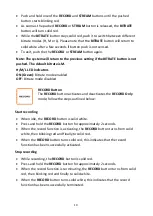
BITRATE, VERTICAL, RECORD and
STREAM buttons
illuminating solid white.
7.
The device’s network settings should now be the default DHCP mode.
8.
Connect the device to a DHCP network and use the IP finder to scan for the
device.
Troubleshooting the Network Connection
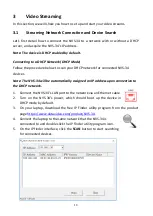
Connect the NVS-34 to the network and open the IP Finder utility program. Scan for
the device. If not found, it is possible that your network is not assigning IP addresses.
Reasons of this are outlined as follows:
-
Router or DHCP server is not responding to the device’s request.
-
New devices are blocked by the network administrator.
-
Anti-virus software or the firewall blocks the communication.
Solve the problem by attempting the following:
-
Turn off the router, wait for 10 seconds then turn on the router again.
-
Reset the NVS-34 to the factory defaults (see the previous section for device
reset).
If the problem still persists, try the following:
-
Temporarily shut down the anti-virus software or firewall.
-
Make sure no other devices are connected to the LAN (wired or wireless)
because this may result in IP conflicts.
Advanced Troubleshooting
If you still are unable to connect, try the following:
-
Use the ARP table to search for the device’s MAC address which can be
found on the print label at the bottom of your NVS-34.
-
MAC address starts with
00:07:36:03:xx:xx
.
-
On the command prompt (terminal on MAC OS), enter "
arp -a
" then press
enter key to display an ARP list. See if the NVS-34 is successfully connected
to the network.
-
Execute
services.msc
,
and on the right column of the “
Services”
window,
locate “
DHCP
Client”
then click “
Restart”
.
Summary of Contents for NVS-34
Page 1: ...NVS 34...
Page 34: ...34...
Page 58: ...58...
Page 60: ...60 7 Dimensions All measurements in millimeters mm...
Page 62: ...62 Notes...
Page 63: ...63 Notes...


