37
Tip 1 for Calibrating the Screen: Use the projector built-in function to calibrate the screen.
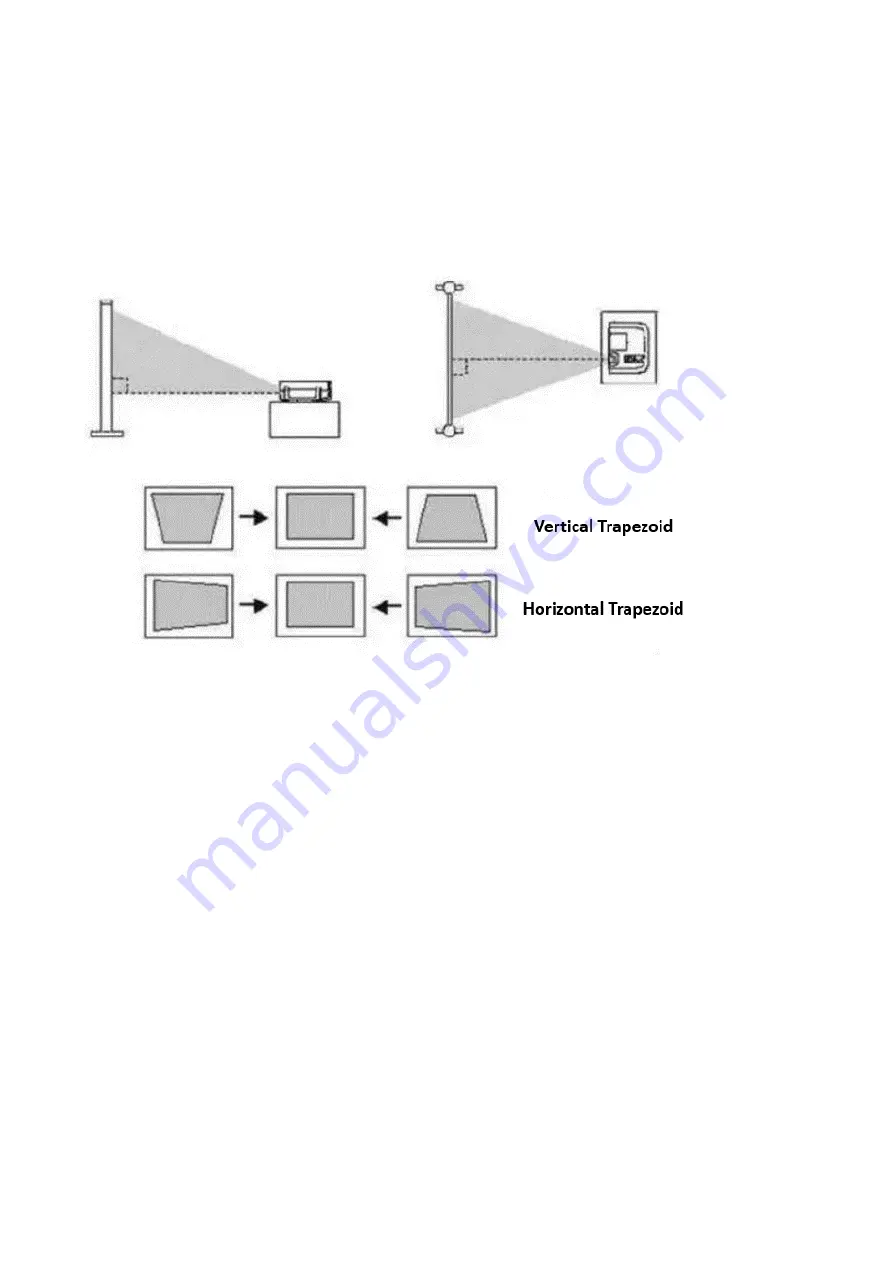
Please make sure that the position for placing the projector and the BC-100 camera must be at
right angles to the projection screen as much as possible during the process for using the
projector. This placement can assure a square projection effect. If the right angles can not be
achieved during the process, the output picture is very easy to produce a trapezoidal problem of
wide upper side & narrow lower side or narrow upper side & wide lower side. Users can use the
universal ball head which is mounted on the BC-100 camera or the vertical trapezoid and
horizontal trapezoid for further calibration.
In this situation, users need to use the “Keystone Correction” function to adjust the projection screen
to assure that the projection screen is always in a shape of standard rectangular.
Tip 2 for Calibrating the Screen: After the Full Body/Half Body calibration, when the screen
which is shot by the BC-100 camera is over the range of the green mat, please use the key MASK
function of the SE-1200 to eliminate extra screen.
5.3 Setup of the FS-220 Foot Switch
The FS-220 is a Foot Switch designed specifically for use with the VGB-2000. The purpose is to allow
the user to toggle between Record and Record Pause modes on the VGB-2000 2-Channel Pro
Presentation System by simply stepping on the pedal. The mode that the recorder is currently in is
indicated by the Tally Light on the LBK-1 Look Back Kit. In the Record Mode, the tally light displays red
color; on the contrary, if the recorder is in the record pause mode, the tally light will be OFF.
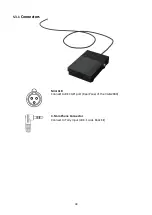
There are two connectors on the FS-220 cable end. The Mini-XLR is connected to the GPI port on the
rear panel of the VGB-2000 and the 3.5mm ear phone connector is plugged into the LBK-1 Tally Light
IN.
Summary of Contents for VGB-2000
Page 1: ...VGB 2000 Instruction Manual...
Page 7: ...7 1 2 System Diagram 2 Channel Pro Presentation System VGB 2000...
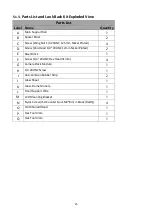
Page 26: ...26 LBK 1 Look Back Kit Exploded View...
Page 27: ...27 LBK1 1 1 Main Support Exploded View...
Page 28: ...28 LBK1 1 2 22 Monitor and LCD Display Mount...
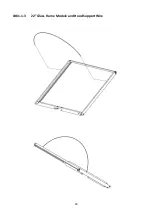
Page 29: ...29 LBK1 1 3 22 Glass Frame Module and Hood Support Wire...
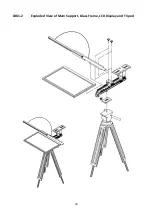
Page 30: ...30 LBK1 2 Exploded View of Main Support Glass Frame LCD Display and Tripod...
Page 31: ...31 LBK1 3 Look Back Kit Assembly...
Page 71: ...71 Close Up with Chromakey Slides Close Up Interactive Pen Mark...
Page 72: ...72 Wide Shot Interactive Pen Mark Logo Interactive Pen Mark Logo...
Page 73: ...73 Dual Camera Effects Interactive Pen Mark Close Up Interactive Pen Mark...
Page 74: ...74 Wide Angle with Chromakey Interactive Pen Mark Wide Shot Interactive Pen Mark Logo...
Page 75: ...75 Interactive Pen Mark Logo Close Up with Chromakey...
Page 76: ...76 Wide Angle with Chromakey...
Page 79: ...79 14 Dimensions...
Page 80: ...80 Unit mm...
Page 83: ...83 Note...


