DT1400 xx xx
20170920-V0
43
Low limit value
Sequence of operations
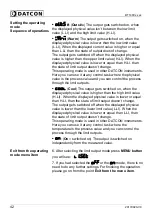
8. Keep stepping by pressing the
▲
button as long as you
see this sub-menu item:
(
L
imit
1 L
ow
Li
mit =
= limit 1, low limit value). Here you can define the numerical
value by which the device will compare the measured
physical values.
9. Enter by pressing the
ENTER
button.
10. You see this
on the display and the left digit is
blinking, indicating that the digit can be modify by pressing
the
▲
button.
11. Pressing the
▲
button you can increase the value of the
blinking digit:
,
,
,
,
,
,
,
,
,
,
, etc.
12. Pressing the
►
button you can select the next digit.
13. When the left digit is selected, pressing
▲
button, the
sequence is:
,
,
,
,
,
,
,
,
,
,
,
, etc.
So you can set any value between -9999-99999.
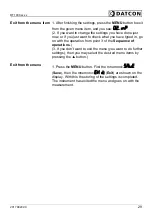
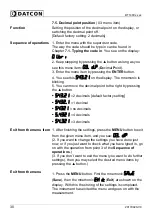
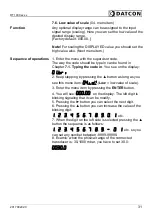
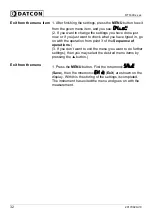
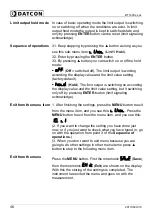
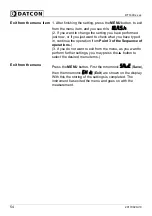
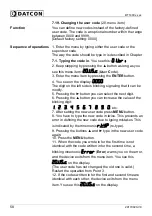
14. After you have defined the value for the limit, press the
MENU
button to exit from the sub-menu item, and you see
this:
.
15. When you don’t want to set hysteresis and you had
selected the
or the
modes there is no need to
do any further settings. For finishing the operation, please
go on from the point
Exit from the menu item.
Hysteresis of the low
limit
Sequence of operations
16. Keep stepping by pressing the
▲
button as long as you
see this sub-menu item:
(
L
imit
1 Hys
teresis)
means: the hysteresis of the low limit value. Here you can
define a numerical value which provides the hysteresis of
the low limit value (L1.L.LI). [Factory default: hysteresis = 0]
The hysteresis value is in operation for High or Low
operation mode only. The hysteresis value is ignored in
case of another operation mode.
Summary of Contents for DT1400 RL2 IA
Page 1: ...DT1400 xx xx Limit switch Operating Instructions ...
Page 68: ...DT1400 xx xx 68 20170920 V0 10 2 Application example Analog output option ...
Page 69: ...DT1400 xx xx 20170920 V0 69 RL4 option ...
Page 70: ...DT1400 xx xx 70 20170920 V0 TS option ...
Page 71: ...DT1400 xx xx 20170920 V0 71 ...
Page 72: ......

