Aestiva
A-8
1006-0938-000
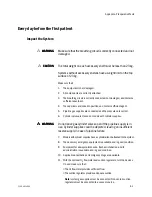
7.
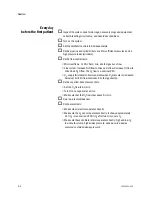
Test the O
2
flow control:
•Set the N
2
O flow to 9.0 L/min.
•Set the O
2
flow to 3 L/min or higher.
•Slowly turn the O
2
flow control clockwise.
•Make sure that the N
2
O flow decreases.
The measured O
2
concentration must be
≥
21% through the full range.
8.
Set the flow controls to mid range and make sure that the flowtube floats
move smoothly.
9.
Stop the O
2
supply. Disconnect the pipeline supply or close the cylinder
valve.
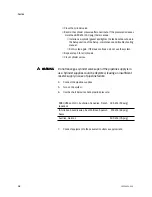
10. Make sure that:
•The low O
2
supply alarm occurs.
•N
2
O, CO
2
, Heliox, and O
2
flows stop. The O
2
flow stops last.
•Air flow continues.
•Gas supply alarms occur on the ventilator if the ventilator uses O
2
as the
drive gas.
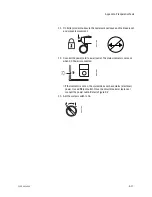
11. Turn all of the flow controls fully clockwise (minimum flow).
12. Reconnect the pipeline supplies.
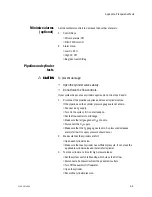
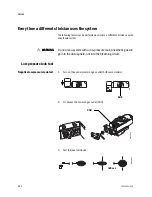
Vaporizer back
pressure test
w
w
w
w
W
W
W
WA
A
A
AR
R
R
RN
N
N
NIIIIN
N
N
NG
G
G
G
Anesthetic agent comes out of the common gas outlet during this
test. Use a safe, approved procedure to remove and collect the
agent.
w
w
w
w
C
C
C
CA
A
A
AU
U
U
UTTTTIIIIO
O
O
ON
N
N
N
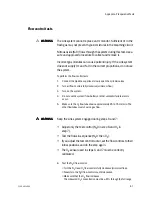
To prevent damage, turn the flow controls fully clockwise
(minimum flow or Off) before you turn On the system.
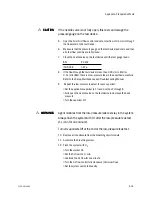
1.
Turn the system On. Alarms can occur.
2.
Set the O
2
flow to 6 L/min.
3.
Make sure that the O
2
flow stays constant and the float moves freely.
4.
Adjust the vaporizer concentration from 0 to 1% one click at a time. The
O
2
flow must not decrease more than 1 L/min through the full range.
If the O
2
flow decreases more than 1 L/min:
•Install a different vaporizer and try this step again.
•If the O
2
flow decreases less than 1 L/min with a different vaporizer, the
malfunction is in the first vaporizer.
Summary of Contents for Aestiva/5
Page 1: ...Aestiva 5 Operation Manual Part 1 Software Revision 4 X System Controls Operation Checkout...
Page 6: ...Aestiva iv 1006 0938 000 iv...
Page 14: ...Aestiva 1 8 1006 0938 000 1 8...
Page 36: ...Aestiva 2 22 1006 0938 000...
Page 76: ...Aestiva 4 4 1006 0938 000...
Page 102: ...Aestiva I 4 1006 0938 000...

